
Dog owners know that mealtime is more than just nutrition—it’s routine, comfort, and care. Yet, many still use flimsy plastic stands or place bowls directly on the floor, leading to neck strain, messy spills, and unattractive clutter. A well-designed dog bowl holder elevates both function and form, promoting better posture during meals and adding a personalized touch to your space. The good news? You don’t need professional carpentry skills to build one. With a range of DIY options—from no-tool solutions to advanced woodworking projects—there's a perfect dog bowl stand for every skill level, budget, and home style.
Why Your Dog Needs an Elevated Feeding Station
Elevated feeders aren't just a trend—they offer real health benefits, especially for larger breeds or dogs with joint issues. When a dog eats from the floor, it must hunch forward, which can lead to discomfort, bloating, and even exacerbate conditions like hip dysplasia. Raising the bowl to elbow height encourages a more natural spine alignment.
“An elevated feeding station can reduce strain on the cervical spine and improve digestion, particularly in deep-chested breeds prone to bloat.” — Dr. Lena Torres, DVM, Canine Orthopedic Specialist
Beyond health, a custom stand keeps floors cleaner by containing spills and preventing water bowl tipping. It also eliminates the need to bend down during refills, making life easier for pet owners too.
Beginner-Friendly: No-Skill Holder Using Household Items
If you're new to DIY or want a solution today, repurpose materials already at home. This method requires zero tools and takes under 15 minutes.
Materials Needed:
- Two sturdy cardboard boxes (same size)
- Duct tape or packing tape
- Plastic trays or non-slip mats
- Indoor/outdoor carpet scraps (optional)
Step-by-Step Guide:
- Place the two boxes side by side where your dog eats.
- Tape them together securely along the shared edge.
- Place a plastic tray on top of each box to hold the bowl and catch drips.
- Line the floor beneath with a non-slip mat to prevent sliding.
- For durability, wrap the entire structure in duct tape and cover the top with waterproof fabric or carpet.
This version is ideal for renters or temporary setups. While not permanent, it’s functional, low-cost, and easily customizable with paint or contact paper.
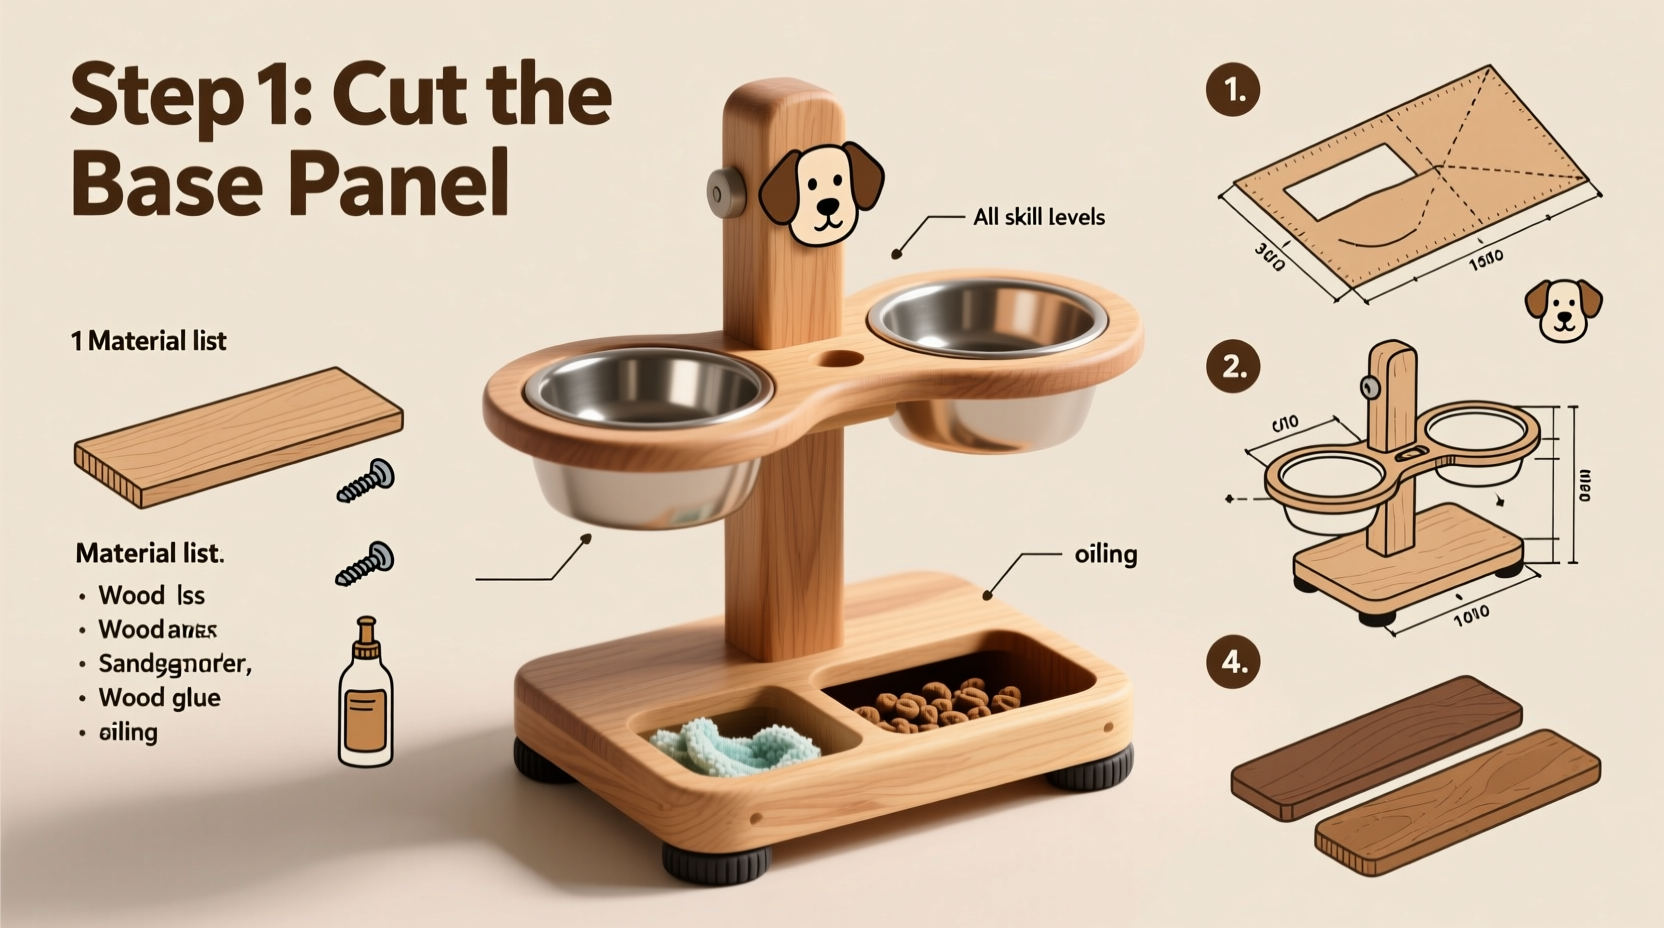
Intermediate Build: Wooden Stand with Clean Lines
For those comfortable with basic tools and measurements, a wooden stand offers lasting durability and a polished look. This design uses pre-cut pine boards and pocket screws for a seamless finish.
Materials & Tools:
- Four 1x2x12” pine boards (legs)
- Two 1x6x10” pine boards (top supports)
- Wood glue
- 1¼” pocket hole screws
- Pocket hole jig, drill, measuring tape, sandpaper
- Non-toxic wood finish (e.g., water-based polyurethane)
Assembly Steps:
- Cut four legs to desired height (typically 6–12 inches, based on dog size).
- Drill two pocket holes at the top end of each leg.
- Attach legs to the underside of the 1x6 boards using wood glue and screws—two legs per board, spaced evenly for bowl placement.
- Sand all edges smooth to prevent splinters.
- Apply a pet-safe finish and let dry for 24 hours before use.
This stand supports stainless steel or ceramic bowls and can be stained to match your décor. Add rubber feet to the bottom to protect hardwood floors.
Advanced Project: Multi-Tiered Cabinet with Storage
For skilled DIYers, combine form and function with a built-in cabinet that holds bowls, food, and accessories. This wall-mounted unit saves floor space and integrates seamlessly into kitchens or mudrooms.
Design Features:
- Adjustable-height bowls for growing puppies
- Hidden pull-out drawer for treats or scoops
- Back panel cutout for cord management (if using heated bowls)
- Easy-clean surface with sealed wood or tile top
Construction Overview:
- Build a rectangular frame from ¾” plywood (18”W x 12”D x 24”H).
- Install internal shelf 10” from the base to support the bowl tray.
- Mount slide-out trays using ball-bearing glides; secure bowls with silicone rings.
- Add a front panel with magnetic latch for a clean look.
- Finish with semi-gloss paint or laminate for spill resistance.
This project requires precise cutting and assembly but delivers restaurant-grade utility. Consider adding LED under-cabinet lighting for evening visibility.
Material Comparison: Choosing the Right Base
Different materials suit different environments and usage levels. Consider traffic, moisture, and cleaning habits when selecting your build material.
| Material | Pros | Cons | Best For |
|---|---|---|---|
| Cardboard + Tape | Free, instant, recyclable | Falls apart when wet | Temporary or travel use |
| Pine Wood | Affordable, easy to cut, stains well | Scratches easily, needs sealing | Beginners, indoor use |
| Birch Plywood | Stable, resists warping | More expensive, heavier | Multi-tier builds, humid areas |
| Stainless Steel | Durable, hygienic, rust-resistant | Hard to work with, costly | Outdoor or high-use zones |
| Concrete or Tile | Heavy-duty, modern aesthetic | Permanent, complex mold needed | Custom outdoor kitchens |
Real Example: How the Miller Family Solved Sliding Bowls
The Millers adopted a 70-pound Labrador mix who would push his bowls across the kitchen every meal. Despite rubber mats, the noise and mess were constant. After researching DIY options, they built a simple pine stand with recessed bowl slots. They traced the bowl outlines on the top board, used a jigsaw to cut shallow insets, and glued silicone strips inside. The bowls now stay firmly in place, and the stand matches their farmhouse table. “It took three hours and $28,” says Sarah Miller. “Now feeding time is quiet, clean, and actually looks nice.”
Essential Checklist Before You Start Building
Checklist: Build Readiness
- ✅ Measured your dog’s elbow height
- ✅ Chosen location (kitchen, patio, garage?)
- ✅ Selected bowl type (ceramic, stainless, collapsible)
- ✅ Confirmed available tools and workspace
- ✅ Picked pet-safe, non-toxic materials
- ✅ Planned for cleaning access (removable trays?)
Frequently Asked Questions
Can an elevated feeder cause bloat?
Some studies suggest large, deep-chested breeds (like Great Danes or Boxers) may have increased bloat risk when using high feeders. Always consult your vet before switching, especially if your dog has a history of gastric issues. When in doubt, keep the elevation minimal—no higher than the bottom of the chest.
How do I clean a wooden dog bowl stand?
Wipe daily with a damp cloth and mild soap. Avoid soaking. For deeper cleaning, use a vinegar-water mix (1:3 ratio) and dry immediately. Reapply sealant annually to maintain water resistance.
Can I use PVC pipes for a dog bowl holder?
Yes—PVC is lightweight, affordable, and easy to assemble with fittings. However, it may not support heavy ceramic bowls long-term and can degrade in direct sunlight. Best for lightweight indoor use with proper bracing.
Conclusion: Build Something That Works—and Lasts
A DIY dog bowl holder isn’t just a craft project—it’s an investment in your dog’s comfort and your home’s functionality. Whether you’re taping together boxes tonight or designing a built-in feeding station, the key is matching the build to your dog’s needs and your own confidence with tools. Every dog deserves a dignified meal setup, and every pet owner deserves one that fits their lifestyle. Start small, learn as you go, and don’t underestimate the pride that comes from saying, “I made that.”


 浙公网安备
33010002000092号
浙公网安备
33010002000092号 浙B2-20120091-4
Comments
No comments yet. Why don't you start the discussion?