
Storage is one of the most persistent challenges in modern living spaces. Off-the-shelf wardrobes rarely fit perfectly into awkward corners or match personal organization needs. A better solution? Build your own custom clothes cabinet. With thoughtful planning and basic woodworking skills, you can create a functional, stylish storage unit that fits your space and lifestyle precisely. This guide walks you through every stage—from design to final assembly—with real-world advice, proven techniques, and expert-backed insights.
Why Build Your Own Clothes Cabinet?
Prefabricated cabinets often come with limitations: fixed dimensions, generic layouts, and materials that don’t stand the test of time. A custom-built wardrobe allows you to:
- Maximize vertical and horizontal space in oddly shaped rooms
- Customize compartments for shoes, folded items, accessories, and seasonal clothing
- Select sustainable, durable materials like solid wood or plywood over particle board
- Incorporate lighting, mirrors, or ventilation systems directly into the design
- Save money compared to high-end retail units with similar quality
“Custom cabinetry isn’t just about aesthetics—it’s about creating systems that support your daily routine.” — Daniel Reeves, Interior Designer & Sustainable Furniture Maker
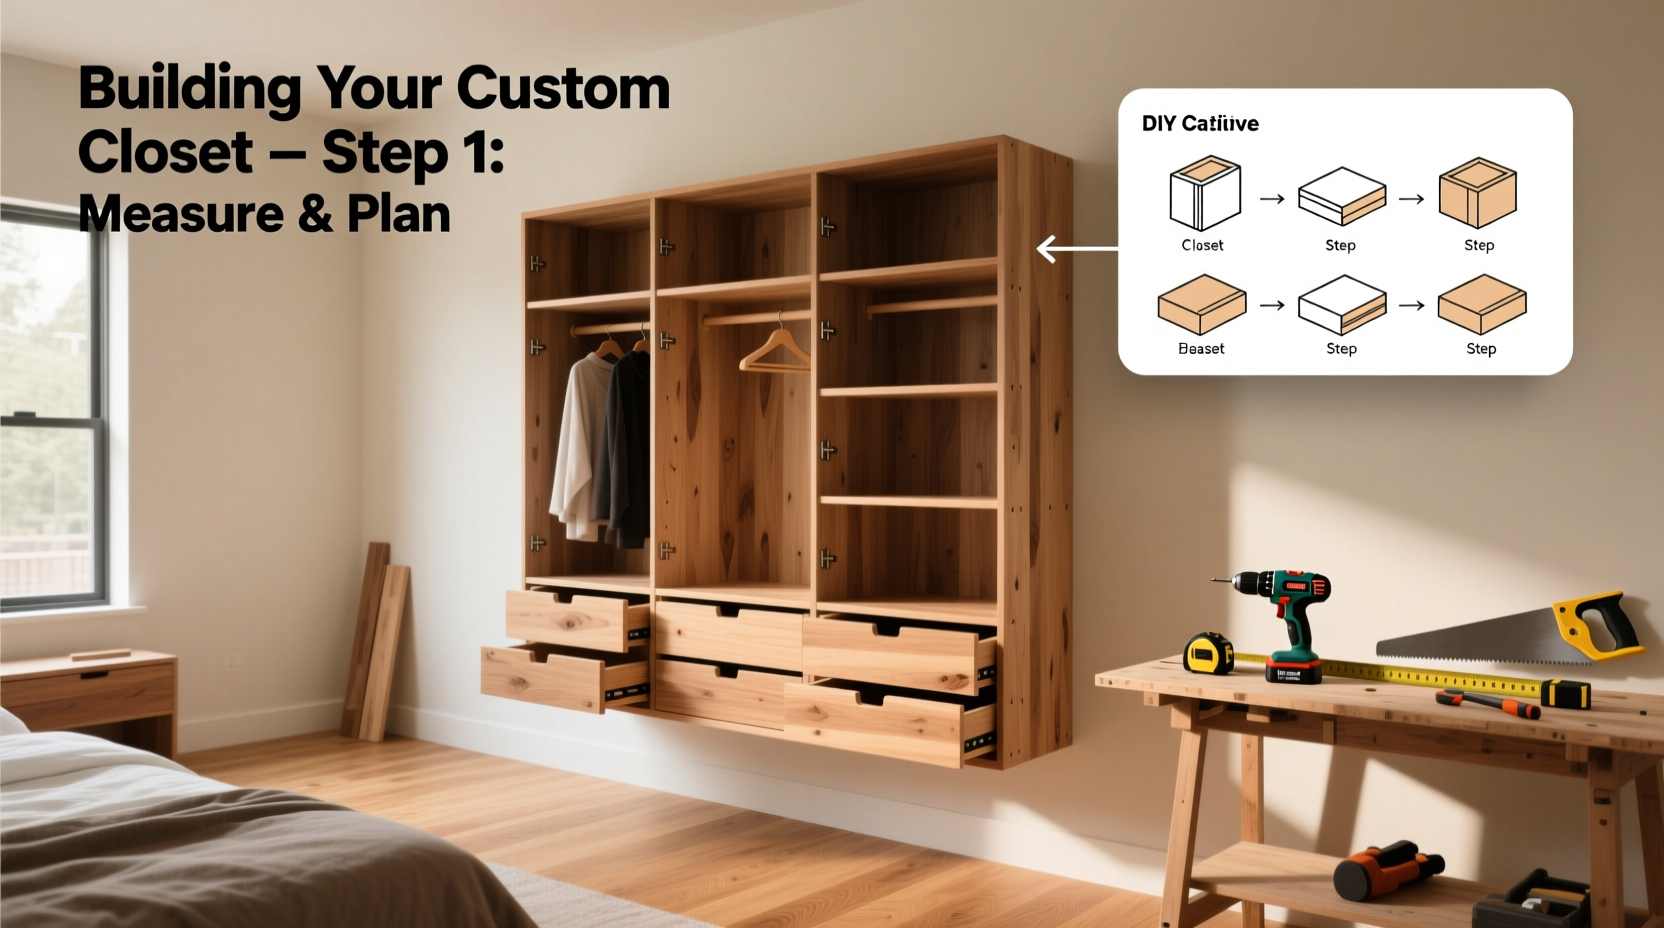
Step-by-Step Guide to Building Your Cabinet
Follow this structured process to build a sturdy, long-lasting clothes cabinet tailored to your room and storage needs.
- Measure Your Space: Record width, height, and depth of the intended location. Account for baseboards, ceiling moldings, and door swing clearance.
- Determine Storage Needs: List what you’ll store—hanging clothes, folded sweaters, shoes, belts—and allocate space accordingly.
- Create a Sketch or Digital Plan: Use graph paper or free tools like SketchUp Free to draft side and front views with internal divisions.
- Select Materials: Choose between plywood (cost-effective, stable), MDF (smooth finish, heavy), or solid wood (premium, durable).
- Cut Panels to Size: Use a circular saw or table saw with clamped guides for straight cuts. Label each piece (left side, top, shelf, etc.).
- Assemble the Frame: Begin with the base and sides. Use pocket screws or dado joints for strength. Check for squareness with a carpenter’s square.
- Install Shelves and Hanging Rods: Secure adjustable shelf pins or fixed supports. Mount rods using flange brackets for weight distribution.
- Add Doors or Curtains: Sliding barn doors save floor space; bifold doors work well in tight areas. Alternatively, use fabric curtains for a soft look.
- Sand and Finish: Sand all surfaces progressively from 120 to 220 grit. Apply paint, stain, or clear sealant based on desired appearance and durability.
- Final Touches: Install drawer pulls, hooks, interior lighting (LED tape strips), or anti-tip hardware if freestanding.
Material Comparison: Choosing What’s Right for You
Not all materials are equal when it comes to strength, cost, and ease of use. Here's a breakdown to help you decide:
| Material | Pros | Cons | Best For |
|---|---|---|---|
| Plywood (Birch or Oak) | Strong, resists warping, takes finishes well | Moderate cost, edge requires veneer or trim | Framed cabinets, visible interiors |
| MDF (Medium-Density Fiberboard) | Smooth surface, easy to paint, affordable | Heavy, swells if wet, poor screw-holding over time | Paint-grade units, flat-panel doors |
| Particle Board | Low cost, widely available | Weak joints, degrades with moisture | Budget builds with melamine coating |
| Solid Pine or Poplar | Natural beauty, repairable, excellent joinery | Expensive, may warp if not acclimated | Heirloom-quality furniture, exposed grain |
A Real Example: Transforming a Nook into a Closet Solution
When Maria moved into her 500-square-foot apartment, she struggled with limited closet space. The bedroom had a 3-foot-wide recessed nook behind the door—too narrow for standard furniture but ideal for a slim cabinet.
She designed a 36” wide x 80” tall x 16” deep unit using birch plywood. Inside, she installed two hanging sections (one short for shirts, one full-length for coats), three adjustable shelves, and a pull-out shoe rack. She finished it with matte white paint and brushed nickel hardware.
The total cost was $280 in materials and two weekends of work. “It looks like it was built into the house,” she said. “Now I actually enjoy organizing my clothes because everything has its place.”
Design Checklist: Before You Start Building
Use this checklist to ensure your project stays on track and meets both functional and aesthetic goals:
- ☐ Measured wall space including ceiling height and floor unevenness
- ☐ Listed all clothing categories and their storage requirements
- ☐ Chosen primary material and finish type (paint, stain, laminate)
- ☐ Designed internal layout with minimum 12” depth for hanging clothes
- ☐ Planned for accessibility (clearance in front, reachable shelves)
- ☐ Selected door style and hardware (barn door track, hinges, knobs)
- ☐ Scheduled workspace with adequate lighting and ventilation
- ☐ Acquired essential tools: drill, level, square, clamps, saw
- ☐ Checked local building codes if attaching to walls or modifying structure
- ☐ Included finishing supplies: sandpaper, primer, protective topcoat
Common Mistakes and How to Avoid Them
Even experienced DIYers make errors. These pitfalls can compromise stability, usability, or appearance:
- Skipping the plan: Jumping straight to cutting leads to mismatched parts. Always sketch first.
- Ignoring plumb and level: A leaning cabinet causes doors to bind. Use a bubble level during assembly.
- Overloading shelves: Thin shelves sag under heavy sweaters. Reinforce with center supports or thicker material.
- Forgetting back panel alignment: The back stabilizes the box. Attach it after ensuring the frame is square.
- Poor lighting integration: Dark interiors make finding items difficult. Add battery-powered LED puck lights or motion-sensor strips.
“The difference between a good cabinet and a great one is attention to detail—especially how the pieces align and function together.” — Lena Torres, Cabinetmaker & Workshop Instructor
Frequently Asked Questions
Can I build a clothes cabinet without power tools?
Yes, but it will take significantly longer. Hand saws, chisels, and hand drills can work, especially for small units. Focus on simple joinery like butt joints reinforced with glue and nails. Just expect less precision and more physical effort.
How do I prevent clothes from getting musty in a custom cabinet?
Ensure airflow by leaving small gaps between the cabinet and walls. Use breathable fabric bins instead of plastic. Consider adding a charcoal moisture absorber or a small vent near the base. Avoid sealing the back completely unless using a vapor barrier in damp climates.
What’s the ideal height for a hanging rod?
For shirts and jackets, place the rod at 70–72 inches from the floor. For full-length dresses or coats, allow 80–84 inches of clearance below the rod. Double hang requires two rods spaced 40–44 inches apart vertically.
Conclusion: Take Control of Your Space
Building your own clothes cabinet is more than a home improvement task—it’s an investment in smarter living. You gain control over size, layout, materials, and aesthetics, all while solving real storage problems. Whether you’re working with a cramped studio or a spacious bedroom, a well-crafted cabinet enhances both function and form.


 浙公网安备
33010002000092号
浙公网安备
33010002000092号 浙B2-20120091-4
Comments
No comments yet. Why don't you start the discussion?