
For dogs with mobility issues due to injury, arthritis, or conditions like degenerative myelopathy, a wheelchair can dramatically improve quality of life. While commercial models are available, they often come with high price tags and may not perfectly fit every dog’s unique proportions. Building a custom doggie wheelchair at home offers an affordable, personalized alternative. With careful planning and the right materials, pet owners can create a functional, safe support device that allows their dog to walk, run, and play again.
Understanding Your Dog’s Needs
Before starting construction, assess your dog’s physical condition. Is the issue limited to the hind legs? Are the front limbs strong and stable? Most DIY dog wheelchairs are designed for rear-limb support, allowing the dog to use its front legs for propulsion while the back end is lifted and stabilized by wheels.
Consulting a veterinarian is essential before beginning any build. They can confirm whether a wheelchair is appropriate and help determine weight distribution, ideal height, and expected usage duration. Dogs recovering from surgery may only need temporary assistance, while those with chronic conditions may rely on the device long-term.
“Mobility aids like wheelchairs can prevent muscle atrophy and maintain joint health in paralyzed or weakened dogs.” — Dr. Rebecca Langford, Veterinary Rehabilitation Specialist
Materials and Tools You’ll Need
A successful DIY dog wheelchair balances durability, adjustability, and comfort. The frame must support your dog’s weight without bending, while padding prevents chafing and pressure sores. Below is a list of recommended components:
- Frame material: Lightweight aluminum tubing (¼” to ½” diameter) or PVC pipes (for smaller dogs)
- Wheels: Two inline skate wheels or small caster wheels (4–6 inches in diameter)
- Connectors: Plastic or metal joints, hose clamps, zip ties, or brackets
- Padding: Closed-cell foam, neoprene, or yoga mat strips for harness contact points
- Fasteners: Bolts, nuts, screws, or heavy-duty Velcro for adjustable straps
- Tools: Hacksaw, drill, measuring tape, sandpaper, wrench set
Aluminum is preferred for medium to large dogs due to its strength-to-weight ratio. PVC works well for toy breeds under 15 pounds but may warp under heavier loads.
Material Comparison Table
| Material | Best For | Pros | Cons |
|---|---|---|---|
| Aluminum Tubing | Dogs 15–80 lbs | Lightweight, strong, rust-resistant | Slightly more expensive, requires metal tools |
| PVC Pipe | Dogs under 15 lbs | Inexpensive, easy to cut and assemble | Not durable for larger dogs, can crack over time |
| Wood | Prototype builds only | Easy to shape | Heavy, absorbs moisture, not recommended for final use |
Step-by-Step Construction Guide
Follow this sequence to build a basic rear-support wheelchair. This design uses aluminum tubing and inline skate wheels, suitable for dogs up to 70 pounds.
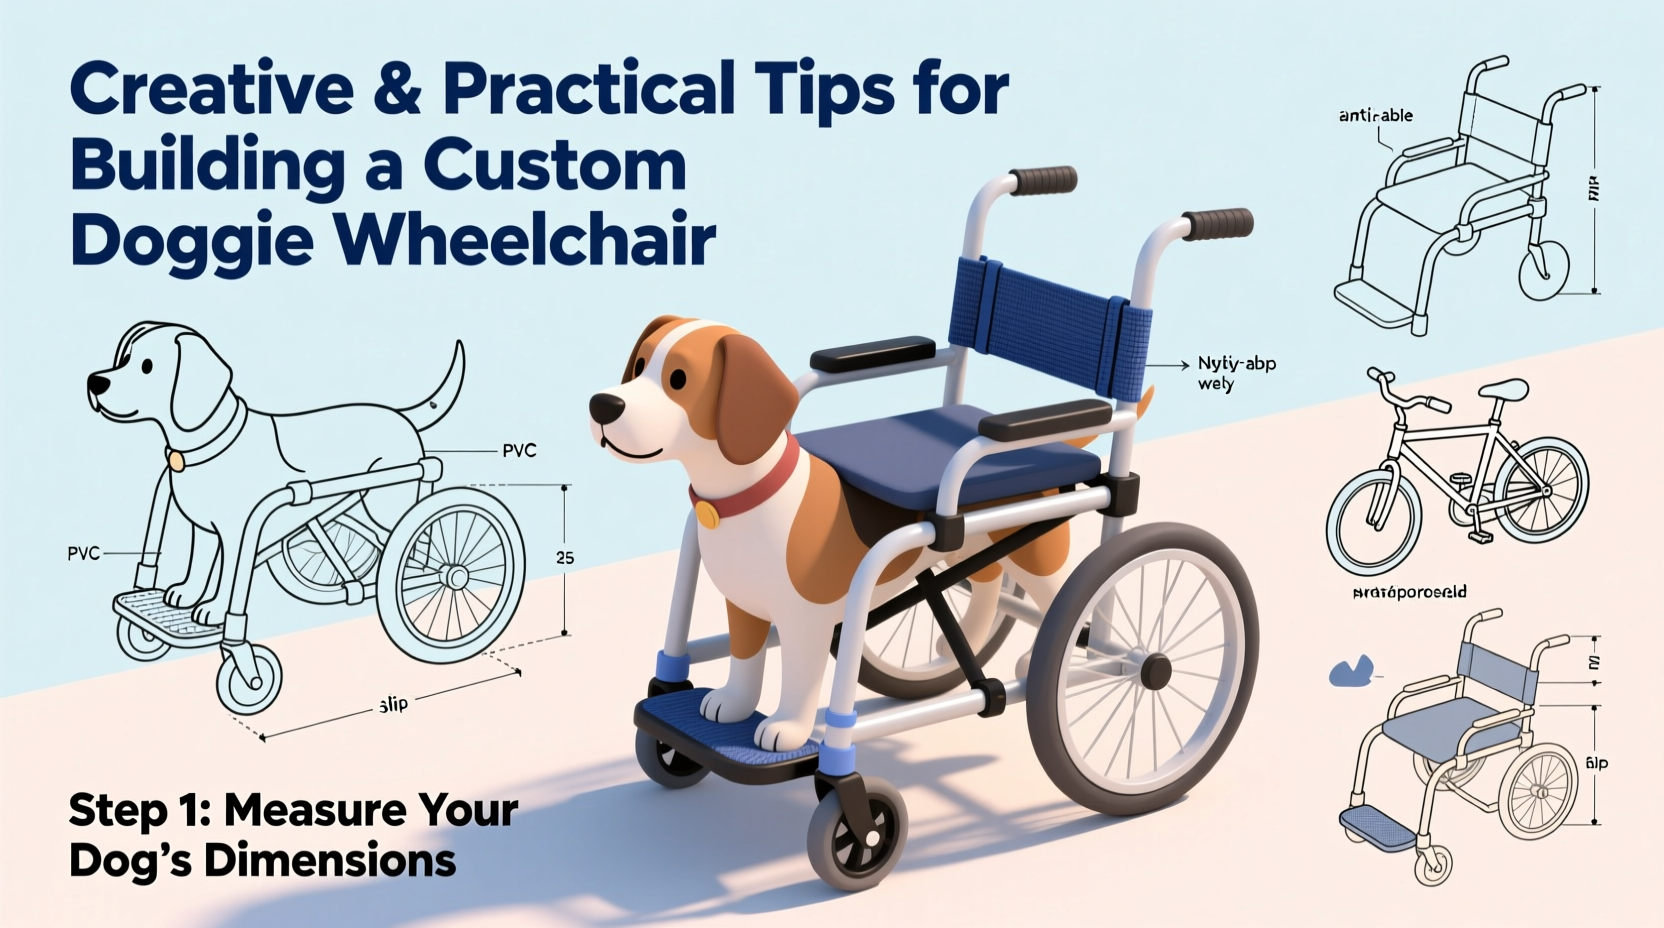
- Measure your dog: Mark the hip height from the ground, the width between hips, and the chest circumference.
- Cut the main frame: Use aluminum tubing to create a U-shaped rear cradle that fits under the dog’s hindquarters. The base should be wide enough to allow natural leg movement.
- Attach vertical supports: Connect two upright tubes to the ends of the U-frame using elbow joints. These will extend upward along the sides of the dog.
- Add crossbar and harness mounts: Install a horizontal bar connecting the uprights behind the dog’s ribcage. Attach padded straps here to secure the frame.
- Mount the wheels: Fix inline skate axles through holes drilled near the rear ends of the U-frame. Ensure wheels rotate freely and sit directly under the hip line.
- Test and adjust: Let your dog stand in the frame (without full weight at first). Check alignment: the hips should be level, and the dog should walk without tipping.
- Add padding: Line all contact points with foam and fabric covers. Secure with Velcro or stitching for washability.
Real-Life Example: Max the Dachshund
Max, a 12-year-old dachshund, developed intervertebral disc disease and lost function in his hind legs. His owner, Sarah, researched options and found commercial wheelchairs cost over $300. Instead, she built a lightweight version using aluminum irrigation tubing and inline skate wheels from a thrifted pair of skates.
After measuring Max and sketching a simple frame, she assembled the unit in one weekend. She added memory foam padding around the chest strap and used adjustable nylon belts for a secure fit. Within days, Max was walking confidently in the backyard. “It gave him his independence back,” Sarah said. “And it cost less than $60 in materials.”
Safety and Fit Checklist
Before regular use, verify the following:
- ✅ Wheels are aligned and spin smoothly
- ✅ Frame does not rub against elbows or hips
- ✅ Dog can stand and pivot without tipping
- ✅ Harness straps are snug but allow two fingers underneath
- ✅ All bolts and connectors are tight and secured
- ✅ No sharp edges or pinch points exist
- ✅ Dog shows no signs of stress or discomfort during short test walks
Begin with 5–10 minute sessions on soft grass or carpet. Gradually increase duration as your dog gains confidence. Monitor skin for redness or irritation after each use.
Frequently Asked Questions
Can I use a dog wheelchair indoors?
Yes, but ensure there’s enough clearance for turning. Avoid slippery floors like tile or hardwood unless covered with rugs. Supervise indoor use to prevent collisions with furniture.
How long does a homemade wheelchair last?
With proper maintenance, a well-built aluminum model can last 1–3 years. Inspect joints and fasteners monthly. Replace worn padding or bent parts immediately.
Will my dog accept the wheelchair?
Most dogs adapt within a few sessions. Introduce it gradually—let them sniff and explore it first. Offer treats and praise during fitting. Never force your dog into the device.
Final Thoughts and Next Steps
Building a custom doggie wheelchair at home is a rewarding project that combines ingenuity with compassion. It’s not just about saving money—it’s about creating something uniquely suited to your dog’s body and personality. When done correctly, a DIY wheelchair can restore mobility, boost morale, and extend active years.
Start with accurate measurements, choose durable materials, and prioritize comfort and safety throughout the build. Test frequently, make adjustments, and consult your vet if you’re unsure about fit or function. Many online communities and forums offer free plans and troubleshooting advice—don’t hesitate to reach out.


 浙公网安备
33010002000092号
浙公网安备
33010002000092号 浙B2-20120091-4
Comments
No comments yet. Why don't you start the discussion?