
A square puff—whether it’s a handbag, decorative pillow, or structured tote—is defined by its clean lines and balanced volume. Over time, however, these items often lose their shape due to improper storage, inconsistent use, or inadequate internal support. Maintaining that crisp, full appearance isn’t just about aesthetics; it extends the lifespan of your favorite pieces. The key lies in how you fill and support them. With the right materials and mindful habits, you can preserve their structure effortlessly at home.
Why Proper Filling Matters
Square-shaped accessories and textiles are designed to hold a specific form. When left empty or stuffed haphazardly, they develop creases, slouching corners, and uneven wear. This is especially true for leather bags, which are prone to collapsing when not supported. A well-filled square puff retains its silhouette, prevents stress on seams, and protects delicate fabrics from dust and moisture.
Beyond preservation, correct filling enhances functionality. A bag that keeps its shape is easier to organize and access. A cushion that stays plump offers better comfort and visual appeal. The goal isn't just to stuff—it's to support intelligently.
“Proper internal support does more than maintain shape—it reduces long-term strain on stitching and lining, which are often the first points of failure.” — Lena Torres, Textile Conservation Specialist
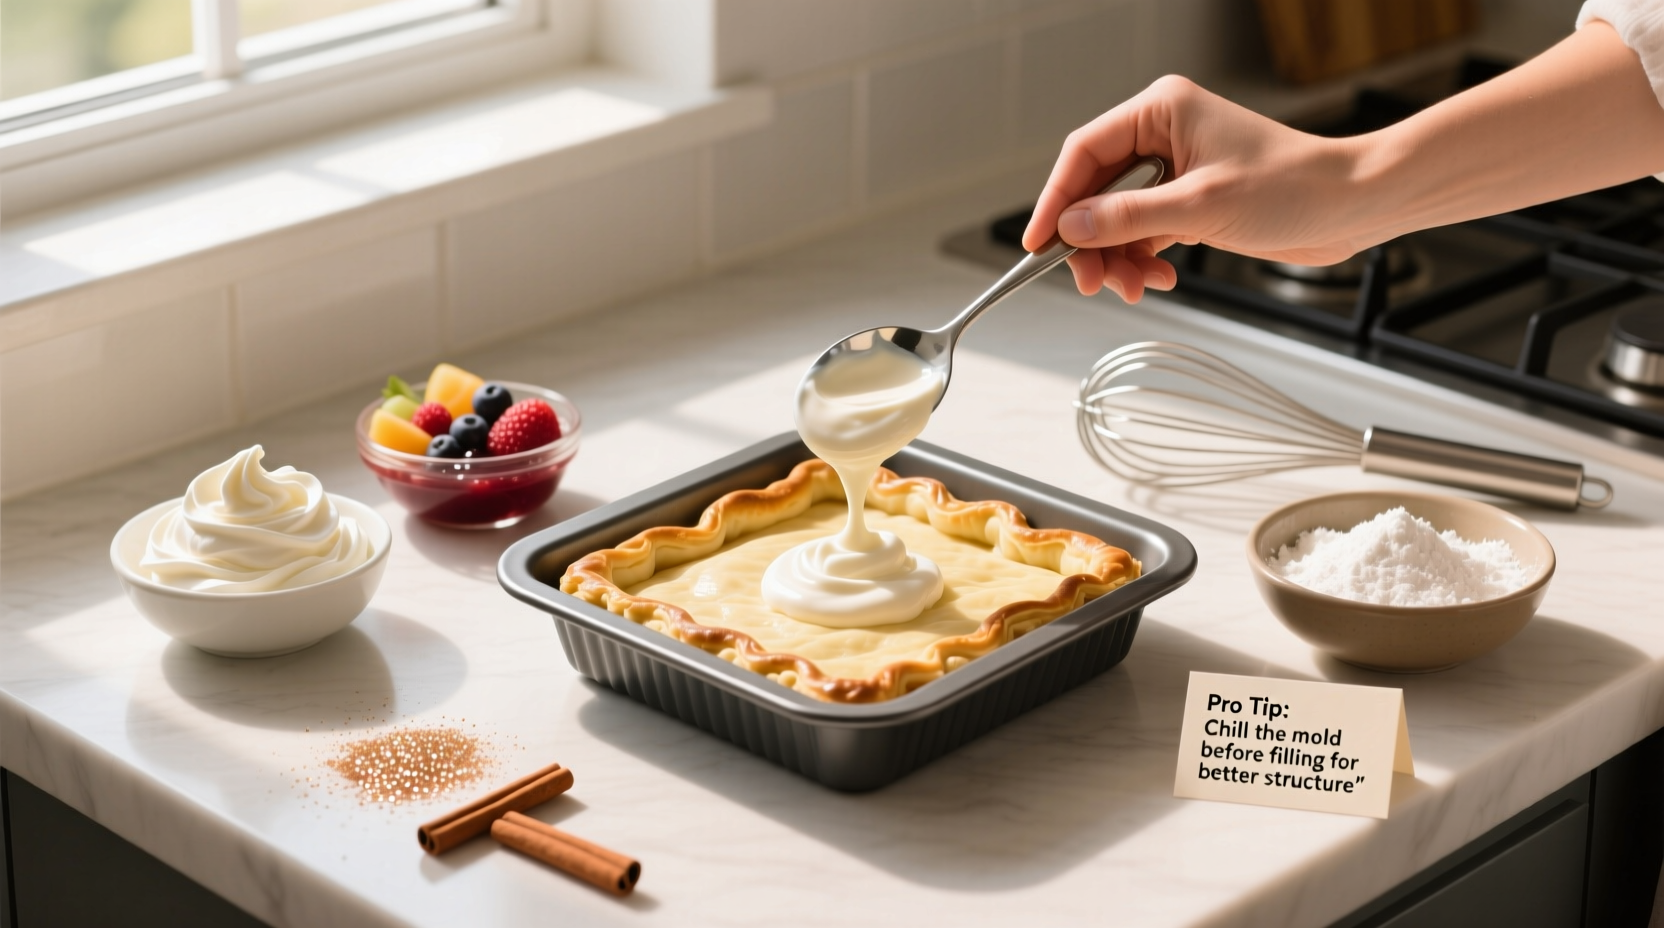
Step-by-Step: How to Fill a Square Puff Correctly
Filling a square puff properly involves selecting the right filler, preparing the item, and inserting the material evenly. Follow this timeline for consistent results:
- Empty and Clean: Remove all contents. Wipe down the interior with a dry microfiber cloth. For fabric items, spot-clean stains gently.
- Assess Shape Distortion: Place the item on a flat surface. Note any sagging sides or collapsed corners.
- Choose Your Filler: Select a lightweight, moldable material (see table below).
- Prepare the Filler: Cut or bundle into manageable portions that match the puff’s internal dimensions.
- Insert Gradually: Begin from the base, working upward. Distribute filler evenly across all four corners and along edges.
- Check Symmetry: Close or position the item upright. Adjust filler if one side appears fuller than another.
- Final Touch: Smooth the exterior with your palms to ensure even tension.
Best Filling Materials Compared
Not all stuffing is created equal. The ideal filler supports structure without adding weight or causing damage. Below is a comparison of common household and specialty options:
| Material | Pros | Cons | Best For |
|---|---|---|---|
| Cloth Scraps (cotton, linen) | Reusable, breathable, soft | May compress over time | Light-duty bags, decorative pillows |
| Tissue Paper (acid-free) | Maintains sharp corners, widely available | Less durable, not reusable | Leather handbags, short-term storage |
| Polystyrene Beads | Retains shape, flexible | Can shift inside, not eco-friendly | Seat cushions, floor poufs |
| Inflatable Inserts (custom air pillows) | Adjustable firmness, compact storage | Higher cost, risk of puncture | Premium bags, travel use |
| Memory Foam Off-Cuts | Durable, resilient, conforms slightly | Heavier, may retain moisture | Structured totes, upholstery |
Real Example: Reviving a Slumping Leather Tote
Maria, a freelance designer in Portland, inherited her grandmother’s vintage square leather tote. Though beautiful, it had lost its shape after years in a closet. The base was concave, and the sides folded inward. She avoided using it, fearing further damage.
She began by cleaning the interior with a pH-balanced wipe. Then, she cut acid-free tissue paper into 3x3 inch squares and layered them in the base, building up a foundation. Next, she rolled small bundles of organic cotton cloth and placed one in each corner. Finally, she loosely filled the center with additional tissue to maintain vertical lift without stressing the handles.
Within days, the tote regained its posture. Maria now rotates the filler monthly and stores it upright in a breathable cotton bag. The tote has become her go-to work companion—functional, elegant, and structurally sound.
Smart Habits for Long-Term Maintenance
Perfect filling isn’t a one-time fix. It requires routine attention. Incorporate these practices to keep your square puffs looking pristine:
- Rotate filler every 4–6 weeks to prevent compression patterns.
- Allow fabric items to “breathe” for an hour weekly—remove filler and air out.
- Use inserts during off-seasons to protect stored items.
- For bags, remove filler only when actively using—replace immediately after.
- Keep away from radiators and humid basements; heat and moisture degrade both filler and fabric.
Do’s and Don’ts of Filling Square Puffs
| Do | Don’t |
|---|---|
| Use breathable, non-abrasive materials | Use newspaper (ink can transfer) |
| Distribute weight evenly | Overstuff to the point of bulging |
| Replace degraded filler promptly | Leave items empty for months |
| Store upright or as intended | Stack heavy objects on top |
| Inspect for mold or pests quarterly | Use plastic bags for long-term storage |
Frequently Asked Questions
Can I use old clothes to fill my square puff?
Yes, provided they’re clean, dry, and made of natural fibers like cotton or linen. Avoid synthetic blends that trap moisture. Cut garments into uniform strips and roll tightly for better support.
How do I know if I’ve filled it enough?
The puff should feel firm but yield slightly under gentle pressure. Corners should be defined, not rounded. When placed on a flat surface, it should stand upright without leaning.
Is it safe to wash a filled puff?
No. Always remove all filler before cleaning. Water exposure can cause clumping, mildew, or shrinkage in stuffing materials, and trapped moisture damages interiors.
Conclusion: Shape Starts from Within
The elegance of a square puff lies in its geometry—crisp edges, balanced volume, and intentional design. But without thoughtful care, even the finest pieces succumb to sagging and wear. By choosing the right filler, following a disciplined routine, and treating each item with structural respect, you preserve not just appearance but longevity.
Start today: take one square puff from your shelf, assess its shape, and refill it with purpose. Whether it’s a weekend bag or a living room accent, the difference will be immediate. These small acts of maintenance compound into lasting value.


 浙公网安备
33010002000092号
浙公网安备
33010002000092号 浙B2-20120091-4
Comments
No comments yet. Why don't you start the discussion?