
A cluttered vanity or crowded bathroom drawer makes finding your favorite lipstick or eyeliner feel like a treasure hunt—without the reward. As makeup collections grow, so does the need for smart, accessible storage. A desktop organizer isn’t just a convenience; it’s a functional centerpiece that transforms your routine into a seamless experience. When used creatively and thoughtfully, it can elevate both your space and your habits. The key lies not just in owning an organizer, but in using it with intention.
Assess Your Collection and Usage Habits
Before placing a single product in a compartment, take inventory of what you own and how often you use each item. Frequent-use products—like foundation, mascara, or lip balm—should be front and center. Rarely used items, such as bold color palettes or seasonal glitters, belong in secondary zones or deeper drawers. This tiered approach prevents overcrowding and keeps essentials within reach.
Consider categorizing by function: skincare, base makeup, eye products, lips, tools, and accessories. This method reduces decision fatigue and speeds up application time. For example, grouping all eye-related items together means you won’t waste time hunting for tweezers while holding a half-applied lash.
Choose the Right Organizer for Your Space and Style
Not all organizers are created equal. Materials matter: acrylic offers clarity and durability, wood adds warmth and elegance, and metal provides industrial flair with weighty stability. Size should match your available surface area—oversized units may dominate small vanities, while compact trays get lost on large desks.
Look for modular designs with adjustable dividers or stackable tiers. These allow customization as your collection evolves. Rotating carousels are excellent for lipsticks or small bottles, while shallow trays prevent tall items from tipping over.
“An effective organizer doesn’t just hold products—it reflects how you use them.” — Lena Torres, Interior Stylist & Beauty Space Consultant
Maximize Every Compartment with Creative Solutions
Most people underutilize their organizers by treating compartments as generic bins. With a few tweaks, each section can serve a specialized purpose:
- Use small jars inside larger slots to corral tiny items like bobby pins, lash glue, or sample vials.
- Repurpose pill organizers for travel-sized powders, glitter pots, or nail art tools.
- Insert silicone cupcake liners into round sections to cushion delicate compacts and absorb moisture.
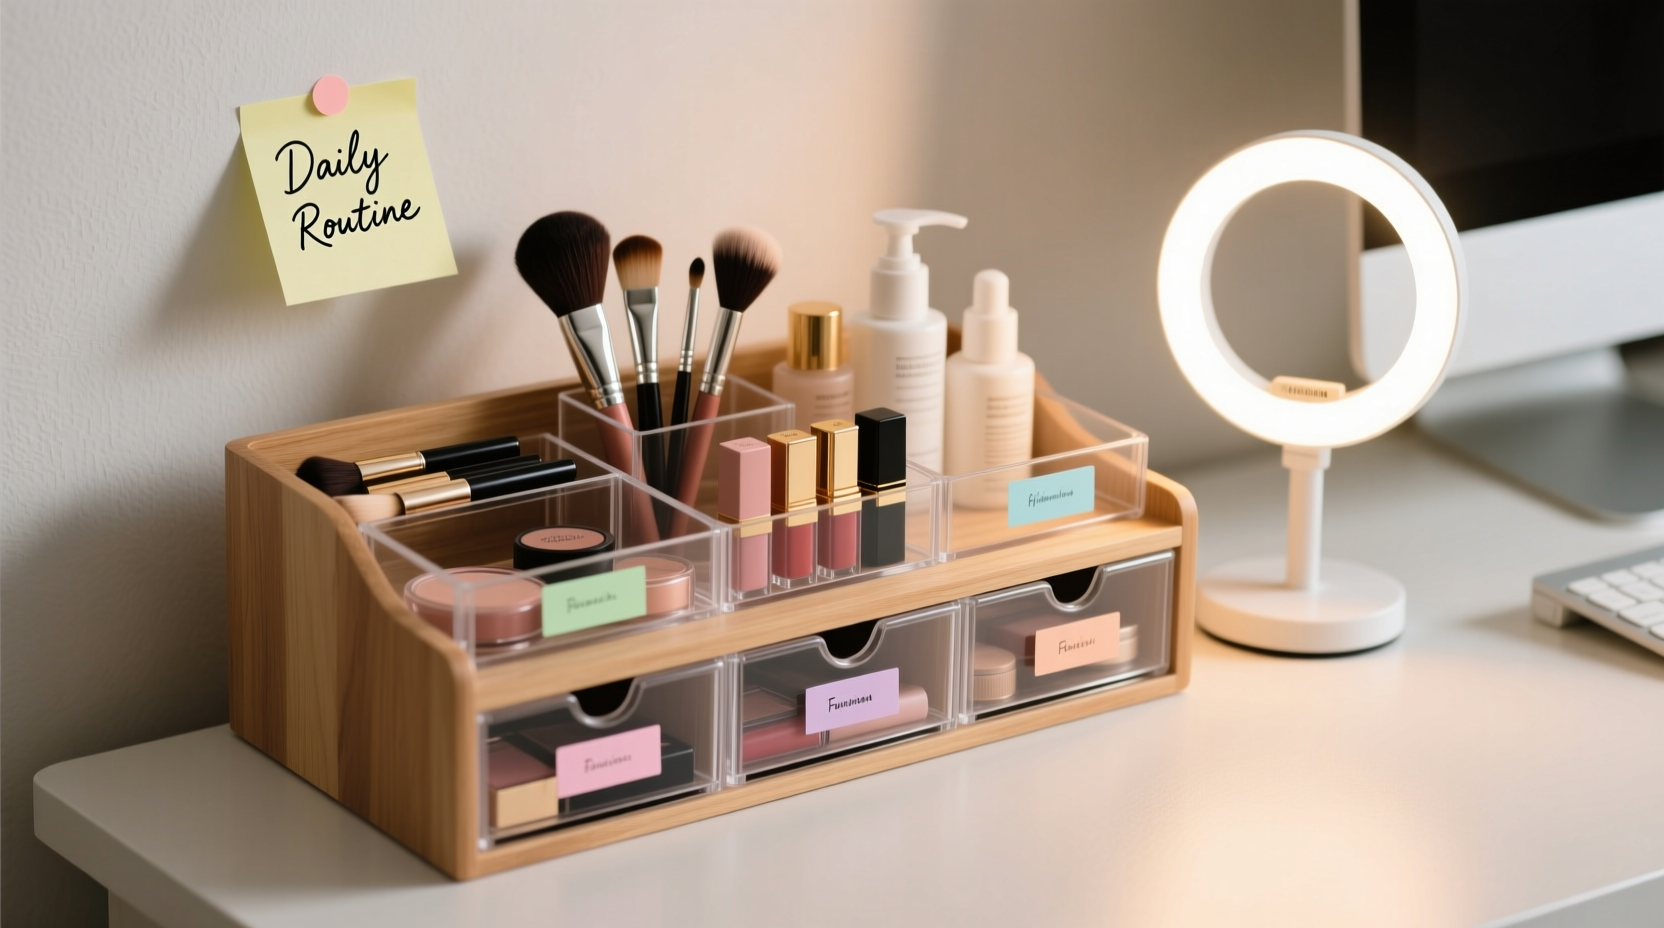
- Label sections with removable stickers or chalkboard tags for easy identification, especially helpful in shared spaces.
For vertical space, consider adhesive-backed hooks on the side of the organizer to hang hair ties or thin brushes. Magnetic strips (mounted nearby) can hold metal-ended tools like tweezers or trimmers.
| Product Type | Ideal Slot Size | Creative Storage Hack |
|---|---|---|
| Lipsticks & Pencils | Narrow, vertical | Store upside down to prevent air exposure and drying |
| Foundation Bottles | Deep, wide | Place on a non-slip mat to avoid sliding |
| Eyeshadow Palettes | Flat, broad | Stack diagonally with spacers to see labels easily |
| Makeup Brushes | Open-top cylinder | Line with a repurposed coffee mug or PVC pipe cut to size |
| Skincare Serums | Medium, narrow | Group by AM/PM use with color-coded tags |
Step-by-Step Guide: Organizing Your Desktop Unit in 20 Minutes
- Empty everything onto a clean towel. Wipe down the organizer with a microfiber cloth.
- Sort items into categories: face, eyes, lips, tools, skincare, extras.
- Discard expired or dried-out products—mascara past 3 months, liquid foundation after 6–12 months.
- Select primary zones based on frequency of use. Place daily essentials at eye level.
- Assign compartments using dividers or containers. Prioritize upright storage for liquids.
- Add labels if needed, then place back only what fits comfortably—no cramming.
- Wipe surfaces again and position the organizer in natural light, away from direct sun or humidity.
Maintain Order with a Weekly Reset Routine
Even the best system fails without maintenance. Set a 10-minute window each Sunday to reset your organizer. Remove stray items, wipe spills, and realign products. This habit prevents buildup and helps you spot when supplies are running low.
To encourage consistency, pair this task with another weekly ritual—like meal planning or laundry folding. Over time, this micro-cleanup becomes second nature.
Mini Case Study: From Cluttered Counter to Calm Routine
Sophia, a graphic designer and makeup enthusiast, struggled with a chaotic bathroom counter. Her acrylic organizer was crammed with overlapping palettes, leaning bottles, and buried brushes. After reading about intentional placement, she restructured her unit using the category-based method. She added small glass jars for cotton swabs and used a vintage teacup to hold her most-used brushes. By limiting visible products to only those used weekly, she reduced visual noise and saved time each morning. “I now spend less time searching and more time feeling put together,” she said. “It’s a small change with a big emotional payoff.”
Frequently Asked Questions
How do I prevent my organizer from looking messy within days?
The key is discipline and design. Choose an organizer with enough dedicated spaces so nothing has to “just go in there.” Enforce a one-in, one-out rule: when you buy a new product, retire an old one. Also, avoid overfilling—leave breathing room between items for ease of access and visual calm.
Can I use kitchenware for cosmetic storage?
Yes, with caution. Small ceramic bowls, shot glasses, or spice racks can double as chic, low-cost organizers. However, ensure they’re cleaned thoroughly before use and kept separate from food areas to maintain hygiene. Avoid porous materials like unglazed pottery, which can harbor bacteria.
What’s the best way to store brushes in a desktop unit?
Store brushes handle-up in sturdy containers to protect bristles and allow airflow. Avoid sealing them in closed boxes where moisture can accumulate and cause mold. Clean them every 1–2 weeks and let them dry flat before returning to the organizer.
Final Checklist: Optimize Your Cosmetic Organizer
- ✔️ Empty and clean the organizer monthly
- ✔️ Group products by type and frequency of use
- ✔️ Use inner containers for small items
- ✔️ Label sections for quick identification
- ✔️ Store upright to prevent leaks and damage
- ✔️ Keep away from sinks, showers, and windows
- ✔️ Perform a weekly reset to maintain order
Conclusion: Turn Function into Daily Joy
Storing cosmetics in a desktop organizer is more than a tidying task—it’s an act of self-respect. When your tools are visible, accessible, and beautifully arranged, getting ready feels less like a chore and more like a ritual. The right setup supports efficiency, preserves product integrity, and brings a sense of calm to your space. Whether you have five products or fifty, thoughtful organization multiplies the pleasure of your routine.


 浙公网安备
33010002000092号
浙公网安备
33010002000092号 浙B2-20120091-4
Comments
No comments yet. Why don't you start the discussion?