
Creating a custom box at home is more than just a craft project—it’s an opportunity to combine functionality with personal expression. Whether you need a unique gift container, a stylish storage solution, or a decorative accent for your space, handmade boxes offer versatility and charm that store-bought alternatives often lack. With minimal tools and accessible materials, you can design something both beautiful and useful. From folded paper constructions to sturdy wood builds, the possibilities are limited only by imagination.
Choosing the Right Materials for Your Project
The foundation of any successful box-making endeavor lies in selecting appropriate materials. The choice affects durability, appearance, and ease of construction. Common options include cardboard, chipboard, wood, fabric-covered board, and even recycled packaging.
Cardboard is ideal for beginners—lightweight, easy to cut, and widely available. For sturdier designs, such as keepsake boxes or display cases, consider using basswood or plywood. If aesthetics are a priority, bookbinding board wrapped in linen or decorative paper adds a refined touch.
| Material | Best For | Tools Needed | Difficulty Level |
|---|---|---|---|
| Corrugated Cardboard | Gift boxes, prototypes | Box cutter, ruler, glue | Beginner |
| Chipboard (Mat Board) | Photo boxes, jewelry containers | Craft knife, bone folder | Intermediate |
| Basswood or Plywood | Keepsake chests, furniture-style boxes | Saw, clamps, wood glue | Advanced |
| Folded Paper (Origami-style) | Small gift enclosures, decorations | None (hands only) | Beginner to Intermediate |
Step-by-Step Guide: Building a Decorative Cardboard Box
A well-crafted cardboard box can serve as elegant packaging or a long-term storage solution. Follow this process to create a hinged-lid box suitable for small gifts or trinkets.
- Measure and Cut Base Panels: Use a ruler and craft knife to cut two rectangles—one for the base and one slightly larger for the lid. A standard size is 6” x 4” for the base, with the lid 1/8” larger on each side.
- Create Side Walls: Cut four strips for the base walls (two at 6” length, two at 4”) and another set for the lid. Height depends on need—typically 1.5” to 2” works well.
- Assemble the Base: Glue the side walls to the base panel using white PVA glue. Clamp or weight down until dry (about 30 minutes).
- Build the Lid Frame: Repeat the assembly with the second base panel. Allow extra space so the lid fits smoothly over the base.
- Add Hinge (Optional): Attach a strip of fabric or ribbon along the back edge with glue to create a functional hinge.
- Decorate: Cover surfaces with wrapping paper, paint, fabric, or decoupage. Seal with mod podge for durability.
This method allows full customization in color, texture, and embellishment. Consider adding magnetic clasps, ribbons, or personalized labels for added refinement.
Incorporating Creative Design Elements
What sets a homemade box apart is the personal detail. Beyond basic construction, thoughtful design choices elevate it from utilitarian object to meaningful artifact.
- Themed Decorations: Match the box to an occasion—floral patterns for weddings, nautical motifs for travel journals, or geometric prints for modern gifting.
- Interior Lining: Use velvet, felt, or soft fabric glued neatly inside to protect delicate contents like jewelry or heirlooms.
- Custom Shapes: Experiment beyond rectangles. Heart-shaped boxes, hexagonal tins, or animal silhouettes add whimsy and surprise.
- Interactive Features: Include hidden compartments, sliding trays, or puzzle-latch mechanisms for engaging unboxing experiences.
“Handmade packaging doesn’t just carry a gift—it tells a story before it’s even opened.” — Lena Patel, Sustainable Packaging Designer
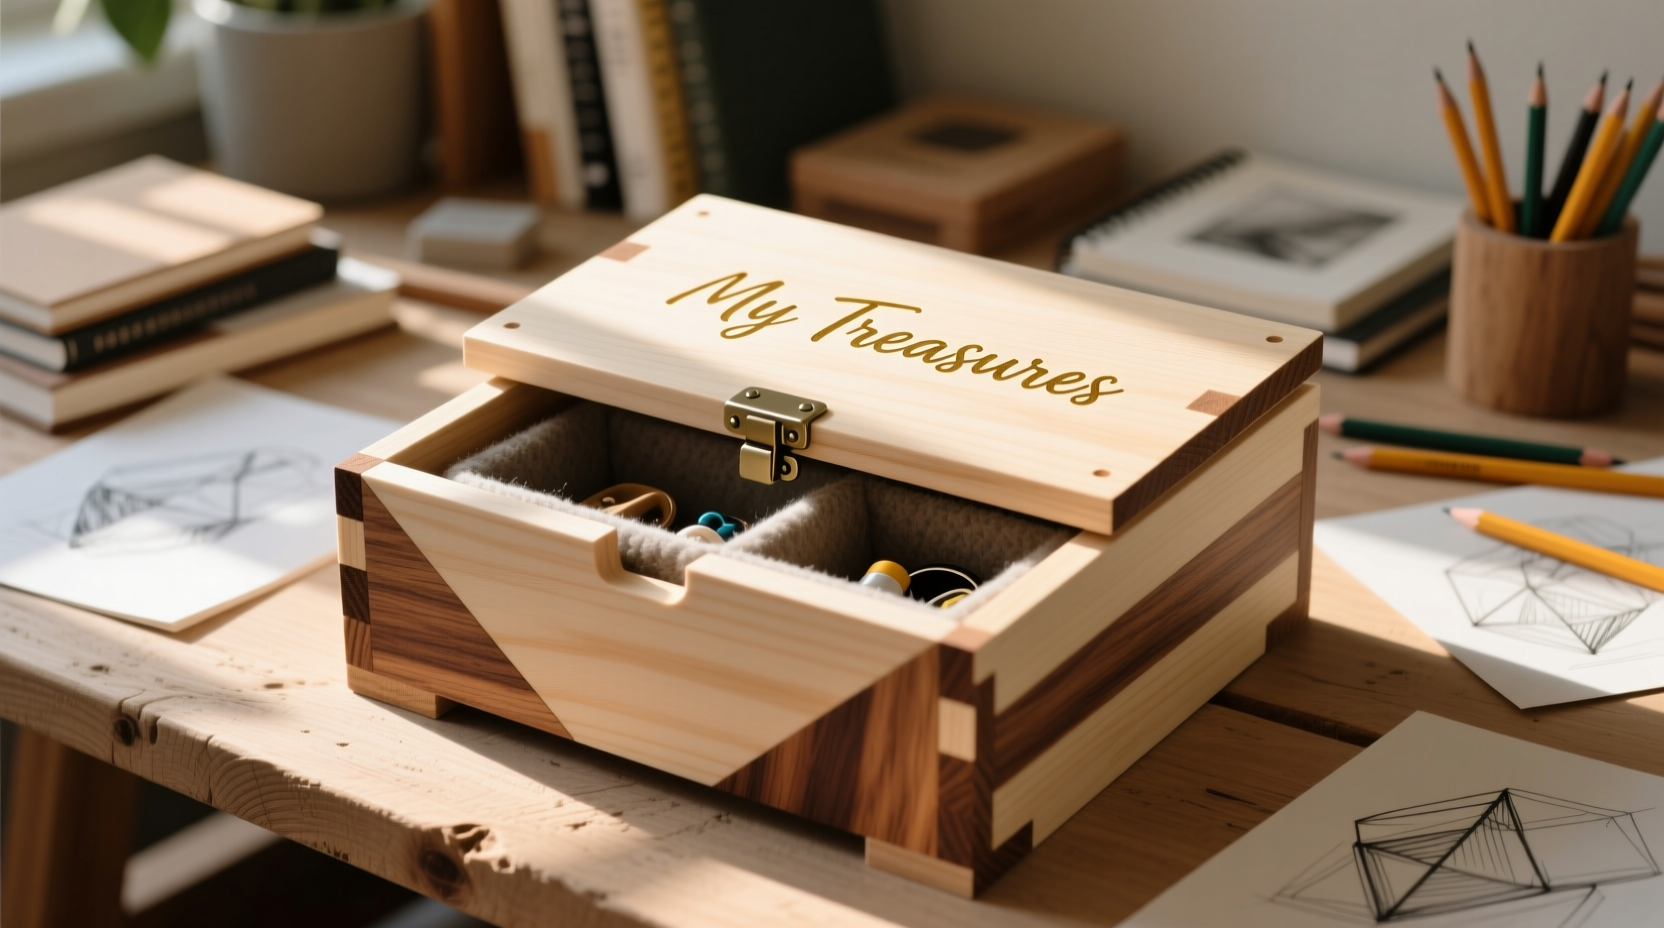
Real Example: A Memory Box for a Graduating Student
Sarah wanted to gift her niece a meaningful present after high school graduation. Instead of buying a generic frame, she created a custom memory box from repurposed drawer wood. She lined the interior with navy-blue felt, divided into sections labeled “Letters,” “Photos,” and “Mementos.” The top was painted with the school colors and engraved with the graduate’s initials using a wood-burning tool. Inside, she placed handwritten notes from family members, ticket stubs from senior events, and a small flashlight shaped like a diploma. The result wasn’t just a container—it became a cherished heirloom.
This example illustrates how combining structure, sentiment, and craftsmanship transforms a simple box into an emotional vessel.
Checklist: How to Make a Custom Box Successfully
- ☐ Define the box’s purpose (gift, storage, decoration)
- ☐ Choose material based on strength and aesthetic needs
- ☐ Gather tools: ruler, cutting surface, adhesive, decorating supplies
- ☐ Sketch a simple blueprint with dimensions
- ☐ Test fit components before final gluing
- ☐ Allow drying time between construction and decoration phases
- ☐ Seal finished product if exposed to handling or moisture
Frequently Asked Questions
Can I make a waterproof box at home?
Yes. Use marine-grade plywood sealed with epoxy resin or varnish for true water resistance. For cardboard versions, apply multiple coats of waterproof mod podge or attach a plastic liner inside. Avoid prolonged submersion regardless of treatment.
How do I prevent warping when gluing large panels?
Warping occurs when one side dries faster than the other. To prevent this, glue both sides evenly and clamp between flat boards with weights overnight. Alternatively, use spray adhesive for uniform application without moisture buildup.
What’s the easiest way to personalize a box?
Stickers, stamps, and masking tape offer quick customization. For a more permanent touch, try painting names, using iron-on transfers, or attaching laser-printed labels with clear sealant. Even handwriting with a metallic pen adds character.
Conclusion: Turn Simple Materials Into Meaningful Creations
Making a custom box at home blends practicality with creativity in a uniquely satisfying way. Whether you’re crafting a one-of-a-kind gift, organizing clutter, or preserving memories, each box becomes a reflection of care and intention. You don’t need expensive tools or advanced skills—just curiosity and attention to detail. Start small with cardboard, experiment with textures and closures, then gradually explore wood or mixed-media builds as confidence grows.


 浙公网安备
33010002000092号
浙公网安备
33010002000092号 浙B2-20120091-4
Comments
No comments yet. Why don't you start the discussion?