
Leather handbags are more than functional—they’re statements of personal style. As fashion evolves, many people seek ways to personalize their bags with charms, keychains, tassels, or seasonal embellishments. However, attaching accessories to leather requires care. Done incorrectly, it can lead to scratches, punctures, or structural weakening. The goal is to enhance your bag’s aesthetic while preserving its integrity. This guide explores innovative, safe, and stylish techniques for accessorizing leather handbags—methods trusted by stylists, artisans, and leather care experts.
Why Secure Attachment Matters
Leather is a durable yet sensitive material. Over time, stress on stitching or punctured areas can cause tears, especially in high-movement zones like handles or flaps. Accessories add weight and movement, increasing strain. A poorly attached charm might dangle from a rivet not designed to bear extra load, eventually pulling through the leather. Moreover, metal hardware can react with leather finishes, causing discoloration or oxidation stains.
The best attachment methods balance aesthetics, security, and material preservation. Whether you're adding a minimalist clip-on charm or a bold statement piece, understanding how force, friction, and design interact ensures your bag remains both beautiful and functional.
1. Magnetic Snap Attachments
Magnetic snaps offer a reversible, damage-free solution. These consist of two small magnetic discs—one adhered (or stitched) inside the bag’s strap or flap, the other integrated into the accessory. When brought together, they hold firmly but detach under moderate pull, preventing snagging.
High-strength neodymium magnets are ideal, as they provide strong hold with minimal bulk. For permanent integration, a leatherworker can stitch one side between layers during repair or customization. For DIY use, opt for self-adhesive magnetic pads designed for leather, which bond securely without solvents that degrade natural fibers.
Magnets work best for lightweight to medium accessories—charms, small badges, or seasonal ornaments. Avoid using them for heavy pendants or items prone to swinging, as repeated motion may weaken adhesive over time.
Step-by-Step: Installing a Magnetic Accessory
- Clean the attachment area with a dry microfiber cloth to remove oils and dust.
- Mark the precise spot where the magnet will sit, ensuring symmetry.
- Peel the backing from the adhesive magnet and press firmly for 30 seconds.
- Wait 24 hours before pairing with the accessory-side magnet to ensure full adhesion.
- Attach the accessory and test by gently tugging.
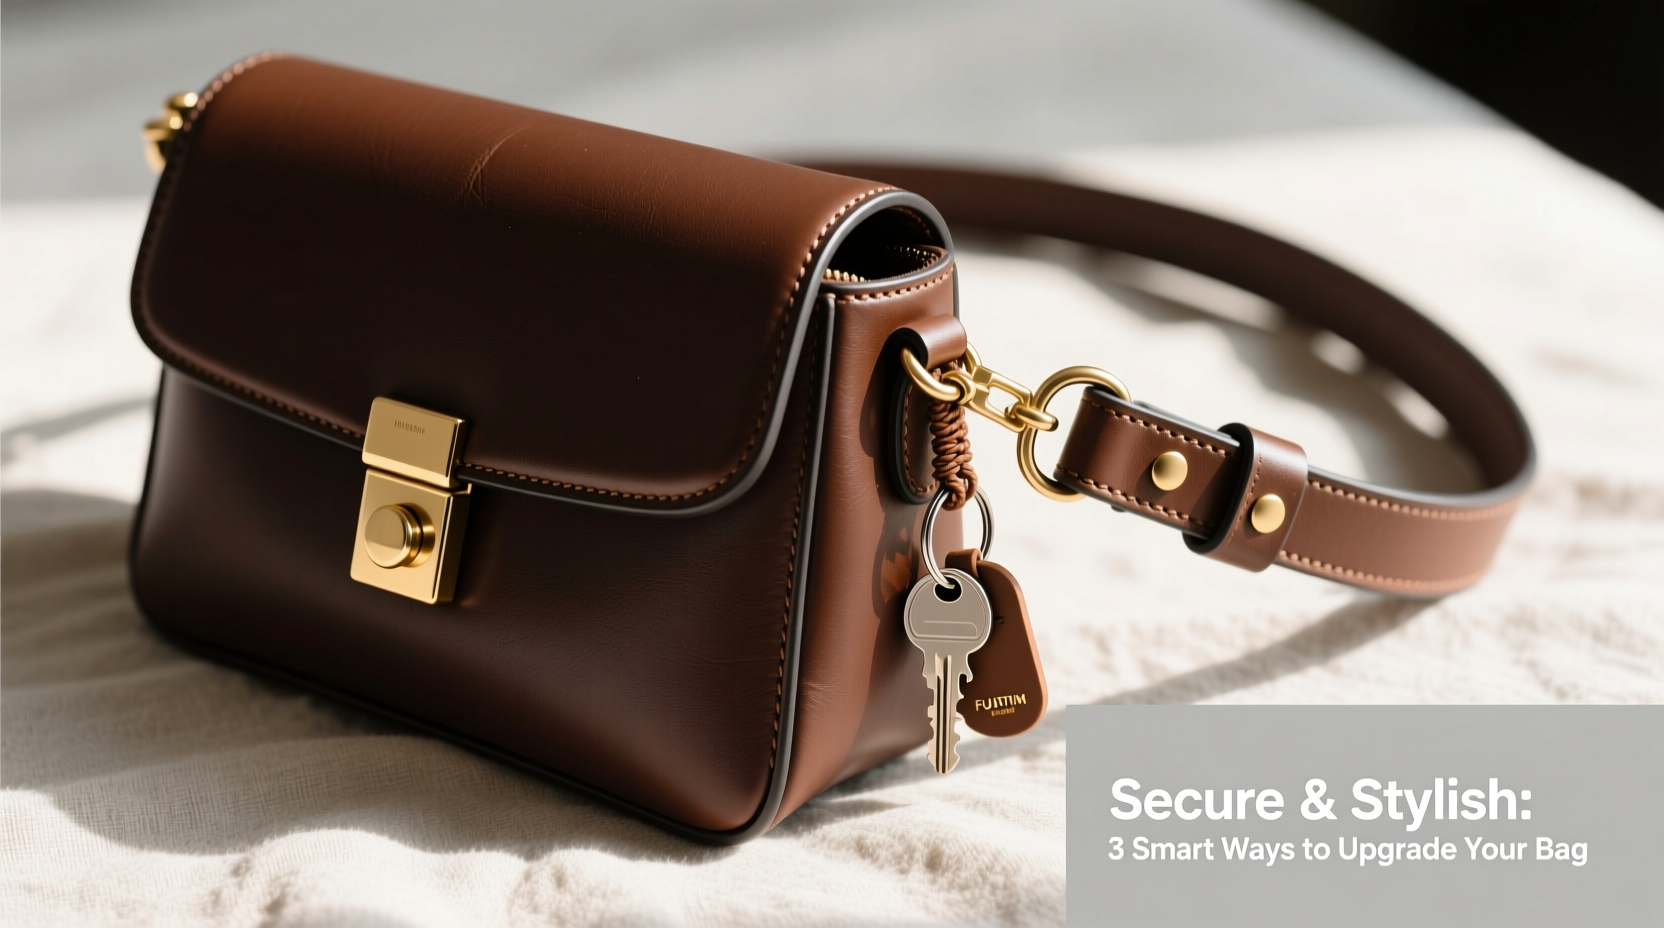
2. Lanyard Loops & D-Ring Integration
Many designer bags include built-in D-rings near the handles or zipper pulls—intentional anchor points for customization. If your bag lacks them, consider having a professional add discreet brass or stainless steel D-rings via saddle stitching. This method distributes weight evenly and avoids concentrated stress.
Once installed, use lanyards, chains, or braided cords to suspend accessories. Choose adjustable lengths so you can reposition based on outfit or occasion. Leather lanyards match the bag’s texture, while metallic chains add contrast. Ensure all connectors (clasps, jump rings) are nickel-free to prevent tarnishing and leather staining.
“D-rings are the gold standard for accessory attachment. They’re engineered for load distribution and maintain the bag’s original silhouette.” — Luca Moretti, Bespoke Leather Artisan
3. Clip-On Clasps with Silicone Grips
For temporary or rotating decor, clip-on clasps with silicone-lined jaws provide a no-modification solution. These clips grip onto zippers, straps, or seams without scratching or indenting leather.
Select models specifically designed for delicate materials. Look for wide, flat clamps that disperse pressure rather than pinching. Avoid spring-loaded jewelry clasps—they often dig into leather and leave permanent marks.
This method excels for event-based styling: a holiday ornament at Christmas, a silk flower for a wedding, or a branded tag for travel. Remove after use to prevent long-term compression marks.
4. Custom Zipper Pulls with Reinforced Anchors
Replacing stock zipper pulls with personalized ones is one of the safest ways to add flair. Instead of modifying the bag body, focus on the zipper—a component already built to handle tension.
Choose pulls made from lightweight materials: enamel, wood, or resin. Attach via a split ring or leather cord looped through the existing pull. For added security, knot the cord and seal ends with clear nail polish to prevent fraying.
If installing a heavier pull, reinforce the original pull point with a small leather washer on the interior side. This spreads force across a wider surface, reducing tear risk.
5. Embellishment Panels & Removable Inserts
An advanced but elegant approach involves creating interchangeable leather panels. Cut a thin, shaped piece of matching or contrasting leather, decorate it with embroidery, studs, or paint, then attach it to the bag via hidden snaps or buttons.
These panels act like “skins” that transform the bag’s look seasonally. Because they’re removable, the base bag remains untouched. Use vegetable-tanned leather for best results—it accepts dyes and tooling well and ages gracefully.
This method requires initial investment in craftsmanship but offers maximum versatility. It’s favored by luxury customizers and sustainable fashion advocates who value longevity over disposability.
Do’s and Don’ts of Accessorizing Leather Bags
| Do | Don't |
|---|---|
| Use weight-appropriate attachments (under 50g for adhesive methods) | Nail, staple, or punch holes without reinforcement |
| Choose non-reactive metals (brass, stainless steel, titanium) | Leave magnetic accessories on during MRI scans or near electronics |
| Rotate accessories weekly to prevent pressure marks | Use glue-based solutions containing acetone or ammonia |
| Consult a leather artisan for permanent modifications | Attach heavy charms to thin straps or fringe |
Mini Case Study: Revitalizing a Vintage Tote
Sophie, a vintage fashion curator in Portland, inherited her grandmother’s 1970s leather tote. While structurally sound, it lacked modern flair. She wanted to honor its heritage while making it wearable today.
Rather than drilling holes for charms, she collaborated with a local leatherworker to install two small, flush-mounted D-rings on the front panel. From these, she hangs a rotating series of hand-carved wooden pendants tied with waxed linen cord. Each pendant reflects a season—pinecone for winter, cherry blossom for spring.
The result? A deeply personal bag that tells a story without altering its original form. After three years of regular use, the leather shows even patina, and the attachment points remain secure. Sophie says, “It feels alive because I can change it, but the soul of the bag is intact.”
Frequently Asked Questions
Can I glue accessories directly onto leather?
Only with extreme caution. Standard craft glues can crack, yellow, or damage leather finishes. If necessary, use a leather-specific adhesive like Barge All-Purpose Cement sparingly and only on non-porous, smooth surfaces. Even then, expect reduced flexibility and potential delamination over time. Adhesive should never be used on suede or nubuck.
Will metal charms scratch my bag?
Yes, especially if they swing freely. To minimize contact, use soft fabric buffers (like felt wraps) between metal and leather, or suspend charms with short cords that keep them suspended away from the surface. Regular inspection helps catch micro-scratches early.
How do I remove old attachment marks?
Surface indents from clips or magnets often fade naturally with use. For stubborn marks, gently dampen a cotton ball with distilled water and press (don’t rub) the area. Let air dry, then condition the leather. Deep punctures or tears require professional restoration.
Checklist: Safe Accessory Attachment
- ✅ Assess the accessory weight—lighter is safer
- ✅ Identify natural anchor points (D-rings, zippers, seams)
- ✅ Choose non-corrosive, skin-safe materials
- ✅ Test attachment strength gently before daily use
- ✅ Inspect monthly for signs of wear or loosening
- ✅ Remove accessories during cleaning or storage
Final Thoughts
Personalizing a leather handbag doesn’t have to mean compromising its quality. With thoughtful methods—from magnetic systems to artisan-installed hardware—you can express individuality while honoring the craftsmanship of your bag. The most enduring styles aren’t those that follow trends blindly, but those that evolve with care and intention.


 浙公网安备
33010002000092号
浙公网安备
33010002000092号 浙B2-20120091-4
Comments
No comments yet. Why don't you start the discussion?