
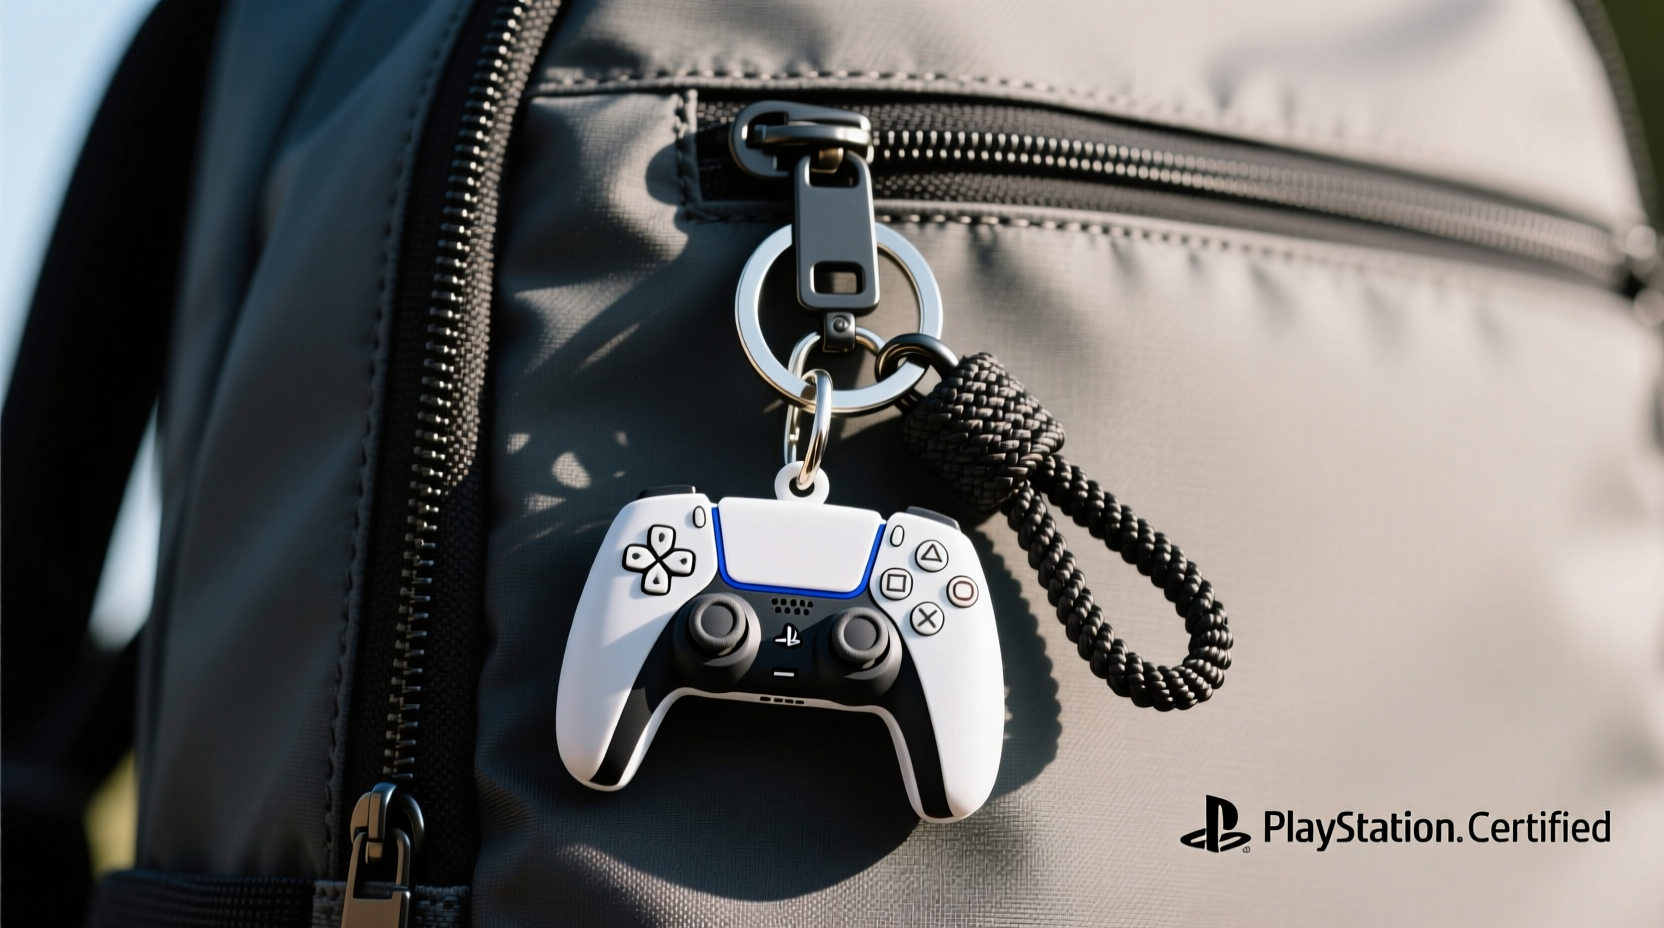
For many gamers, a console keychain—whether it’s a miniature replica of a PlayStation, Xbox, or Nintendo Switch—is more than just a functional item. It's a badge of identity, a nostalgic keepsake, or even a collector’s piece. But simply clipping it to your bag with a standard lobster clasp might not offer enough security or aesthetic appeal. Over time, rough handling, snagging, or weak attachments can lead to loss or damage. The solution? Thoughtful, creative, and secure attachment methods that preserve both the keychain and your peace of mind.
This guide explores practical, tested techniques to keep your gaming keychain safely displayed on your backpack, tote, or messenger bag. Whether you're commuting, traveling, or heading to a gaming convention, these approaches balance style, durability, and functionality.
Why Secure Attachment Matters
A game console keychain often holds sentimental value. Many are limited editions, promotional items, or custom-made collectibles. Losing one isn’t just inconvenient—it can mean losing something irreplaceable. Beyond emotional value, poorly attached keychains can:
- Get caught on zippers, seats, or door handles
- Degrade over time due to constant friction
- Damage delicate paint or small molded details
- Detract from your bag’s overall look if dangling haphazardly
Secure attachment prevents these issues while allowing you to proudly display your fandom.
“Collectible keychains are part of personal expression. How they’re worn reflects care and attention to detail.” — Jordan Lee, Lifestyle Accessory Designer
Step-by-Step: Choosing & Applying the Right Attachment Method
Not all attachment methods are created equal. Below is a step-by-step process to select and apply the best method for your needs.
- Evaluate your keychain’s build: Is it metal, plastic, or resin? Does it have a built-in loop or require an added connector?
- Assess your bag’s material and structure: Canvas, nylon, leather, and synthetic fabrics respond differently to clips, stitches, or adhesives.
- Determine how visible you want it: Do you want it front-and-center or subtly integrated?
- Choose a secure base method: Use clasps, stitching, or modular loops rather than relying solely on weak split rings.
- Test movement and tension: Gently tug and swing the keychain to ensure it doesn’t loosen or scratch the fabric.
Creative & Secure Attachment Methods
Here are five proven methods, ranging from simple upgrades to craft-inspired integrations, each offering enhanced security and visual flair.
1. Reinforced Swivel Clasp + Webbing Loop
Upgrade the default keyring with a heavy-duty swivel clasp (common in fishing or tactical gear). Attach it to a small woven webbing loop sewn onto a bag strap or zipper pull. The swivel action reduces tangling, while the webbing distributes pressure evenly.
- Use UV-resistant nylon webbing (¼ inch wide)
- Sew the loop using a box stitch for strength
- Attach the clasp so the keychain faces outward, not downward
2. Magnetic Snap Integration
Embed small neodymium magnetic snaps into a leather or fabric patch, then attach the patch to your bag. One side connects to the bag; the other attaches to a metal plate glued to the back of the keychain. This allows quick removal while maintaining a sleek profile.
Note: Only use this with non-electronic keychains. Avoid placing magnets near credit cards or phones.
3. Lanyard-Style Braided Cord
Create a short lanyard using paracord or embroidery floss braided into a decorative pattern (e.g., fishtail or cobra weave). Tie one end to a zipper pull and the other to the keychain via a secure knot or micro-carabiner. Adds color and texture while keeping the keychain close to the bag surface.
4. Custom Zipper Pull Conversion
Replace a standard zipper pull with your keychain by removing its ring and threading it through the zipper tab. Use heat-shrink tubing or epoxy to secure the connection point. Ideal for lightweight plastic or resin models.
5. Embellished Fabric Pocket
Sew a small transparent mesh or vinyl pocket onto a side panel of your bag. Slide the keychain inside so only the front face is visible. Protects against scratches and weather while still showcasing the design. Add embroidered game logos around the border for extra personality.
Do’s and Don’ts: Keychain Attachment Guide
| Do | Don't |
|---|---|
| Use reinforced stitching for permanent attachments | Attach heavy keychains to flimsy fabric without backing |
| Choose corrosion-resistant hardware (e.g., stainless steel) | Leave sharp edges exposed that could snag fabric |
| Check attachment points monthly for wear | Use super glue directly on plastic models (can cause cracking) |
| Match colors and materials for cohesive style | Over-tighten screws or bolts on delicate keychains |
| Detach during air travel or gym use | Assume all “key rings” are equally strong—many are low-grade zinc |
Real Example: Protecting a Limited-Edition Switch Keychain
Riley, a frequent traveler and Nintendo enthusiast, owned a rare Animal Crossing-themed Switch keychain from a Japan-exclusive bundle. After losing two similar items due to broken rings, she decided to take a proactive approach. She purchased a 1-inch wide polyester webbing strip, stitched it into a loop using a double-threaded saddle stitch, and attached a locking carabiner. She now clips her keychain only when traveling and stores it in a soft pouch otherwise. Six months later, the keychain remains intact and fully functional—without a single snag or drop.
Her method wasn’t flashy, but it was effective: durable materials, thoughtful placement, and routine checks made all the difference.
Essential Checklist Before Attaching Your Keychain
Before finalizing your setup, run through this checklist:
- ✅ Confirm the keychain’s weight won’t strain the attachment point
- ✅ Test the clasp or fastener under light stress (tug gently)
- ✅ Ensure no sharp edges will wear through fabric over time
- ✅ Verify that the method allows easy removal for cleaning or storage
- ✅ Match the aesthetic to your bag’s overall style (avoid clashing colors or bulky hardware)
- ✅ Consider whether the attachment will interfere with bag function (e.g., zippers, pockets)
Frequently Asked Questions
Can I glue a keychain directly to my bag?
While possible with industrial adhesives like E6000, gluing is generally not recommended. It creates a permanent bond that may fail under stress or degrade with temperature changes. It also limits future customization. If used, apply only to non-flexible areas and reinforce with stitching if possible.
What’s the safest way to attach a keychain to a leather bag?
For leather, use a Chicago screw or rivet to mount a metal loop or plate. These distribute pressure and avoid puncturing large holes. Alternatively, utilize existing D-rings or straps with secure clasps. Never rely on adhesive alone on smooth leather surfaces.
Are there risks to attaching metal keychains outdoors?
Yes. Metal can conduct cold in winter or heat in summer, potentially damaging finishes. Additionally, prolonged exposure to moisture may cause rust or tarnish. Opt for coated metals or remove keychains during extreme weather conditions.
Final Thoughts: Pride, Protection, and Personalization
Your game console keychain is more than a trinket—it’s a symbol of your passion. Attaching it securely to your bag shouldn’t be an afterthought. With the right tools and techniques, you can showcase your favorite gaming memorabilia with confidence, knowing it’s protected from loss and damage.
Whether you opt for a minimalist swivel clasp or craft a custom lanyard, the goal is consistency and care. A well-attached keychain enhances your everyday carry while honoring the culture and memories behind the games you love.


 浙公网安备
33010002000092号
浙公网安备
33010002000092号 浙B2-20120091-4
Comments
No comments yet. Why don't you start the discussion?