
In an age where smartphones are both essential tools and personal accessories, finding ways to carry them securely—and stylishly—has become more important than ever. Phone chains have surged in popularity, blending fashion with function. But attaching one securely without damaging your device or risking a drop requires thoughtful consideration. From adhesive loops to custom case modifications, the right method depends on your phone model, lifestyle, and aesthetic preferences. This guide explores practical, tested approaches to integrating a phone chain into your daily routine while maintaining safety and durability.
Why Use a Phone Chain?
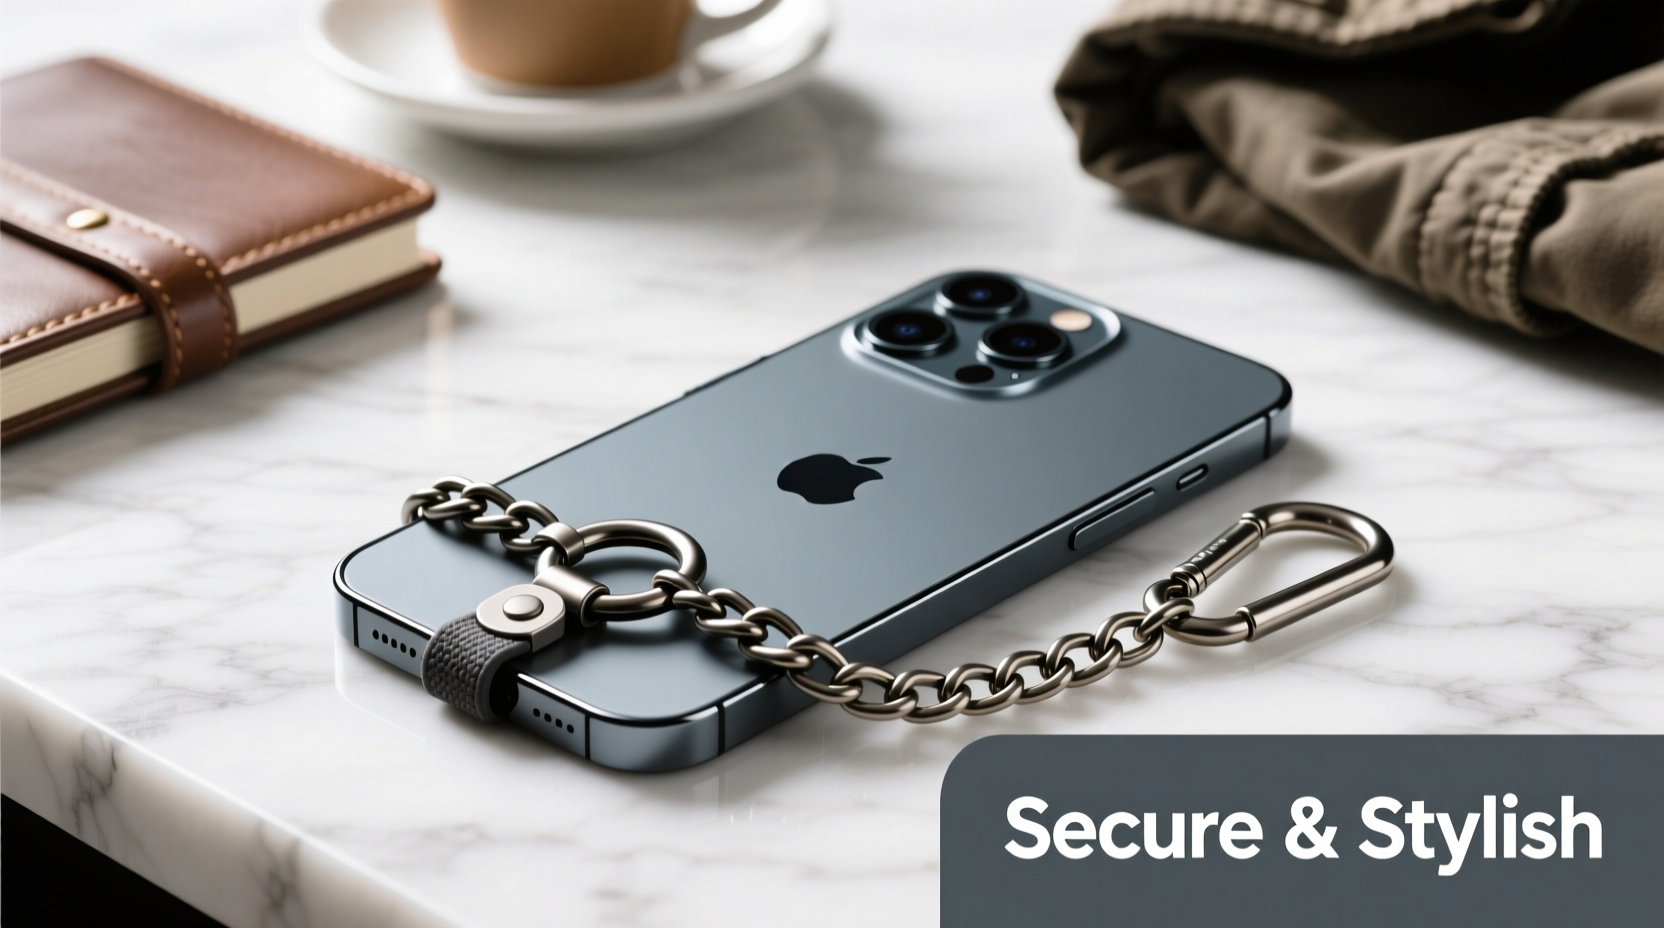
A phone chain isn’t just a trendy accessory—it serves multiple purposes. It prevents accidental drops, frees up your hands when walking or shopping, and adds a personalized touch to your device. For those who frequently switch between bags or pockets, a chain ensures your phone stays within reach. More importantly, in crowded spaces or during travel, it reduces the risk of theft or misplacement.
However, improper attachment can lead to damage—especially if the chain pulls on sensitive components like camera lenses or ports. The key is balancing style with structural integrity.
Choosing the Right Attachment Method
Not all phones are created equal when it comes to add-ons. Modern smartphones lack built-in lanyard holes, so third-party solutions are necessary. Below are five reliable methods, each suited to different needs and phone types.
1. Using a Reinforced Phone Case with a Loop
The safest and most durable option is a case designed with a built-in loop or anchor point. Brands like PopSockets, OtterBox, and Casetify offer models with integrated metal rings or silicone loops specifically for lanyards or chains.
These cases distribute tension across the entire back panel rather than concentrating force on a single point. They also maintain full access to ports and buttons, ensuring functionality isn’t compromised.
2. Adhesive Metal Loops (Kickstand-Style Anchors)
Adhesive loops—often marketed as pop-up phone stands—are widely available and easy to install. When mounted correctly, they provide a sturdy metal ring that accepts any chain or strap.
Choose high-bond adhesives rated for long-term use, such as 3M VHB tape. Apply the loop near the top edge of the phone for balanced weight distribution. Avoid placing it directly over the camera module or charging port.
“Proper surface preparation is critical. Clean the back of your phone with alcohol before applying any adhesive mount.” — Jordan Lee, Product Durability Engineer
3. DIY Ring Mod with Epoxy Resin
For tech-savvy users comfortable with minor modifications, embedding a small metal ring into the phone’s case using epoxy resin offers unmatched strength. This method works best with rugged or silicone cases you don’t mind altering.
Drill a tiny hole through the top center of the case, thread a miniature stainless steel O-ring through it, and seal both sides with waterproof epoxy. Once cured, the bond resists pulling forces far better than adhesives alone.
4. Magnetic Attachment System
Magnets offer a removable yet secure solution. Attach a thin metal plate inside your case or behind a skin, then pair it with a magnetic chain connector. Neodymium magnets provide strong hold without adding bulk.
This system allows quick detachment when needed—ideal for wireless charging or switching devices. However, ensure the magnet doesn't interfere with internal sensors or credit cards stored nearby.
5. Lanyard-Friendly Wallet Cases
Some wallet-style cases come with pre-installed D-rings or reinforced stitching at the top corners. These are engineered to handle lateral stress and are commonly used by retail workers and event staff.
If your current case lacks this feature, consider replacing it with one that includes dual anchor points. Chains attached to two points reduce twisting and uneven strain.
Step-by-Step Guide: Installing an Adhesive Loop Safely
Follow this sequence to maximize adhesion and longevity:
- Clean the phone’s back thoroughly with isopropyl alcohol and a lint-free cloth.
- Dry completely—any residue weakens the bond.
- Peel the adhesive backing from the loop slowly, avoiding dust contact.
- Align the loop near the top edge, centered horizontally.
- Press firmly for 30 seconds, applying even pressure.
- Wait 24 hours before attaching the chain to allow full curing.
After installation, test the loop by gently tugging upward—not sideways—to simulate real-world stress.
Do’s and Don’ts of Phone Chain Use
| Do | Don’t |
|---|---|
| Use lightweight chains made of nylon-coated steel or braided fabric | Attach heavy metallic chains that increase leverage on the anchor |
| Inspect the attachment point weekly for signs of lifting or wear | Wrap the chain tightly around wrists or furniture where snagging may occur |
| Opt for breakaway clasps that release under extreme tension | Pull the phone up by the chain repeatedly—it accelerates wear |
| Choose chains with anti-tangle swivel connectors | Use damaged or frayed chains; replace them immediately |
Real-Life Example: How a Photographer Secured Her Gear
Sophie Nguyen, a street photographer based in Tokyo, uses her phone daily for candid shots and client communication. She struggled with dropping her device while adjusting gear until she adopted a dual-loop system.
She installed two micro-loops—one on each upper corner of her protective case—using industrial-strength adhesive. Then, she connected a short crossbody chain between them. This balanced design eliminated torque on a single point and kept her phone stable during movement.
“I’ve had the same setup for nine months,” Sophie says. “No peeling, no cracks. And I haven’t dropped my phone once since.”
Checklist: Secure Phone Chain Setup
- ☐ Assess your phone case compatibility
- ☐ Select a lightweight, flexible chain (under 4 oz)
- ☐ Choose a mounting method based on permanence preference
- ☐ Prepare the surface properly before adhesive application
- ☐ Allow 24-hour cure time before use
- ☐ Test tension gradually before relying on it fully
- ☐ Schedule monthly inspections for wear and tear
Frequently Asked Questions
Can a phone chain damage my device?
Yes—if improperly attached. Pulling force concentrated on a weak point (like a loose adhesive or thin plastic) can crack the casing or dislodge internal components. Always use reinforced anchor points and avoid yanking motions.
Are magnetic attachments safe for iPhones and Androids?
Generally yes. Modern smartphones are designed to resist moderate magnetic fields. However, keep magnets away from medical devices like pacemakers, and avoid placing them directly over NFC chips or compass sensors to prevent interference.
What’s the ideal chain length for daily use?
Between 18–24 inches allows comfortable wrist looping without dragging on the ground. For crossbody carry, 36–40 inches provides shoulder clearance while keeping the phone accessible.
Final Thoughts: Style Meets Security
A well-attached phone chain enhances convenience without sacrificing safety. Whether you prefer minimalist elegance or rugged utility, the right combination of hardware and technique makes all the difference. Prioritize structural integrity over aesthetics alone—after all, the most beautiful chain is useless if it fails when you need it most.


 浙公网安备
33010002000092号
浙公网安备
33010002000092号 浙B2-20120091-4
Comments
No comments yet. Why don't you start the discussion?