
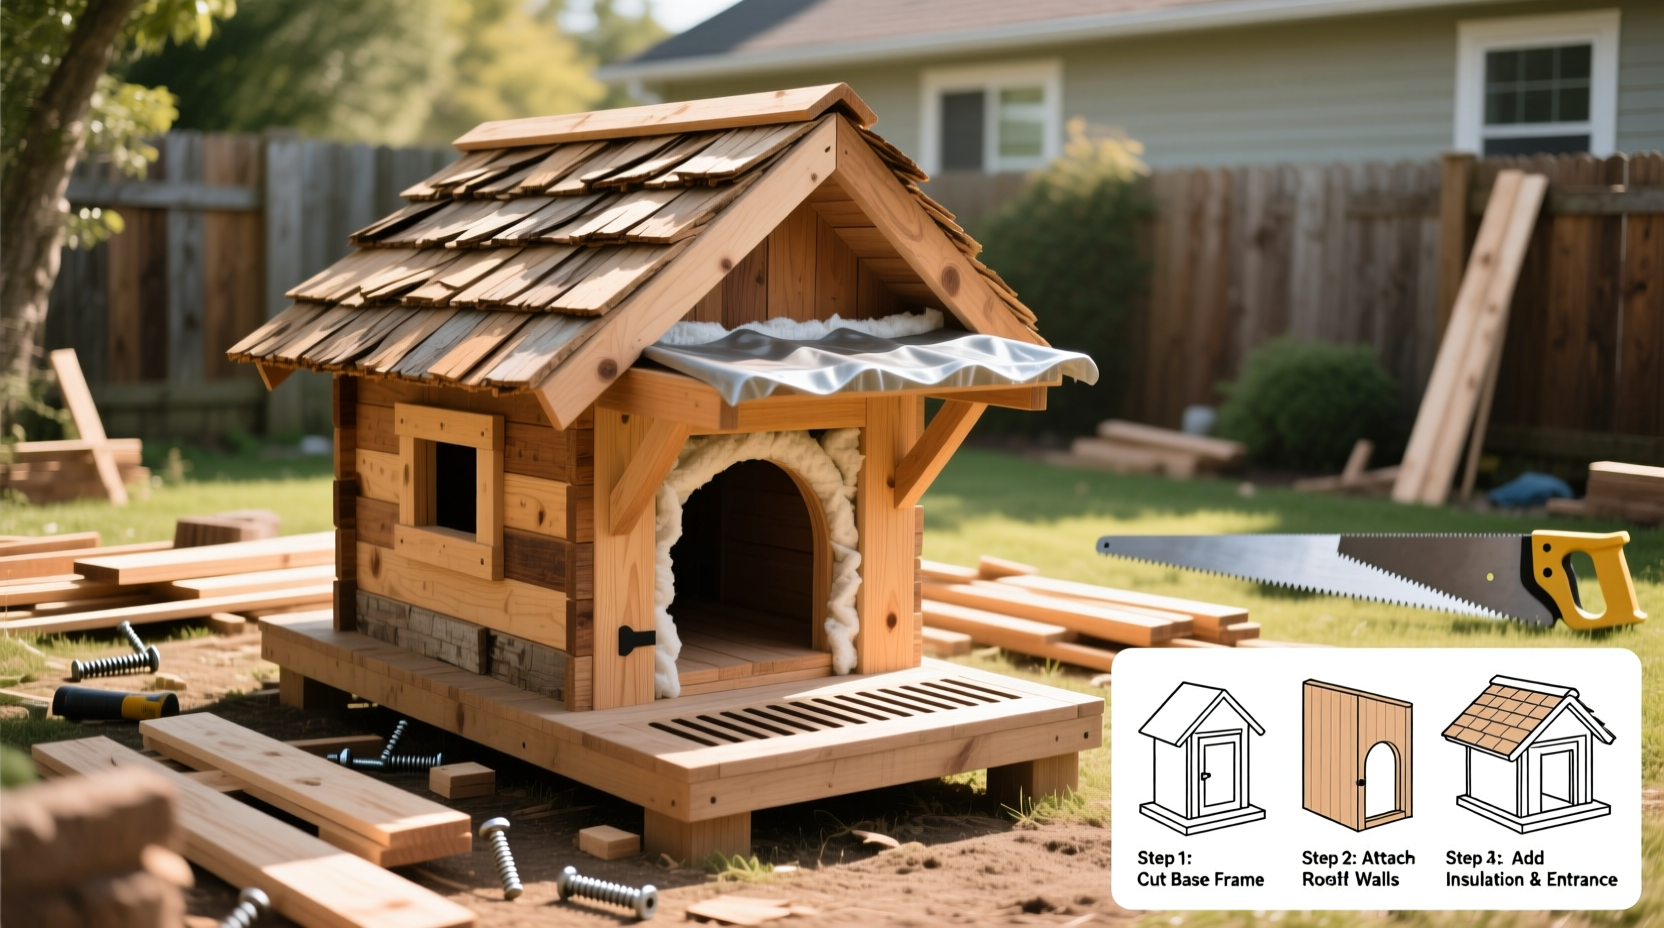
Across neighborhoods and cities, feral cats face harsh weather, especially during winter months. While these resilient animals adapt to outdoor life, they often struggle with freezing temperatures, wind, rain, and lack of shelter. Building a warm, dry, and insulated cat house is one of the most compassionate and practical ways individuals can support local feral cat populations. The good news? You don’t need advanced carpentry skills or expensive tools. With common household materials and a few hours of effort, you can create a safe haven that significantly improves a cat’s chance of surviving cold seasons.
Why Feral Cats Need Shelter
Feral cats—those not socialized to humans—are part of urban and suburban ecosystems worldwide. Many rely on community caregivers who provide food and water, but without proper shelter, even well-fed cats are vulnerable. Exposure to wet conditions and low temperatures leads to hypothermia, respiratory infections, and reduced lifespan.
A dedicated cat house offers more than warmth—it provides a sense of security. Cats instinctively seek enclosed spaces where they feel protected from predators and disturbances. A properly designed shelter keeps them dry, blocks wind, and retains body heat, dramatically improving their quality of life.
“Even a modest insulated box can reduce heat loss by up to 70% compared to an open space.” — Dr. Lena Torres, Urban Wildlife Veterinarian
Materials You Likely Already Have
The beauty of building a feral cat house lies in its simplicity. Most effective shelters are made from repurposed items found around the house. Here’s what you’ll typically need:
- An oversized plastic storage tote or sturdy cardboard box (water-resistant preferred)
- Insulation material: rigid foam board, straw, or recycled denim insulation
- A utility knife or box cutter
- Duct tape or waterproof sealant
- A piece of old carpet, mat, or tarp for the roof (optional)
- Non-toxic glue or zip ties
Step-by-Step Guide to Building the Shelter
Follow this straightforward process to assemble a durable, insulated cat house in under three hours.
- Select the base container: Choose a plastic tote with a lid (at least 24” x 18”) or a thick-walled cardboard box if plastic isn’t available. Plastic lasts longer outdoors.
- Cut the entrance: On one short side, cut a hole about 6 inches in diameter, positioned near the bottom third. This keeps cold air out while allowing easy access. Keep the door flap closed with a small magnet or Velcro if desired.
- Add insulation: Line the interior walls and floor with 1–2 inch thick foam board. Cut pieces to fit snugly and secure with non-toxic adhesive. Do not insulate the ceiling if using a lid—this allows ventilation.
- Elevate the floor: Place the entire structure on wooden pallets or bricks to prevent ground moisture from seeping in.
- Create a sloped roof: If using a tote with a flat lid, prop it slightly upward at the back using small blocks so rain runs off. Cover with a piece of tarp or rubber matting secured with duct tape.
- Fill with straw: Add 4–6 inches of clean, dry straw on the floor. Avoid hay—it molds easily. Straw traps heat as cats nestle into it.
- Position wisely: Place the shelter in a quiet, elevated spot shielded from wind—against a garage wall, under a porch, or behind shrubbery. Face the entrance away from prevailing winds.
Design Considerations and Common Mistakes
To maximize effectiveness, avoid these frequent errors:
| Do’s | Don’ts |
|---|---|
| Use straw for bedding (not blankets) | Use cotton or fabric materials that absorb moisture |
| Keep entrance small (6” max) | Make large openings that let in wind and rain |
| Elevate the house off the ground | Place directly on wet soil or concrete |
| Insulate walls and floor | Use only towels or cushions for warmth |
| Anchor against tipping in wind | Leave unsecured in open areas |
Real-World Example: Community Effort in Portland
In Northeast Portland, a neighborhood group known as “Purrington Alley Caretakers” noticed rising cat illness during a particularly wet winter. Using donated totes and insulation scraps, they built eight cat houses based on the straw-insulated tote model. Each was placed in rotation near feeding stations and monitored weekly.
Within two months, caretakers observed fewer signs of respiratory issues and increased activity among the colony. One older cat, previously seen shivering under a car, began regularly using a shelter near a back fence. “It’s not just about survival,” said volunteer Marisol Reed. “You can see the difference in their posture—less hunched, more alert. They finally have dignity.”
Enhancing Long-Term Usability
A well-built shelter should last multiple seasons with minimal maintenance. Extend its lifespan with these practices:
- Check monthly for mold, pests, or water pooling.
- Replace straw every 4–6 weeks or when damp.
- Wipe down plastic interiors with a vinegar-water solution (1:3 ratio) to disinfect.
- Reapply weatherproofing tape around seams annually.
- Mark your shelter with reflective tape or paint for visibility at night.
“The simplest shelters, when maintained, outperform fancy store-bought models in real-world conditions.” — James Holloway, Founder, Street Cat Relief Initiative
Frequently Asked Questions
Can I use a cardboard box instead of plastic?
Yes, but only as a short-term solution. Reinforce all seams with duct tape and cover the exterior with a waterproof tarp. Replace every few weeks in rainy climates.
How many cats can one shelter hold?
Ideally, one shelter fits one to two cats comfortably. Overcrowding reduces warmth since each cat needs space to trap heat. For larger colonies, distribute multiple small shelters instead of building one big one.
Won’t the shelter attract other animals?
Possibly, but cats usually claim and defend their shelters. To discourage raccoons or rodents, elevate the house and keep feeding areas separate. Avoid leaving food inside.
Final Checklist Before Deployment
Before placing your shelter outdoors, run through this quick verification list:
- ✅ Entrance is small and positioned low
- ✅ Floor is elevated off the ground
- ✅ Walls and base are insulated with foam or equivalent
- ✅ Interior contains straw, not fabric bedding
- ✅ Roof is sloped and covered with waterproof material
- ✅ Structure is stable and won’t tip over
- ✅ Located in a quiet, low-traffic area
Take Action Today—One Shelter Can Change Lives
Building a feral cat house is more than a DIY project—it’s an act of empathy with immediate impact. These animals live among us, unseen but present, enduring conditions no creature should face alone. With minimal cost and effort, you can offer warmth, safety, and a better chance at survival.
Start today. Gather what you have, follow the steps, and place the shelter thoughtfully. Share instructions with neighbors or local rescue groups. Small actions, repeated and shared, create lasting change. Every cat deserves a dry corner in a cold world—and you can be the reason one finds it.


 浙公网安备
33010002000092号
浙公网安备
33010002000092号 浙B2-20120091-4
Comments
No comments yet. Why don't you start the discussion?