
The letter h may seem basic, but its structure—two vertical strokes connected by a horizontal or curved bridge—offers rich potential for creativity when crafted by hand. Whether you're teaching children, designing custom typography, or exploring tactile art forms, making the letter h manually can be both educational and expressive. This guide explores accessible, imaginative approaches to forming this essential letter using common tools and materials, with an emphasis on simplicity, engagement, and skill development.
Understanding the Structure of the Letter H
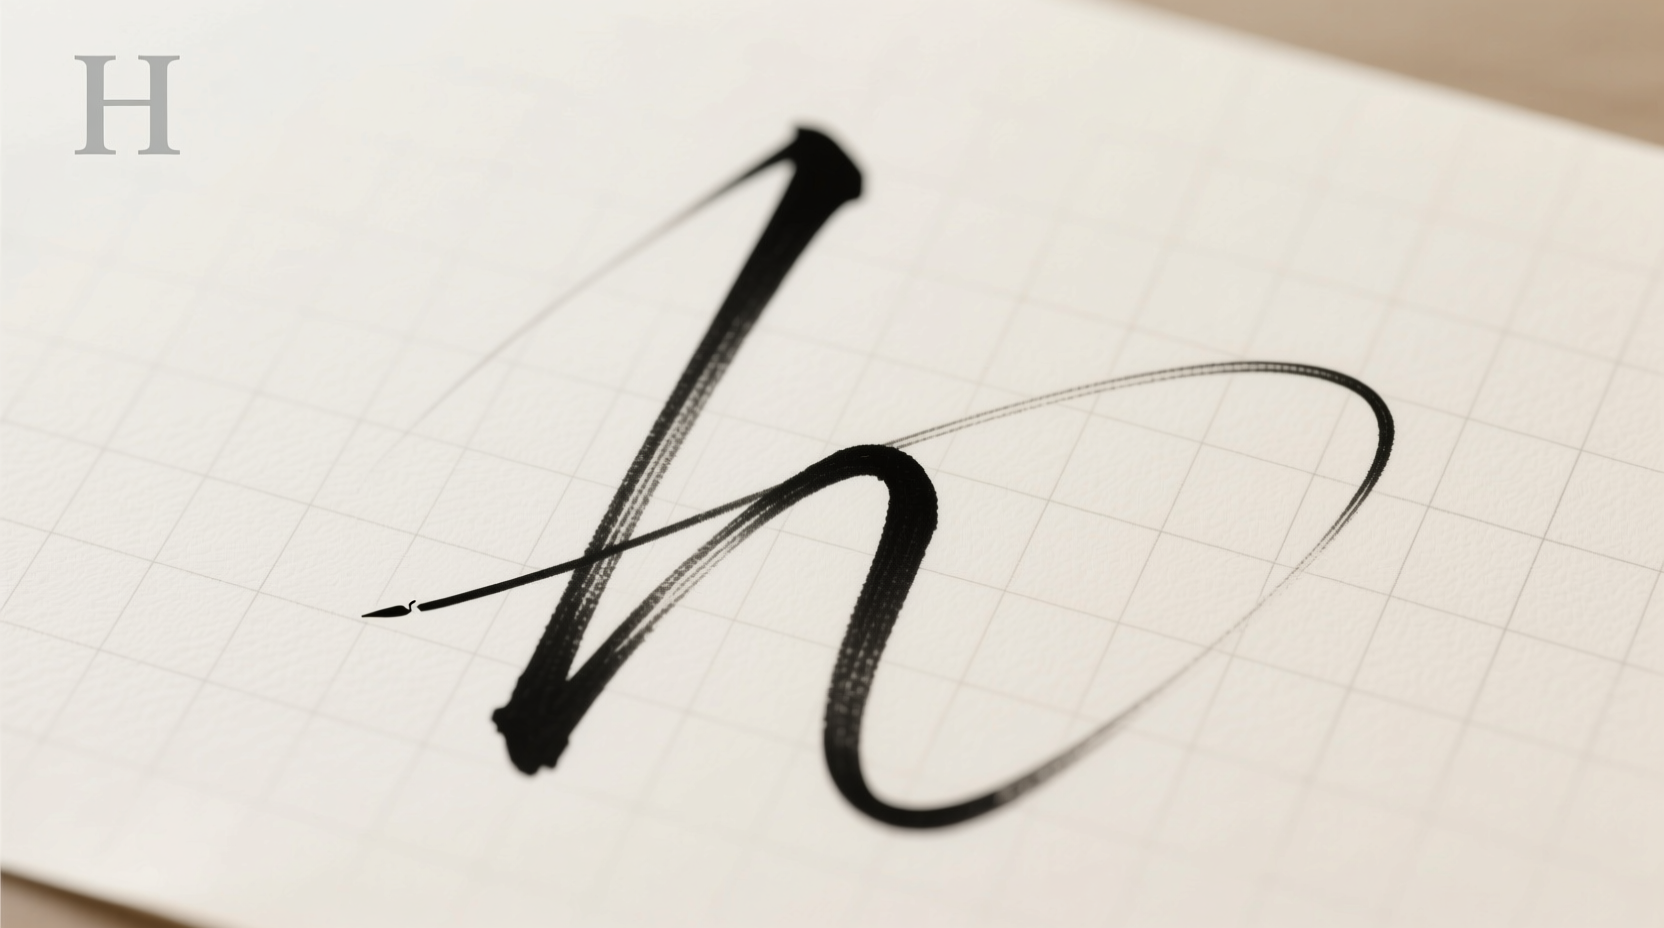
Before diving into construction techniques, it's helpful to break down the anatomy of the letter h. It consists of two main components: two vertical lines (or stems) and a connecting horizontal or diagonal stroke (the arm or crossbar). In cursive, the second stem often curves from the top of the crossbar. Recognizing these elements allows for greater flexibility in design while maintaining legibility.
When creating h by hand, consider whether your goal is functional (e.g., handwriting practice) or artistic (e.g., decorative signage). Each purpose calls for different materials and methods, but both benefit from attention to proportion and balance.
Everyday Materials for Crafting the Letter H
You don’t need specialized supplies to create a meaningful representation of the letter h. Common household or classroom items can be repurposed into effective tools for tactile learning and artistic expression. The key is matching material properties to your desired outcome—rigid for structure, flexible for fluidity, textured for sensory engagement.
| Material | Best For | How to Use |
|---|---|---|
| Popsicle sticks | Structural clarity, symmetry | Glue two sticks vertically, one horizontally across the top right to form the crossbar. |
| Yarn or string | Tactile learning, cursive simulation | Lay string on glue-drawn guidelines to mimic flowing script. |
| Cardboard strips | Durable displays, 3D letters | Cut and assemble into block-style h; paint or wrap with fabric. |
| Clay or playdough | Sensory development, fine motor skills | Roll two thick rods for stems, one thinner rod for the connector. |
| Twigs or toothpicks | Nature-based crafts, rustic designs | Arrange and glue on cardboard; ideal for outdoor-themed projects. |
Step-by-Step Guide: Making a Textured Letter H with Yarn
This method combines visual appeal with sensory feedback, ideal for young learners or therapeutic activities. Using yarn provides resistance that strengthens finger muscles while reinforcing the shape of the letter.
- Draw the outline of a lowercase or uppercase h on a piece of cardstock using a pencil.
- Trace over the pencil line with a thin layer of white school glue using a small brush or glue bottle.
- Cut a length of yarn (about 30–40 cm) depending on the size of your letter.
- Starting at the base of the first stem, press the yarn into the glue, following the path upward.
- At the top, bend the yarn horizontally to form the crossbar, then continue down to complete the second stem.
- Press gently along the entire length to ensure adhesion.
- Allow 2–4 hours to dry completely before handling.
For added dimension, use different colored yarns for each stroke or glue on beads at the joints for emphasis.
Real Example: A Classroom Success Story
In a third-grade classroom in Portland, Oregon, teacher Maria Lin introduced a “Letter of the Week” program focused on multisensory learning. When it came time to teach the letter h, she combined storytelling (“H is for House, where we all live”) with a hands-on craft using popsicle sticks and watercolor paints.
Students first assembled their h using three sticks glued onto cardboard. Once dry, they painted them in warm home-inspired colors—browns, reds, and creams. One student, Jamal, who struggled with traditional handwriting, proudly displayed his 3D h on the wall and began writing the letter more confidently in his notebook. His mother later reported he practiced the shape nightly at home using crayons and tape.
This example illustrates how physical engagement with letterforms can reinforce cognitive recognition and motor memory.
“Tactile interaction with letters builds neural pathways faster than passive observation. When children build a letter, they internalize its form.” — Dr. Lila Torres, Early Childhood Literacy Researcher
Creative Variations and Artistic Interpretations
Beyond educational applications, crafting the letter h can become a canvas for personal expression. Artists and hobbyists have used unconventional materials and styles to reimagine this simple character.
- Mosaic H: Use broken tiles, buttons, or cereal pieces arranged on cardboard in the shape of h.
- Wire Sculpture: Bend aluminum or copper wire into a freestanding h; great for jewelry or mobiles.
- Fabric Appliqué: Sew or iron fabric strips onto a larger textile to create a soft, durable letter.
- Natural Assemblage: Collect pebbles, leaves, or shells and arrange them outdoors in the shape of h; photograph the result.
These variations not only celebrate creativity but also encourage problem-solving—how to keep pieces aligned, how to balance weight, or how to adapt shapes when materials are irregular.
Checklist: How to Make Your Own Letter H Successfully
Follow this concise checklist to ensure your handmade h is both accurate and satisfying to create:
- ☐ Choose your material based on purpose (learning, decoration, durability).
- ☐ Prepare a stable base (paper, cardboard, fabric) if needed.
- ☐ Sketch a light outline of the h to guide placement.
- ☐ Cut or shape components to appropriate lengths.
- ☐ Assemble starting from the left stem, moving through the crossbar to the right stem.
- ☐ Secure connections with glue, stitching, or fasteners.
- ☐ Allow drying or setting time before display or handling.
- ☐ Add decorative touches like paint, glitter, or texture.
Common Pitfalls and How to Avoid Them
Even simple projects can go awry without proper planning. Here are frequent issues and practical solutions:
- Uneven stems
- Use a ruler or template to measure both vertical lines before cutting.
- Weak connections
- Reinforce joints with extra glue, tape backing, or overlapping material.
- Distorted shape during drying
- Keep the project flat under a light book to prevent warping.
- Low engagement (especially with kids)
- Add a theme—like “H is for Hero”—to give context and excitement.
FAQ
Can I make the letter h without glue?
Yes. Use interlocking materials like building blocks, pipe cleaners twisted together, or magnetic tiles. For temporary versions, arrange objects on a tray or table and take a photo.
What’s the best way to teach the letter h to a child with dyslexia?
Multisensory techniques are highly effective. Combine auditory repetition (“/h/ as in house”), kinesthetic tracing (writing in sand), and construction (building with clay). Consistent color-coding of each stroke can also aid recognition.
How can I make a large-scale letter h for decoration?
Use plywood cut into the shape, or inflate a stencil with a projector and trace it onto foam board. Alternatively, string lights along the outline mounted on a wall for a glowing effect.
Final Thoughts and Creative Invitation
Making the letter h by hand is more than a craft—it’s an act of connection between mind, eye, and movement. Whether you’re guiding a child’s first attempts at literacy or expressing yourself through abstract design, the process deepens understanding and sparks joy. These techniques prove that even the simplest letters hold space for innovation, patience, and personal meaning.


 浙公网安备
33010002000092号
浙公网安备
33010002000092号 浙B2-20120091-4
Comments
No comments yet. Why don't you start the discussion?