
Bracelets are more than just accessories—they're wearable expressions of personality, style, and creativity. With the rise of handmade and personalized fashion, crafting your own bracelets has become a rewarding and expressive hobby. Whether you're new to jewelry-making or looking to refine your skills, exploring creative bracelet making techniques opens up a world of design possibilities. From braiding and weaving to wire wrapping and resin casting, this guide walks you through innovative methods, essential tools, and practical steps to create one-of-a-kind pieces.
Essential Tools and Materials for Creative Bracelet Making
Before diving into advanced techniques, it's crucial to gather the right supplies. While specific materials vary by project, a few foundational tools form the backbone of most DIY bracelet designs.
| Tool/Material | Purpose | Recommended For |
|---|---|---|
| Jewelry Pliers (Chain-Nose, Round-Nose, Flat-Nose) | Bending wire, opening jump rings, shaping components | Wire work, chain bracelets |
| Beading Needle & Thread (Nylon or Silk) | Stringing small beads in intricate patterns | Seed bead embroidery, loom work |
| Elastic Cord, Stretch Magic, or Leather Cord | Flexible base for stretch or knot-based bracelets | Knotting, macramé, beaded cuffs |
| Scissors (Fine-Tip) | Cutting thread, cord, or wire cleanly | All techniques |
| Clasps, Jump Rings, Crimp Beads | Securing ends and connecting components | Non-stretch designs |
Step-by-Step Guide to Five Creative Bracelet Techniques
1. Braided Paracord Bracelet with Custom Accents
Paracord bracelets are durable, functional, and easy to personalize. Ideal for outdoor enthusiasts or as meaningful gifts.
- Cut two lengths of paracord: 36 inches for the main strands, 12 inches for the buckle loop.
- Attach the main cords to a buckle or use a knot to form a loop at one end.
- Braid the cords using a cobra stitch: weave one strand over and under the other, repeating across.
- Add colored threads or small metal charms between layers for contrast.
- Finish by securing the end with a knot or slide buckle.
2. Resin-Inlaid Cuff Using Silicone Molds
Create bold, artistic cuffs by embedding pigments, dried flowers, or glitter into clear resin.
- Choose a silicone cuff mold and clean it with isopropyl alcohol.
- Mix epoxy resin according to manufacturer instructions.
- Add mica powder or alcohol ink for color; swirl gently with a toothpick.
- Place lightweight inclusions like pressed petals or micro-beads into the mold.
- Pour resin slowly, tap the mold to release bubbles, and cure for 24–48 hours.
- Demold carefully and sand edges smooth with fine-grit paper.
3. Wire-Wrapped Stone Pendant Bracelet
This technique highlights natural gemstones with hand-shaped wire frames, blending elegance and craftsmanship.
- Select a tumbled stone or crystal with a flat back for stability.
- Cut 18-gauge copper or silver wire (approx. 12 inches).
- Position the stone and begin wrapping the wire around its edge, crisscrossing for security.
- Leave two wire tails at the top to attach to a chain or leather band.
- Use chain-nose pliers to twist the tops into loops for clasping.
- Attach to a pre-made chain or braid custom links.
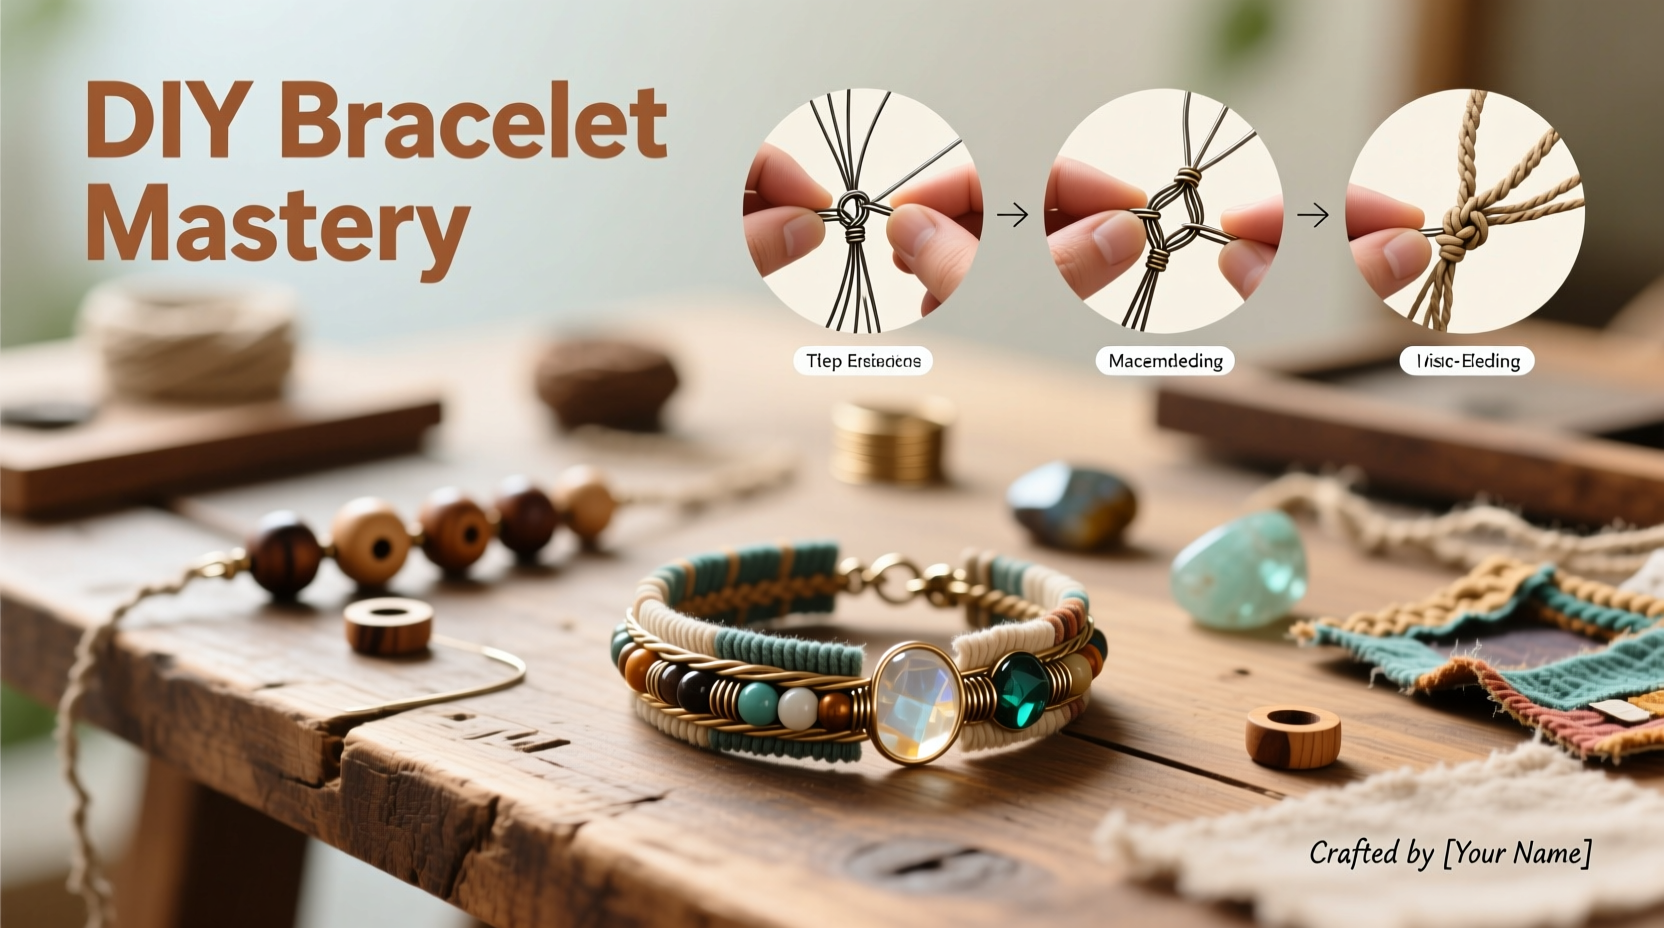
4. Macramé Knot Bracelet with Bead Integration
Using basic knots, this method produces textured, bohemian-style bands perfect for stacking.
- Cut four 20-inch strands of waxed cotton cord.
- Secure them together at one end with a pin or tape.
- Begin square knots: take two outer cords and tie them over the center pair.
- After every 5–6 knots, slide a wooden or glass bead over the center cords.
- Resume knotting to lock the bead in place.
- Repeat pattern until desired length; finish with a sliding knot closure.
5. Seed Bead Loom Weaving for Patterned Bands
Loom weaving allows precision in creating geometric or pictorial designs with tiny beads.
- Set up a small bead loom or make a DIY frame with cardboard and pins.
- Thread warp threads vertically and secure at both ends.
- Weave weft beads horizontally using a needle and thread.
- Follow a pattern chart to place colors accurately.
- After completing the band, remove from loom and sew end bars or elastic for closure.
“Handmade bracelets carry energy—the maker’s intention, the wearer’s story. That’s something mass production can never replicate.” — Lena Torres, Artisan Jewelry Designer
Mini Case Study: Transforming a Simple Design into a Signature Line
Sophie Chen, a hobbyist from Portland, began making macramé bracelets with leftover yarn from knitting projects. She experimented with adding semi-precious chips and dyed cords, eventually developing a signature “moon phase” series using graduated beads and asymmetrical knots. After posting her designs on social media, she received custom orders and launched a small Etsy shop. Her key insight? “I stopped trying to copy tutorials and started sketching my own ideas. That’s when my work became truly unique.”
Sophie now teaches workshops and uses eco-dyed hemp and recycled glass beads, proving that innovation often begins with simple materials and personal vision.
Checklist: Creating a Cohesive Bracelet Collection
- Define a theme (e.g., ocean-inspired, minimalist metals, boho textures)
- Select a consistent color palette (3–5 core shades)
- Limit materials to 3–4 types for visual harmony
- Test wearability: ensure comfort and flexibility
- Create variations in length or clasp style for versatility
- Photograph samples in natural light for presentation
Common Pitfalls and How to Avoid Them
Even experienced crafters encounter setbacks. Awareness of common issues improves results.
| Issue | Why It Happens | Solution |
|---|---|---|
| Bracelet too tight or loose | Inaccurate wrist measurement | Measure snugly with tape; add 0.5–1 inch for comfort |
| Resin bubbles or cloudiness | Improper mixing or humidity | Stir slowly, use torch or heat gun, control room conditions |
| Wire breaks during wrapping | Low-quality or overly bent wire | Use half-hard temper wire and anneal if needed |
| Knots slipping in macramé | Using slippery synthetic cord | Switch to waxed cotton or linen thread |
Frequently Asked Questions
How do I make my bracelets last longer?
Avoid prolonged exposure to water, lotions, and direct sunlight. Store in a soft pouch away from other jewelry to prevent scratching. For beaded pieces, restring every 1–2 years if worn frequently.
Can I mix different techniques in one bracelet?
Absolutely. Combining wire wrapping with beading or embedding resin elements into a woven band adds depth and originality. Just ensure structural integrity—test connections and weight balance before finalizing.
What’s the best beginner-friendly technique?
Stretch elastic beading or basic macramé knots are ideal starting points. They require minimal tools, offer instant results, and teach fundamental skills like tension control and pattern repetition.
Conclusion: Start Crafting Your Unique Style Today
Creating handmade bracelets isn’t just about following patterns—it’s about exploration, expression, and turning imagination into tangible art. Each technique offers a different rhythm and result, from the meditative flow of knotting to the precision of wire shaping. The beauty lies in imperfection: slight variations make each piece uniquely yours.


 浙公网安备
33010002000092号
浙公网安备
33010002000092号 浙B2-20120091-4
Comments
No comments yet. Why don't you start the discussion?