
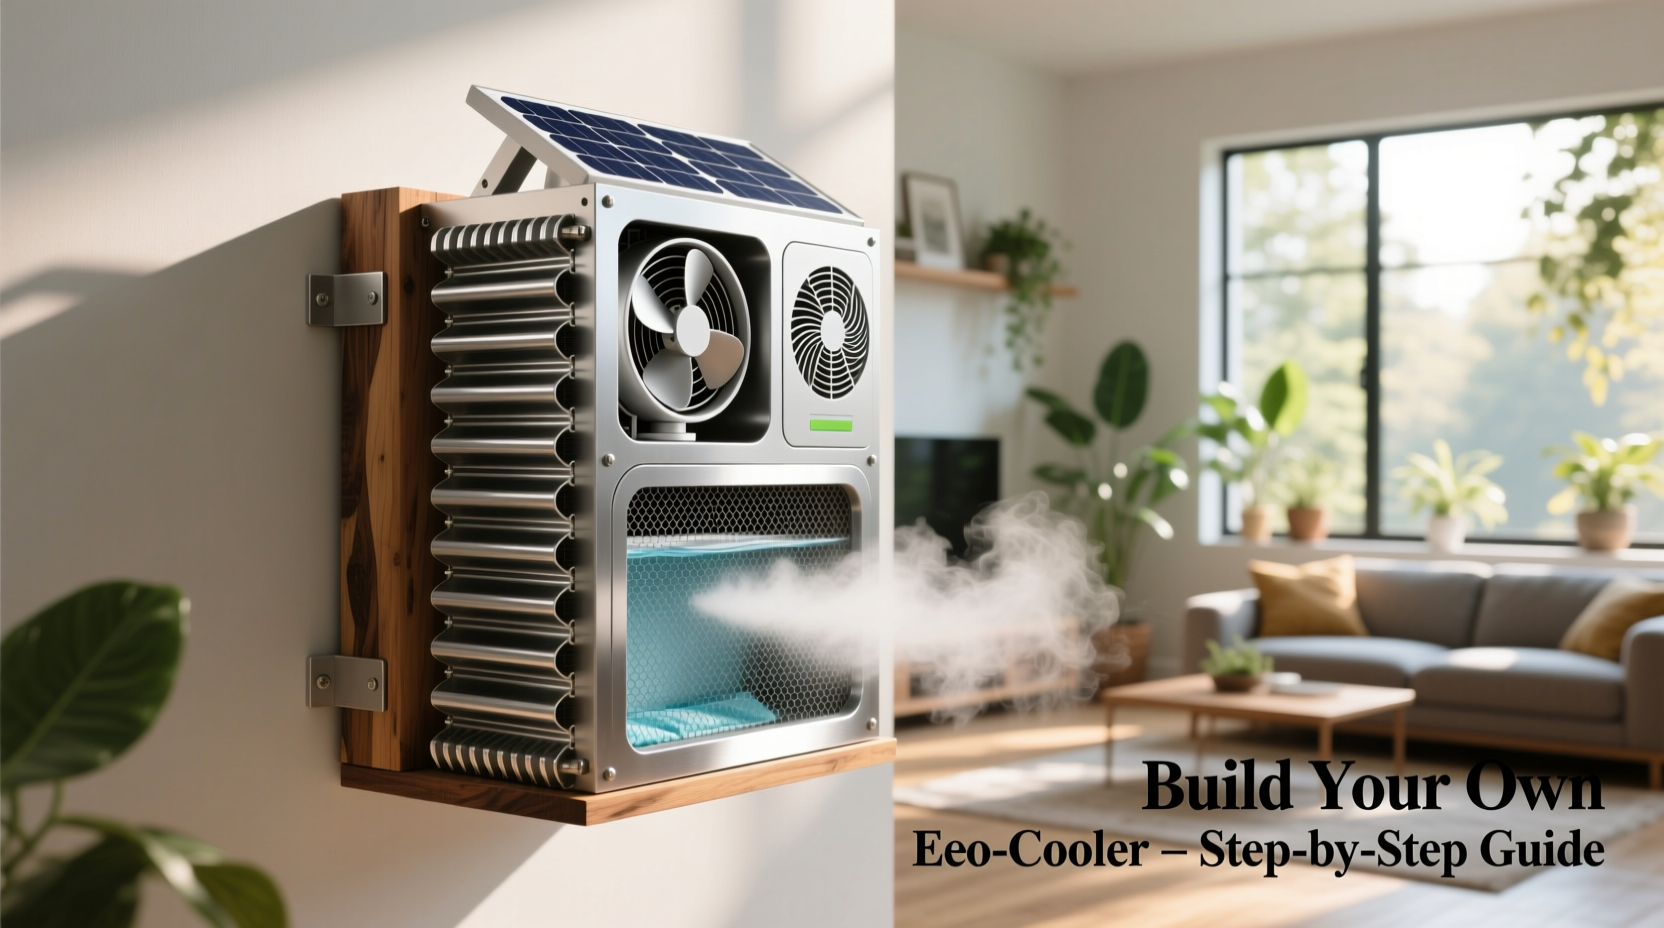
In regions where summer heat makes indoor comfort a challenge—and especially in homes without central air—many turn to expensive window units or energy-intensive fans. But effective cooling doesn’t have to rely on high electricity bills or complex installations. With a bit of ingenuity, basic tools, and accessible materials, it’s possible to construct a highly functional DIY air conditioning system that cools your space efficiently and sustainably.
These homemade systems leverage principles of thermodynamics, airflow dynamics, and evaporative cooling to deliver real temperature drops. Whether you're in a small apartment, off-grid cabin, or simply looking to reduce energy consumption, the following solutions offer practical, scalable options for staying cool without relying solely on commercial AC units.
Understanding Evaporative Cooling: The Science Behind DIY AC
At the heart of most effective DIY air conditioners is evaporative cooling—the process by which water absorbs heat from the air as it transitions from liquid to vapor. When dry, hot air passes over water, evaporation occurs, lowering the air temperature. This principle powers swamp coolers used in arid climates and forms the basis of many homemade cooling devices.
The efficiency of evaporative cooling depends heavily on ambient humidity. In dry environments (below 50% relative humidity), these systems can reduce air temperature by 10–20°F (5–11°C). However, in humid areas, the effect diminishes because the air is already saturated with moisture and cannot absorb additional water vapor.
“Evaporative cooling isn’t just a workaround—it’s a legitimate thermodynamic process used in industrial applications. When applied correctly at home, it can provide meaningful relief during heat waves.” — Dr. Alan Reyes, Mechanical Engineer & Sustainable Design Consultant
Step-by-Step Guide: Building a Basic Ice-Based Air Cooler
This simple yet effective DIY air conditioner uses ice, a fan, and a container to create chilled airflow. It's ideal for personal use or cooling small rooms up to 150 square feet.
- Gather Materials: A sturdy plastic cooler or insulated box, a 12V DC fan (or standard household fan), two PVC pipes (4-inch diameter, 12 inches long), duct tape, a drill, and ice.
- Prepare the Cooler: Drill two holes near the top of one side of the cooler—just large enough to fit the PVC pipes snugly. These will serve as cold air outlets.
- Install the Fan: Cut a hole on the opposite side (lid or back wall) to fit the fan. Secure it facing inward so it pulls warm air into the cooler.
- Insert the Ducts: Place the PVC pipes through the outlet holes. Seal gaps around them with foam tape or silicone to prevent warm air leakage.
- Add Ice: Fill the cooler halfway with ice packs or crushed ice. For longer runtime, use frozen water bottles to slow melting.
- Power and Test: Turn on the fan. Warm room air enters, passes over the ice, cools down, and exits through the ducts as chilled air.
Advanced Option: DIY Swamp Cooler Using Recycled Materials
For larger spaces or continuous use, a recirculating swamp cooler offers greater efficiency. This version uses a pump to wet cooling pads, maximizing surface area for evaporation.
Materials Needed:
- Plastic storage bin (15–20 gallon)
- Submersible fountain pump (100–200 GPH)
- Automotive radiator cooling pad or cellulose honeycomb pad
- Flexible tubing (3/8 inch)
- DC fan (high CFM rating, 12V)
- PVC pipe or wooden frame for structure
- Drill, saw, zip ties
Assembly Steps:
- Cut an opening on one side of the bin to mount the fan, ensuring tight fit.
- On the opposite side, cut a rectangular section and attach the cooling pad using silicone sealant.
- Place the pump inside the bin. Connect tubing from the pump to a perforated pipe or spray bar positioned above the cooling pad.
- Route the tubing over the pad so water trickles down its surface when the pump runs.
- Fill the bin with water (do not exceed pump level markings).
- Position the unit near a window or door where hot air enters; the fan draws air through the wet pad, cooling it before release indoors.
This system operates best in dry climates and can run continuously with periodic water refills. Expect a 10–15°F drop in temperature under optimal conditions.
Do’s and Don’ts of DIY Air Conditioning
| Do’s | Don’ts |
|---|---|
| Use insulated containers to prolong ice life | Run ice-based coolers in high-humidity environments expecting major cooling |
| Place units near windows to draw in drier outdoor air | Block airflow with furniture or curtains |
| Clean components weekly to prevent mold and algae | Leave standing water unattended for days without treatment |
| Combine DIY coolers with ceiling fans for better circulation | Use non-food-grade plastics that may leach chemicals when heated |
| Experiment with saltwater ice mixtures (lowers freezing point, stays colder longer) | Overload circuits by running multiple high-wattage fans on extension cords |
Real-World Example: Off-Grid Cabin Cooling in Arizona
Jamal Thompson, a homesteader in Prescott, Arizona, faced extreme summer temperatures averaging 105°F (40°C) inside his solar-powered cabin. Unable to justify installing traditional AC due to energy constraints, he built a dual-stage evaporative cooler using two stacked plastic bins, recycled car radiator pads, and a 24W solar-compatible fan.
He positioned the unit near a north-facing window, allowing dry desert air to enter through the wet pads. By pre-chilling intake air and pairing the system with thermal mass (stone flooring and shaded exterior walls), he achieved an indoor temperature of 82°F (28°C)—a dramatic 23°F reduction. “It’s not Arctic-level cold,” he said, “but it turns an unbearable space into one where you can sleep, cook, and work comfortably.”
Checklist: Building Your Own Efficient DIY Cooling System
- ✅ Assess your climate—evaporative cooling works best in dry areas
- ✅ Choose between ice-based (small scale) or pump-driven swamp cooler (larger areas)
- ✅ Select materials that resist mold and UV degradation
- ✅ Ensure proper sealing around fans and ducts to maximize efficiency
- ✅ Position the unit where airflow can circulate freely
- ✅ Maintain cleanliness—drain and scrub weekly
- ✅ Pair with cross-ventilation or dehumidifiers if needed
- ✅ Monitor indoor humidity levels (ideal below 60%)
Frequently Asked Questions
Can I make a DIY AC without ice or water?
Yes, but alternatives are limited. One option is a thermoelectric (Peltier) cooler, which uses electricity to transfer heat. While quiet and compact, these are inefficient for room cooling and consume significant power for minimal output. They’re better suited for spot cooling small enclosures like electronics boxes.
How much electricity does a DIY air conditioner use?
An ice-based fan cooler typically uses only the wattage of the fan—between 10W and 50W, depending on size. A pump-driven swamp cooler adds another 20–50W. Compared to a standard window AC unit (500–1500W), DIY versions use less than 10% of the energy, making them excellent for off-grid or budget-conscious setups.
Is it safe to leave a DIY cooler running overnight?
With precautions, yes. Ensure electrical components are elevated and dry, use GFCI outlets, and avoid overloading circuits. For ice-based models, check for condensation buildup. In swamp coolers, change water daily to prevent bacterial growth. Never use damaged cords or improvised wiring.
Conclusion: Stay Cool, Save Energy, and Build Smart
Building your own air conditioning system isn’t just a survival hack—it’s a smart response to rising energy costs, unreliable infrastructure, and environmental concerns. With thoughtful design and regular maintenance, a DIY cooler can deliver real comfort using minimal resources. From a simple ice-and-fan setup to a fully recyclable swamp cooler, these systems prove that innovation often lies in simplicity.


 浙公网安备
33010002000092号
浙公网安备
33010002000092号 浙B2-20120091-4
Comments
No comments yet. Why don't you start the discussion?