
In an age of smart devices and digital overload, there's something deeply satisfying about building your own alarm clock from scratch. Beyond the charm of a handmade gadget, DIY alarm clocks offer customization, learning opportunities, and a sense of accomplishment. Whether you're new to electronics or looking for a weekend project, creating a functional yet unique alarm clock is both practical and fun. These designs use accessible components, require minimal tools, and deliver reliable wake-up calls—without the distractions of smartphones.
Why Build Your Own Alarm Clock?
Commercial alarm clocks often come with unnecessary features that distract more than help. A DIY approach allows you to design exactly what you need: a simple, loud, or even quirky device that gets you out of bed efficiently. Building your own also deepens understanding of electronics, timing circuits, and user interface design. Plus, it’s sustainable—many projects repurpose old displays, speakers, or enclosures.
“Hands-on projects like DIY clocks foster problem-solving skills and make technology tangible.” — Dr. Lena Patel, STEM Education Specialist
Essential Components for DIY Alarm Clocks
Most DIY alarm clocks share a few core components. Understanding these helps in planning and sourcing parts:
- Microcontroller or Timer IC: The brain of the clock. Options include Arduino, ESP32, or simpler chips like the 555 timer.
- Display: LED, LCD, or seven-segment displays show time clearly.
- Real-Time Clock (RTC) Module: Ensures accurate timekeeping, even when power is off (e.g., DS3231).
- Buzzer or Speaker: Produces the alarm sound. Piezo buzzers are common; small speakers allow custom tones.
- Power Source: USB, batteries, or wall adapters depending on portability needs.
- Buttons or Knobs: For setting time and alarms.
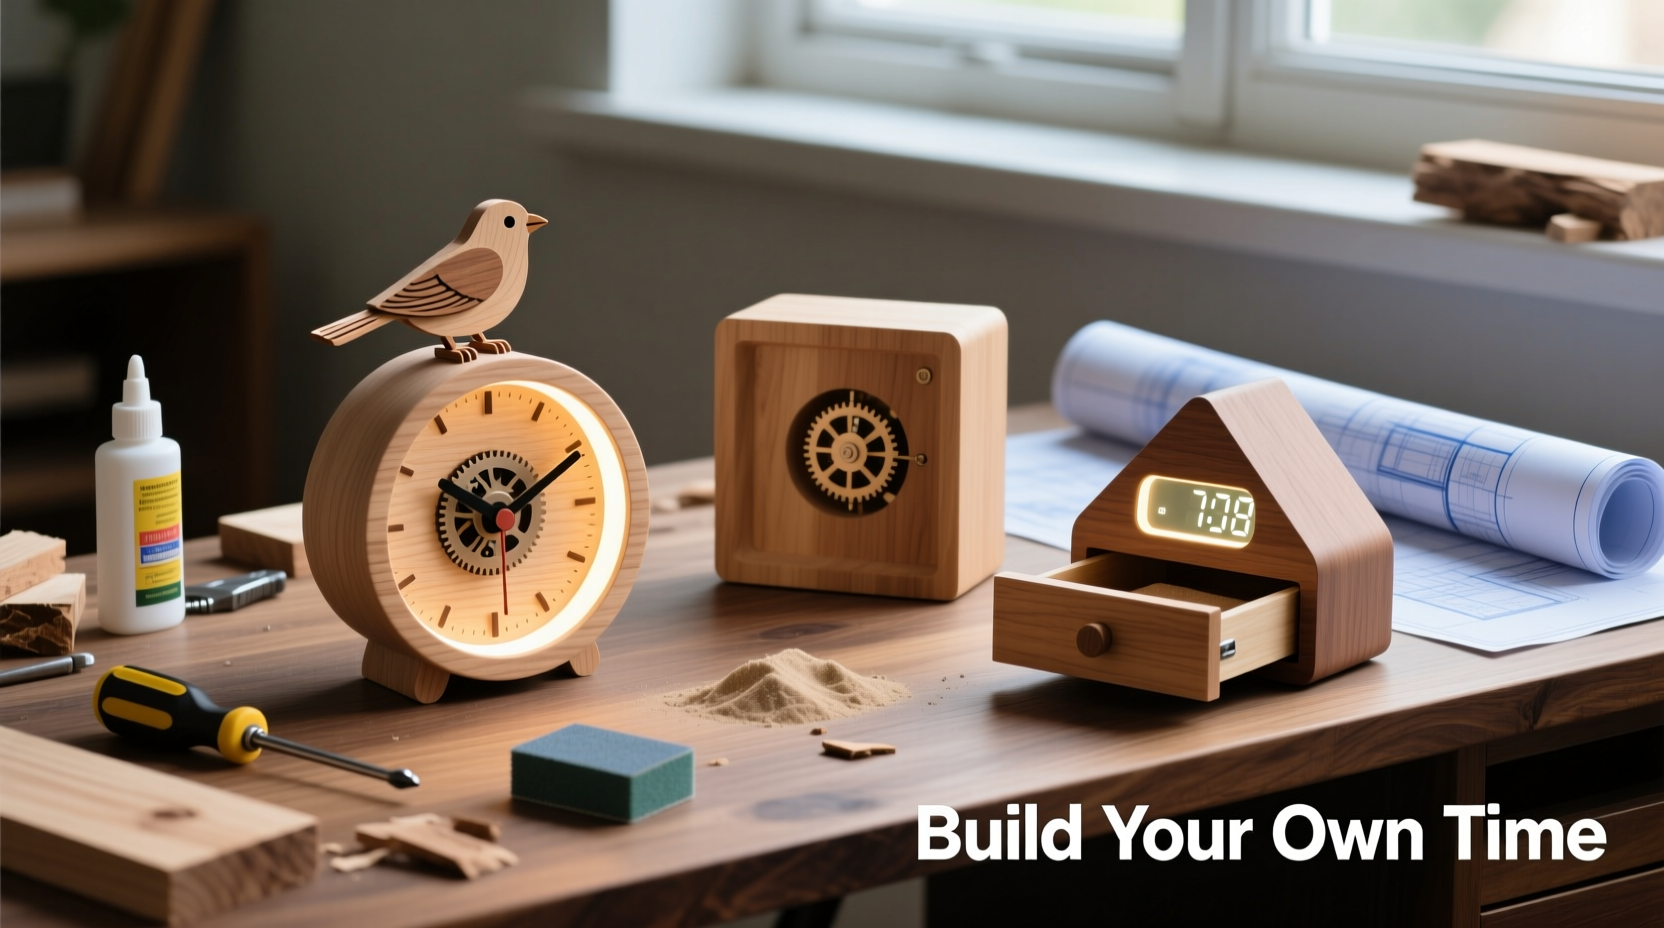
- Enclosure: Wood, plastic, or repurposed containers protect the circuit and add aesthetic value.
Three Simple & Effective DIY Alarm Clock Designs
1. Basic LED Display Clock with Buzzer Alarm
This minimalist design uses an Arduino Uno, a four-digit seven-segment LED display, and a piezo buzzer. It’s ideal for beginners and takes under two hours to assemble.
- Connect the DS3231 RTC to Arduino via I2C (SCL to A5, SDA to A4).
- Wire the seven-segment display using shift registers or direct pin connections.
- Attach a push button to set the alarm time.
- Program the Arduino to read time from the RTC, display it, and trigger the buzzer at the set time.
- Use a 9V battery or USB power for continuous operation.
The code can be written in the Arduino IDE using libraries like TimeLib and DS3231. The alarm repeats until the button is pressed—a classic \"snooze\" function.
2. Wooden Enclosure Clock with Analog Feel
For a rustic touch, house your circuit in a laser-cut or hand-carved wooden box. This version uses the same electronics but focuses on craftsmanship.
Drill holes for the display and buttons. Sand and finish the wood with natural oil. Mount components securely using standoffs or adhesive pads. Add a small speaker behind a perforated panel for richer sound. This design blends modern tech with traditional aesthetics—perfect for bedside tables.
3. Sunrise Simulation Clock
A sunrise alarm mimics dawn by gradually brightening an LED strip over 15–30 minutes. This gentle wake-up method reduces stress and aligns with circadian rhythms.
Components: Arduino, RTC module, white/yellow LED strip, potentiometer (for brightness control), and a diffuser (frosted acrylic or fabric).
Code the Arduino to start dim lighting before the alarm time, increasing brightness linearly. Pair it with soft chimes from a speaker for a multi-sensory experience. Place the LEDs behind a shaded panel so light spreads evenly across the room.
| Design | Difficulty | Key Feature | Build Time |
|---|---|---|---|
| LED Display Clock | Beginner | Loud buzzer alarm | 2 hours |
| Wooden Enclosure Clock | Intermediate | Handcrafted look | 4–6 hours |
| Sunrise Simulator | Intermediate | Gradual light wake-up | 5 hours |
Step-by-Step Guide: Building the Basic LED Alarm Clock
Follow this sequence to assemble the foundational model:
- Gather Components: Arduino Uno, DS3231 RTC, 4-digit 7-segment display, piezo buzzer, breadboard, jumper wires, 10kΩ resistor, and a push-button switch.
- Assemble the Circuit: Connect the RTC to Arduino’s I2C pins. Link the display digits to digital pins 2–9 (or use a MAX7219 driver). Wire the buzzer to pin 10 and ground.
- Install Libraries: In Arduino IDE, install
TimeLib,DS3231, andSevSeg(for display control). - Upload Test Code: First, verify the RTC keeps time. Then test display output. Finally, integrate the alarm logic.
- Add Alarm Function: Use the button to toggle into alarm-setting mode. Store alarm time in variables. When current time matches alarm, activate buzzer.
- Finalize Housing: Transfer the circuit to a project box. Label buttons. Secure all parts to prevent short circuits.
- Test Overnight: Power via USB or adapter. Confirm it wakes you reliably.
Mini Case Study: The Coffee Cup Alarm That Works
Jamal, a college student prone to oversleeping, built an alarm clock inside an old ceramic coffee mug. He used a small Arduino Nano, a bright OLED display, and a loud 12V buzzer powered by a USB bank. The display showed time in large digits, and the alarm only stopped when he solved a simple math problem entered via buttons—forcing him to sit up and engage his brain.
After two weeks, Jamal reduced late arrivals by 80%. Roommates appreciated that the alarm wasn’t easily snoozed back into silence. His design became a campus favorite, with three friends replicating it with their own twists—like adding voice recordings or vibration motors under the mattress.
Checklist: Before You Power On Your DIY Clock
- Double-check all wiring against the schematic
- Confirm polarity of displays, buzzers, and power sources
- Test each component separately (RTC, display, alarm)
- Ensure buttons make clean contact without sticking
- Verify code compiles and uploads without errors
- Secure loose wires with tape or zip ties
- Place in final enclosure with ventilation if needed
Frequently Asked Questions
Can I build a DIY alarm clock without coding knowledge?
Yes, but with limitations. Pre-programmed kits or modules (like standalone digital timers) require no coding. However, full customization—such as setting alarms or adjusting brightness—usually requires basic Arduino programming. Tutorials and open-source code online make this accessible even to beginners.
How do I keep time accurate over long periods?
Use a Real-Time Clock (RTC) module like the DS3231, which includes a temperature-compensated crystal oscillator. Unlike the Arduino’s internal clock, which can drift minutes per day, the DS3231 stays within seconds per month. It also runs on a backup coin cell during power outages.
What if my alarm doesn’t sound?
First, check buzzer connections and power supply. Ensure the alarm condition in code is triggered—add serial print statements to debug. If using a passive buzzer, confirm your code generates a tone (e.g., tone(pin, frequency)). Active buzzers require only on/off signals.
Making It Your Own: Customization Ideas
The real joy of DIY lies in personalization. Consider these upgrades:
- Add a second alarm for weekends.
- Include an ambient light sensor to dim the display at night.
- Integrate Wi-Fi (via ESP32) to sync time automatically or receive weather updates.
- Use a rotary encoder instead of buttons for smoother time setting.
- Paint or engrave the enclosure with motivational quotes or artwork.
One maker replaced the buzzer with a recorded message of their dog barking—it was startling enough to ensure they got up immediately.
Conclusion
Building a DIY alarm clock isn’t just about waking up on time—it’s about reclaiming control over your mornings with creativity and intention. From basic LED models to sunrise simulators, these projects prove that simplicity and effectiveness go hand in hand. With affordable components and open-source support, anyone can craft a clock that fits their lifestyle and decor.


 浙公网安备
33010002000092号
浙公网安备
33010002000092号 浙B2-20120091-4
Comments
No comments yet. Why don't you start the discussion?