
Crafting your own accessories offers a unique blend of creativity and personal expression. Among the most endearing and symbolic motifs in handmade jewelry is the humble bee—representing diligence, community, and environmental awareness. A DIY bee keychain combines whimsy with purpose, making it an ideal project for crafters of all levels. Whether you're creating a thoughtful gift or adding a cheerful touch to your daily carry, this guide walks you through imaginative designs, materials, and techniques to bring your tiny buzzing charm to life.
Why Craft a Bee Keychain?
The bee has become more than just a backyard insect—it’s a cultural symbol of sustainability, hard work, and natural harmony. Handcrafting a bee-themed keychain allows you to carry that symbolism with you while showcasing your artistic flair. These charms are lightweight, portable, and surprisingly durable when made with care. Plus, they make excellent handmade gifts for friends, teachers, or eco-conscious loved ones.
Beyond sentiment, the process sharpens fine motor skills and encourages mindfulness. Repetitive motions like stitching felt or shaping wire can be meditative, offering a digital detox from screen-heavy routines. Crafting also fosters problem-solving as you adapt techniques to your vision.
“Handmade items connect us to tradition, nature, and intention. A simple bee charm can spark joy every time keys jingle.” — Lila Nguyen, Artisan Craft Educator
Materials & Tools You’ll Need
Before diving into specific projects, gather the foundational supplies. Most bee keychain designs rely on accessible, affordable materials found at craft stores or online.
| Material/Tool | Purpose | Recommended Type |
|---|---|---|
| Felt (wool or synthetic) | Body and wings for soft bees | Yellow, black, white; 2–3mm thickness |
| E6000 or fabric glue | Strong adhesion for non-sewing options | Clear-drying, flexible bond |
| Sewing needle & thread | Stitching felt or fabric pieces | Embroidery floss in black/yellow |
| Polyester stuffing | For 3D plush-style bees | Lightweight, hypoallergenic |
| Clay (polymer or air-dry) | Sculpting solid bee charms | Fimo, Sculpey, or DAS Air-Hardening |
| Keyring (25–30mm) | Final attachment | Brass or nickel-free alloy |
| Wire (24–26 gauge) | Antennae or armature for clay | Black enamel-coated craft wire |
| Pins, beads, googly eyes | Details and personality | 3–5mm size for small features |
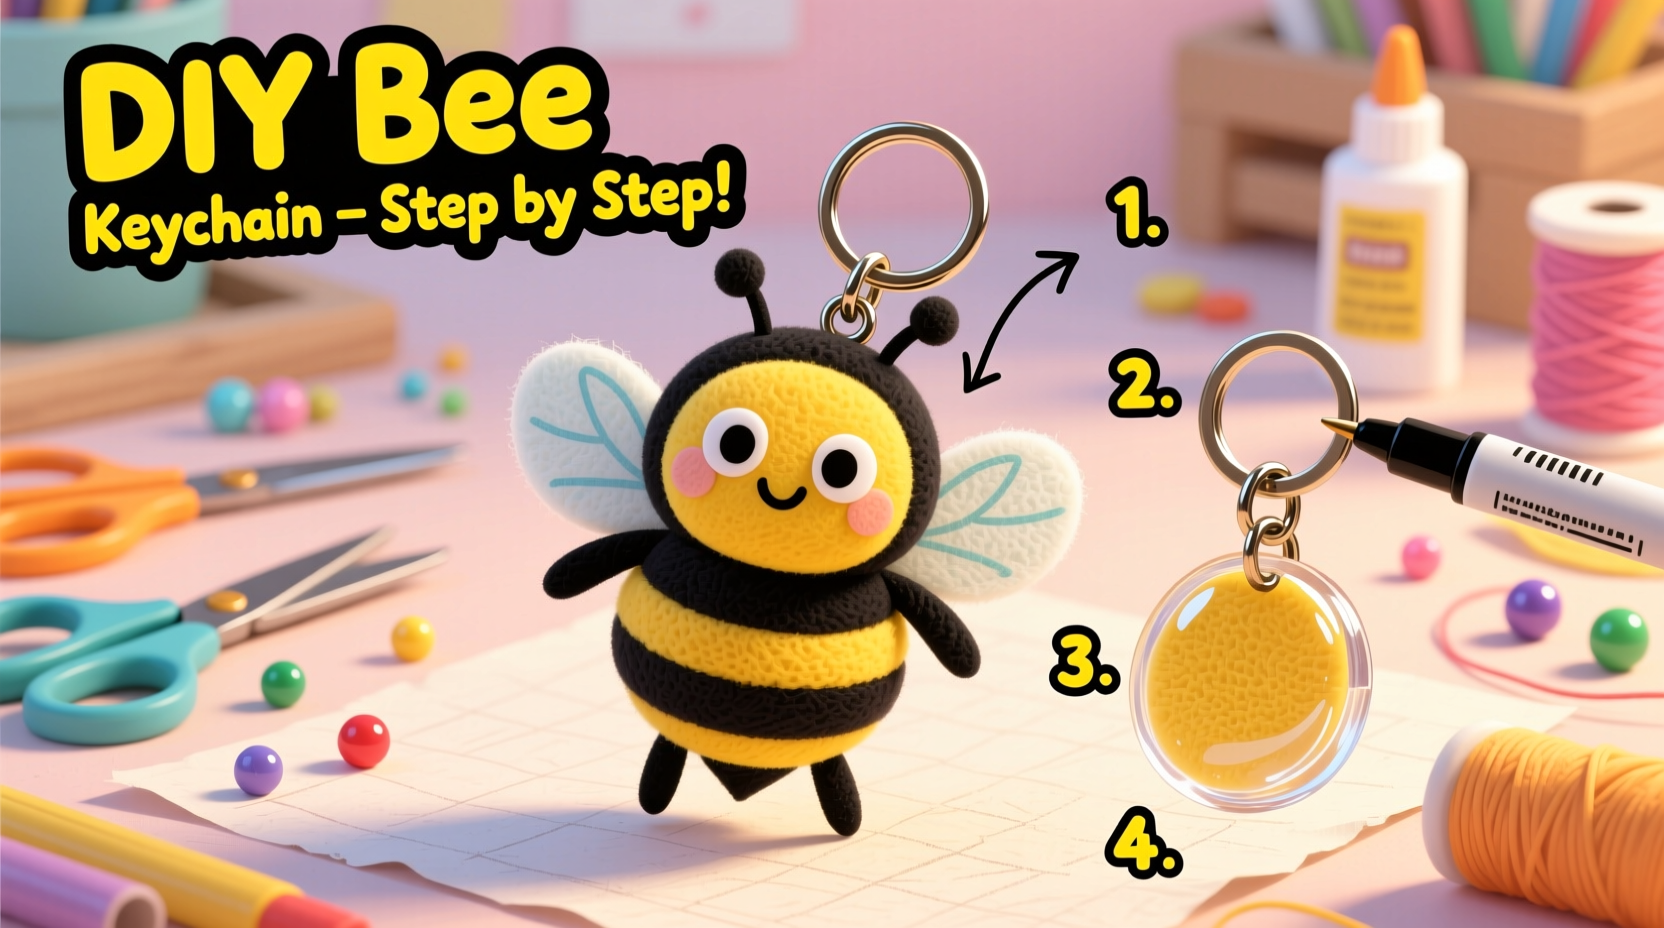
Step-by-Step Guide: Felted Bumblebee Keychain
This beginner-friendly design creates a soft, huggable bee using layered felt. It requires minimal sewing and dries quickly if glued.
- Print and cut the template: Sketch a simple bee body (oval shape, ~4cm long) or download a printable outline. Trace onto yellow felt and cut two identical pieces.
- Add stripe details: Cut three curved black strips (~0.8cm wide) for stripes. Glue or stitch them onto one yellow piece, spacing evenly.
- Create wings: Cut two teardrop-shaped pieces from white or translucent felt. Layer each with a smaller black-edged wing if desired. Attach near the top back of the bee using glue or whip stitch.
- Attach facial features: Use black embroidery floss to stitch a smile, or glue on small white felt circles with black dots for eyes. Add a tiny white triangle nose if preferred.
- Join both sides: Apply glue around the edge of one side, leaving a 2cm gap for turning. Press the second side on top. Once dry, insert a small pinch of stuffing through the gap for dimension.
- Seal and finish: Stitch or glue the opening closed. Insert a metal keyring through a stitched loop or directly attach to the top edge.
- Optional antennae: Twist short lengths of black wire into curls, glue into the top front, and cap ends with tiny white beads.
Variation: Embroidered Details
Instead of flat black stripes, try French knot embroidery using black thread. This adds texture and a handcrafted look. Outline the wings with silver metallic thread for a subtle shimmer.
Alternative Designs: Beyond Felt
Not all bee keychains need to be soft. Explore alternative mediums for different aesthetics and durability.
- Polymer Clay Bees: Sculpt a bee using yellow and black clay. Roll a tapered oval for the body, add segmented stripes, and bake according to package instructions. Attach a baked-on loop or embed a pin before curing.
- Resin Bees: Pour tinted resin into bee-shaped molds. Embed dried flowers or gold flakes for a nature-inspired look. Allow 24 hours to cure before attaching a keyring.
- Upcycled Metal Bees: Flatten bottle caps or tin scraps, then draw a bee silhouette. Cut carefully with metal shears, file edges smooth, and paint with acrylics. Drill a small hole at the top for the ring.
- Wood-Burned Bees: Use a laser-cut or hand-carved wooden bee blank. Pyrography adds fine lines for wings and facial details. Seal with food-safe wax for protection.
Mini Case Study: The Garden Club Fundraiser
A community garden group in Portland wanted a meaningful fundraiser item that reflected their mission. They designed a series of felt bee keychains, each handmade by volunteers. Using donated fabric scraps and recycled keyrings, they produced 120 units over three weekends. Sold at $8 each, the project raised $960—funding native pollinator plants for local parks. Participants reported increased bonding and pride in their craftsmanship. One member noted, “It’s not just a keychain. It’s a reminder of what we grow together.”
Checklist: Before You Begin Your Project
- Choose your preferred material (felt, clay, resin, etc.)
- Gather all necessary tools and safety gear (scissors, gloves, mask for sanding)
- Prepare a clean, flat workspace with good lighting
- Test adhesives on scrap material first
- Have your keyrings ready and check for sharp edges
- Decide on embellishments (eyes, wire, glitter)
- Set aside uninterrupted time (30–60 minutes per keychain)
Frequently Asked Questions
Can I wash a felt bee keychain?
Spot clean only. Submerging felt can cause shrinking or distortion. Use a damp cloth with mild soap, then air dry completely.
How do I prevent clay from cracking during baking?
Condition the clay thoroughly before shaping. Avoid overly thin sections, and bake at the correct temperature. Let it cool slowly—don’t remove from oven immediately.
Are these safe for young children?
If using small parts like beads or wires, supervise closely. Opt for glued eyes and soft materials for toddler-safe versions.
Conclusion: Bring Your Buzz to Life
A handmade bee keychain is more than a functional item—it’s a tiny emblem of creativity, care, and connection to the natural world. With simple materials and mindful effort, you can craft a charm that delights every time you reach for your keys. Whether you choose plush felt, sculpted clay, or upcycled metal, each method offers its own rewards. These projects are accessible, repeatable, and deeply satisfying.


 浙公网安备
33010002000092号
浙公网安备
33010002000092号 浙B2-20120091-4
Comments
No comments yet. Why don't you start the discussion?