
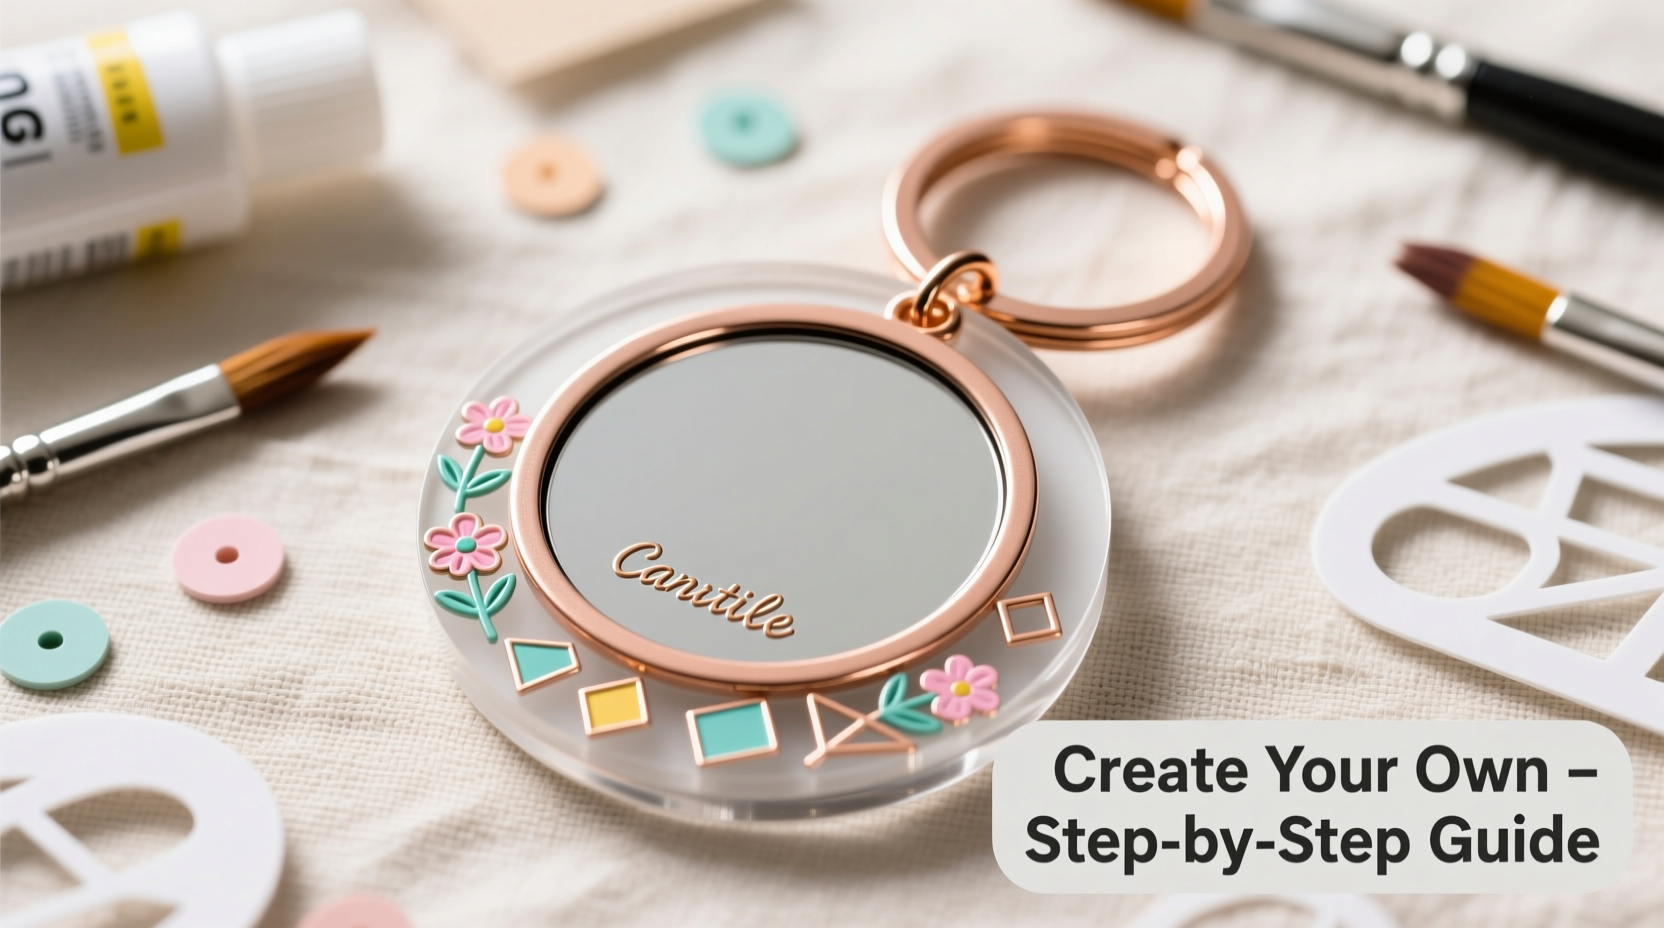
Everyday items don’t have to be ordinary. A car keychain, often overlooked, can become both functional and expressive with a simple upgrade: a built-in mirror. Whether for quick touch-ups on the go or checking blind spots, a compact mirror on your keychain adds convenience. But instead of buying one off the shelf, why not create your own? With a few basic materials and a bit of creativity, you can design a personalized accessory that reflects your style and serves a practical purpose.
Why Craft Your Own Car Keychain Mirror?
Mass-produced keychains are convenient but rarely unique. Creating your own means you control every detail—from size and shape to color and charm. More importantly, a DIY mirror keychain encourages resourcefulness and sustainability. Many components can be repurposed from old jewelry, broken compacts, or unused hardware. The process also fosters mindfulness; assembling something by hand connects you to its function in a way pre-made products rarely do.
“Handmade accessories carry intention. When you craft something useful, you’re not just making an object—you’re designing a habit.” — Lila Nguyen, Sustainable Lifestyle Designer
Essential Materials and Tools
Before diving into designs, gather the basics. Most supplies are affordable and widely available at craft stores or online. Here’s what you’ll typically need:
- Small mirror piece (round, square, or custom-cut)
- Keyring or split ring (metal or plastic)
- Pliers (flat-nose and round-nose recommended)
- Epoxy glue or strong adhesive
- Decorative elements: beads, charms, polymer clay, fabric, etc.
- Protective coating (optional: clear resin or nail polish)
- Safety glasses (when cutting or shaping materials)
Step-by-Step Guide to Building Your Custom Keychain Mirror
Follow this structured approach to assemble a durable, attractive mirror keychain. This method works for beginners and allows room for customization at each stage.
- Select your mirror: Choose a small, lightweight mirror no larger than 1 inch in diameter. Safety is key—opt for acrylic or shatterproof glass if possible.
- Prepare the base: If using polymer clay or metal findings, mold or cut a frame to hold the mirror securely. Allow clay bases to cure according to package instructions.
- Attach the mirror: Apply a small dab of epoxy glue to the back of the mirror and press it into place. Hold for 30 seconds and let dry completely (usually 4–6 hours).
- Add decorative touches: String beads onto a jump ring, wrap wire around the edges, or paint patterns around the border. Let creativity guide form.
- Secure the keyring: Open a jump ring with pliers, slide it through the loop on your mirror base, then attach the keyring. Close the jump ring tightly to prevent loss.
- Seal and protect: For painted or porous surfaces, apply a thin layer of clear resin or waterproof sealant to guard against moisture and wear.
Time Investment & Skill Level
| Project Phase | Estimated Time | Skill Level Required |
|---|---|---|
| Material Gathering | 15–30 minutes | Beginner |
| Assembly | 20–40 minutes | Beginner to Intermediate |
| Drying/Curing | 2–6 hours | Passive |
| Final Touches | 10–15 minutes | Beginner |
Inspiring DIY Mirror Keychain Ideas
Once you’ve mastered the basics, experiment with these creative variations to personalize your accessory.
- Miniature Compass Combo: Embed a tiny compass next to the mirror for drivers who love road trips. Mount both in a vintage-style brass casing.
- Glitter Resin Encasement: Mix fine glitter into clear resin before pouring it around the mirror edge. Let it cure for a shimmering halo effect.
- Fabric-Wrapped Base: Cut a circle from denim, floral cotton, or leather, glue it behind the mirror, and secure with a metal rim.
- Mood Charm Accent: Attach a small enamel charm—like a sun, moon, or heart—that peeks out beside the mirror for emotional resonance.
- Engraved Initials: Use a fine-tip engraving tool to add your initials or a short word like “Drive” or “Calm” on a metal backing plate.
A Real-Life Example: Maria’s Commute Upgrade
Maria, a graphic designer and daily commuter, grew frustrated with fumbling for her compact mirror during morning traffic. She decided to make a keychain mirror using a salvaged circular mirror from an old eyeshadow palette and a copper-toned keyring she found in her drawer. She shaped a small clay frame in the shape of a steering wheel, baked it, and embedded the mirror in the center. After sealing it with resin, she added a turquoise bead accent. Now, she checks her appearance at red lights without digging through her bag—and her coworkers often ask where she bought it.
Her story illustrates how a small handmade item can solve a real-world problem while expressing individuality.
Common Pitfalls and How to Avoid Them
Even simple projects can go wrong without attention to detail. Below is a checklist of what to watch for.
DIY Mirror Keychain Checklist
- ✅ Use shatterproof or acrylic mirrors for safety
- ✅ Ensure the adhesive is fully cured before use
- ✅ Keep the overall weight light to avoid straining keyrings
- ✅ Seal porous materials to resist sweat and rain
- ✅ Double-check that the jump ring is closed securely
- ❌ Don’t overload with heavy charms that could unbalance the piece
- ❌ Avoid using hot glue—it lacks durability over time
Do’s and Don’ts at a Glance
| Action | Do | Don't |
|---|---|---|
| Adhesive Choice | Epoxy or UV-cure resin | Hot glue or tape |
| Mirror Size | 0.75” to 1.25” diameter | Larger than 1.5” |
| Weight | Under 1 oz | Bulky or dense materials |
| Weather Protection | Apply clear sealant | Leave raw paint exposed |
Frequently Asked Questions
Can I use a regular glass mirror?
It’s not recommended. Standard glass can shatter easily in a pocket or bag. Always opt for acrylic, plexiglass, or mirrored mylar sheets designed for crafts. They’re lighter and safer.
How do I clean the mirror without damaging it?
Use a soft microfiber cloth and a drop of lens cleaner or mild soapy water. Avoid paper towels or abrasive wipes, which can scratch the surface—especially on acrylic.
Is it safe to carry a mirror on keys every day?
Yes, as long as it’s securely attached and made with durable materials. Avoid sharp edges and ensure the mirror doesn’t protrude in a way that could cause injury or snag fabric.
Final Thoughts and Call to Action
Crafting a DIY car keychain mirror blends utility with personal expression. It takes less than an hour, costs little, and results in an item you’ll use daily. Beyond function, it becomes a signature piece—a small reflection of who you are. Whether you're making one for yourself or as a thoughtful gift, the process nurtures creativity and intentional living.


 浙公网安备
33010002000092号
浙公网安备
33010002000092号 浙B2-20120091-4
Comments
No comments yet. Why don't you start the discussion?