
Cats thrive in environments where they can explore, hide, and rest in comfort. While store-bought cat houses are readily available, a handmade shelter adds personality, functionality, and a personal touch to your home. Whether you're new to crafting or an experienced builder, there’s a DIY cat house project that fits your skills and style. With accessible materials and clear video guidance, creating a custom space for your feline is both rewarding and practical.
Why Build a DIY Cat House?
Commercial cat furniture often lacks durability, design flexibility, or true understanding of feline behavior. A homemade cat house allows customization based on your cat’s habits—whether they prefer high perches, enclosed hideaways, or multi-level lounges. Additionally, repurposing household items reduces waste and saves money. Most importantly, building something with care strengthens the bond between pet and owner.
“Cats benefit from vertical spaces and private retreats. A well-designed DIY cat house supports their natural instincts to climb, observe, and feel secure.” — Dr. Lena Reyes, Feline Behavior Specialist
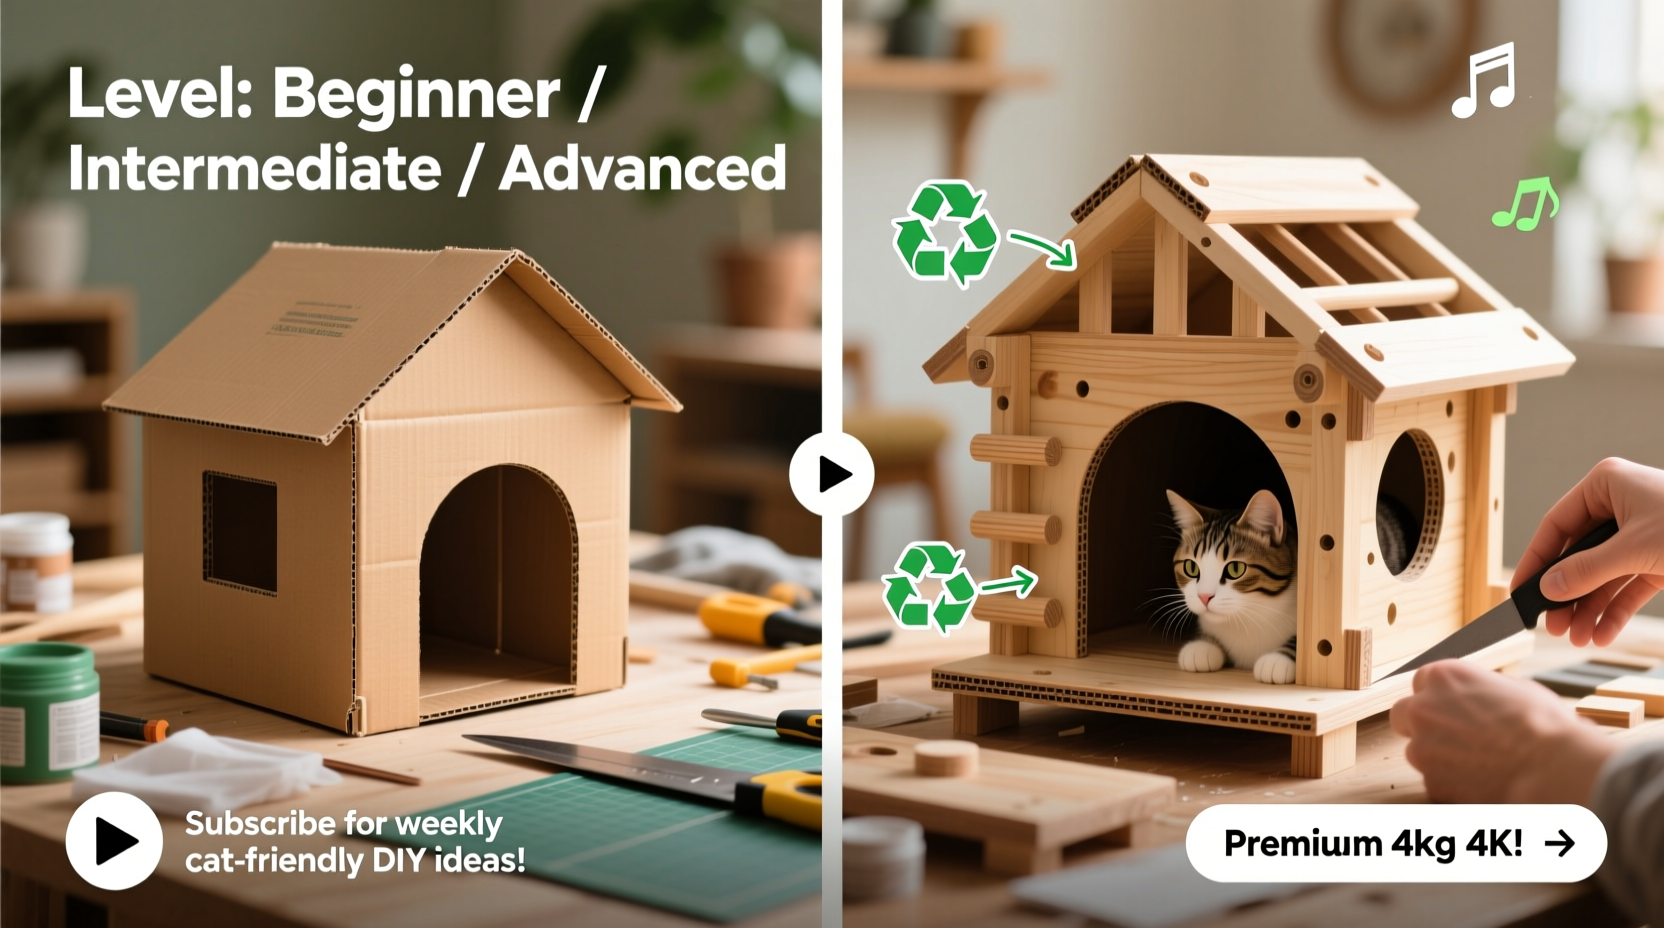
Choosing the Right Project for Your Skill Level
Different DIY builds require varying degrees of tools, time, and craftsmanship. Matching the project to your ability ensures success and safety. Below is a breakdown of recommended builds across three experience tiers, along with essential materials and estimated build times.
| Skill Level | Project Type | Materials Needed | Time Required | Recommended Video Tutorials |
|---|---|---|---|---|
| Beginner | Cardboard Igloo | Corrugated cardboard boxes, box cutter, non-toxic glue, fabric (optional) | 1–2 hours | “Easy Cardboard Cat Cave” by PetCraft Studio |
| Intermediate | Wooden Loft Bed | Plywood, screws, drill, sandpaper, non-toxic stain | 6–8 hours | “DIY Wooden Cat Bed with Ladder” by HomePaw Builds |
| Advanced | Wall-Mounted Cat Highway | Wood planks, wall brackets, stud finder, power tools, measuring tape | 12–16 hours (over 2 days) | “Build a Cat Wall Walkway System” by Urban Cat Design Co. |
Step-by-Step Guide: Building a Beginner-Friendly Cardboard Cat Igloo
A cardboard igloo is ideal for first-time builders and offers a cozy, disposable option your cat can enjoy for months. This no-power-tools project uses only recycled materials and takes under two hours.
- Gather Supplies: Collect two large corrugated boxes (one slightly larger than the other), a utility knife, ruler, non-toxic glue or packing tape, and optional soft fabric lining.
- Create the Base: Cut the bottom flaps off the larger box. Place it upside down—this becomes the foundation.
- Form the Entrance: On one side, draw a semi-circle (about 7 inches tall) and cut it out using the utility knife. Smooth sharp edges with sandpaper or folded tape.
- Build the Dome: Take the second box, remove all sides except the top and one long panel. Curve this panel into a dome shape and secure the ends inside the base box using glue or tape.
- Reinforce & Decorate: Add extra cardboard strips around joints for stability. Line the interior with a removable fabric pad or fleece blanket for comfort.
- Add a Roof: Use the original top flap of the base box as an overhang or create a separate peaked roof from spare cardboard for weather resistance (if used outdoors).
For visual clarity, follow along with the popular YouTube tutorial “Easy Cardboard Cat Cave” which demonstrates each stage in real time, including how to safely round corners and prevent collapse.
Intermediate Build: Wooden Cat Loft with Integrated Scratching Post
This elevated bed combines comfort and function, giving cats a raised vantage point and a built-in scratching surface. It requires basic woodworking knowledge but results in a durable, attractive piece that blends into home decor.
- Use ¾-inch plywood for platforms and a 4x4 wooden post for the center column.
- Cut two circular platforms (18 inches diameter) and one rectangular base (24x24 inches).
- Wrap the post tightly with sisal rope, securing every few inches with wood glue.
- Attach the post vertically to the base using metal brackets.
- Mount the lower platform at 12 inches height and the upper at 24 inches using lag screws.
- Sand all surfaces smooth and apply water-based, pet-safe finish.
The video series by HomePaw Builds walks viewers through joint reinforcement techniques and load-testing methods to ensure long-term safety. Many users report their cats use the loft daily for napping and claw maintenance.
Mini Case Study: The Apartment Cat Highway
In a compact Brooklyn apartment, Sarah Chen wanted to maximize vertical space for her two active rescue cats, Milo and Juno. With limited floor area, she opted for a wall-mounted circuit connecting a window perch, mid-wall shelf, and entry-point tunnel near the bedroom door.
Over a weekend, using pre-fabricated wooden shelves and heavy-duty floating shelf brackets anchored into studs, she created a continuous pathway 30 inches above the ground. Each segment included rubber matting for grip and was spaced 24 inches apart—ideal for easy jumping.
She followed the “Cat Wall Walkway System” tutorial, pausing frequently to measure angles and test stability. After completion, both cats adapted within 48 hours, using the route for morning patrols and afternoon sunbathing. Sarah noted reduced furniture scratching and increased activity levels.
Essential Safety Checklist Before Finalizing Any Build
No matter the complexity, every DIY cat house must meet basic safety standards. Use this checklist before allowing your cat to use the structure:
- ✅ All edges are sanded smooth or covered to prevent cuts.
- ✅ No toxic glues, stains, or finishes were used.
- ✅ Structure is stable and won’t tip when leaned on.
- ✅ Ventilation is adequate, especially in enclosed designs.
- ✅ Entrances are wide enough (minimum 7 inches) for easy access.
- ✅ There are no loose strings, dangling parts, or small swallowable pieces.
- ✅ For wall units: Anchored securely into wall studs, not just drywall.
“Even the most creative design fails if it isn't safe. Always prioritize structural integrity and non-toxic materials.” — Mark Tran, Pet Furniture Designer and Builder
Frequently Asked Questions
Can I use old furniture to make a cat house?
Yes, repurposed dressers, nightstands, or bookshelves can be excellent bases. Remove drawers to create cubby spaces, add carpeted platforms, and ensure stability. Avoid items with chipped paint or weak joints.
How do I get my cat to use the new house?
Place familiar bedding or toys inside, sprinkle catnip, and position the house near their favorite spot. Some cats take days to investigate; patience is key. Never force entry.
Are there fire hazards with DIY cat houses?
Only if using flammable materials near heat sources. Avoid placing cardboard or fabric-covered structures near radiators or space heaters. Wood and sisal are generally safer choices.
Conclusion: Start Small, Dream Big
Every great creation begins with a single cut, a measured line, or a spark of inspiration. Whether you’re assembling a simple cardboard cave or engineering a multi-room cat mansion, the process deepens your understanding of your pet’s needs while unleashing your creativity. With countless free video tutorials available, support is always within reach. Begin with a beginner project, learn from each build, and soon you’ll be designing custom shelters tailored perfectly to your cat’s personality.


 浙公网安备
33010002000092号
浙公网安备
33010002000092号 浙B2-20120091-4
Comments
No comments yet. Why don't you start the discussion?