
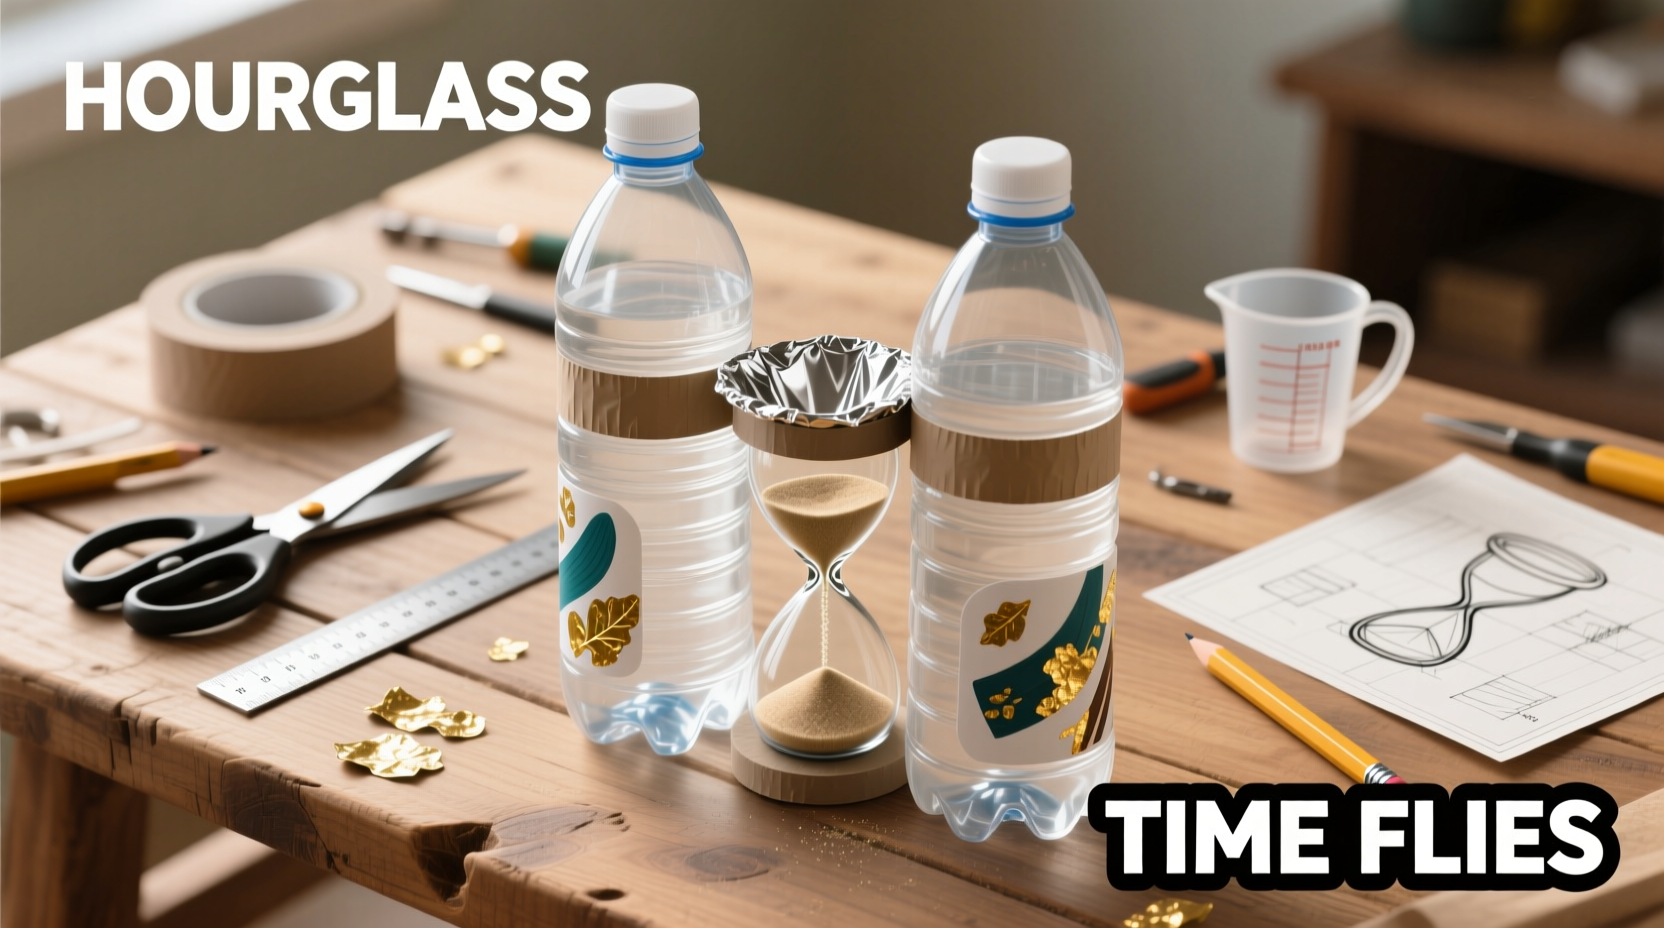
In an age dominated by digital timers and smartphone alarms, the hourglass remains a timeless symbol of patience, focus, and the steady passage of time. More than just a decorative object, it’s a functional tool that can be used in classrooms, kitchens, or meditation spaces. The best part? You don’t need specialized equipment to build one. With two plastic bottles, some basic tools, and a bit of creativity, you can construct a durable, working hourglass at home. This guide walks you through every step, offering practical tips, material insights, and design variations to ensure your creation is both accurate and long-lasting.
Why Build a DIY Hourglass?
Creating an hourglass from recycled plastic bottles isn’t just a fun weekend project—it’s a meaningful exercise in sustainability, STEM learning, and hands-on problem-solving. Teachers use homemade hourglasses to teach children about time estimation, gravity, and measurement. Parents appreciate them as screen-free timers for chores or homework. Crafters enjoy the meditative process of assembling something functional from everyday waste.
Unlike store-bought versions made of glass and sand, a plastic bottle hourglass is lightweight, shatterproof, and customizable in duration. Whether you want a 30-second countdown for games or a 5-minute timer for cooking eggs, the flow rate can be adjusted precisely through careful calibration.
Materials and Tools Needed
The beauty of this project lies in its simplicity. Most materials can be found around the house or purchased inexpensively. Here’s what you’ll need:
- Two identical plastic bottles (500ml recommended)
- Fine-grained sand or salt (for consistent flow)
- Strong tape (electrical or duct tape)
- A small nail or drill for making holes
- Pliers or scissors
- A funnel or rolled paper
- Hot glue gun or super glue (optional, for sealing)
- Rubber washer or coin (to regulate flow, optional)
For enhanced durability, consider using PET bottles—they resist deformation and maintain shape under pressure. Avoid thin, flexible bottles as they may collapse when inverted.
Step-by-Step Construction Guide
Follow these steps carefully to assemble a reliable, leak-proof hourglass that stands up to repeated use.
- Clean and dry both bottles thoroughly. Residue can clog the opening or affect flow consistency.
- Cut off the necks of both bottles just below the screw thread. Use scissors or a utility knife—be precise so the rims align evenly.
- Join the two cut ends together, mouth-to-mouth. Align them perfectly to create a symmetrical chamber.
- Secure the connection with strong tape. Wrap multiple layers around the seam for reinforcement. For extra strength, apply hot glue along the inner rim before taping.
- Make a small hole in the center of each bottle cap. Use a heated nail or small drill bit (1–2mm). This controls the sand flow rate.
- Screw one cap onto a bottle, then fill it halfway with dry sand or salt. Use a funnel to avoid spills.
- Screw the second cap onto the other bottle, then connect both bottles at the taped joint. Flip to test flow.
- Time the emptying process. Adjust hole size or sand amount until you achieve your desired duration.
Once calibrated, permanently seal the joint with waterproof epoxy or silicone if long-term use is intended. This prevents accidental disassembly and air leaks that disrupt flow.
Optimizing Flow and Durability
The key to a functional hourglass isn’t just assembly—it’s precision in material selection and calibration. Sand that’s too coarse will flow too quickly; too fine, and it may clump. Table salt offers uniform granules and is readily available, though it may absorb moisture over time. Dried rice or colored sugar can also work but vary more in size.
To improve consistency:
- Bake sand at 200°F for 20 minutes to remove moisture.
- Sift grains through a fine mesh to eliminate dust and oversized particles.
- Add a tiny rubber gasket between caps to reduce wobble and stabilize flow.
For longer durations, increase volume or decrease hole size. A 1mm hole with fine sand typically allows about 1–2 grams per second. Use this formula for rough estimates:
| Hole Diameter | Approx. Flow Rate (g/sec) | Time for 100g Sand |
|---|---|---|
| 0.8 mm | 0.8 | ~2 min 5 sec |
| 1.0 mm | 1.2 | ~1 min 23 sec |
| 1.5 mm | 2.0 | ~50 sec |
“Even minor inconsistencies in particle size can throw off timing by 20% or more. Precision matters.” — Dr. Alan Reyes, Materials Scientist & STEM Educator
Real-World Application: Classroom Time Management
Ms. Elena Torres, a third-grade teacher in Portland, built ten 3-minute hourglasses with her students using repurposed sports drink bottles. She uses them during writing sprints and quiet reading periods. “The visual cue helps kids self-regulate,” she says. “They see the sand falling and internalize pacing. Plus, no beeping means less stress.”
After six months of daily use, only two units showed wear—both due to dropped impacts. The others remain fully functional, proving that with proper construction, plastic bottle hourglasses can endure regular handling.
Customization and Creative Variations
Once the basic model works, experiment with enhancements:
- Color-coded sand: Layer dyed salt or sand for aesthetic appeal.
- Dual timers: Build nested hourglasses with different durations.
- Wall-mounted design: Attach to a wooden frame for display.
- Educational labels: Mark time intervals on the bottle for learning fractions or elapsed time.
For outdoor use, replace sand with small glass beads or metal shot to resist wind and moisture. Just ensure the hole size matches the material’s density to maintain timing accuracy.
Common Pitfalls and How to Avoid Them
| Issue | Causes | Solutions |
|---|---|---|
| Sand stops flowing mid-use | Moisture, static, or jagged hole edges | Dry materials thoroughly; smooth hole with file |
| Uneven or erratic flow | Misaligned chambers or airlock | Ensure tight seal; add vent hole in cap (tiny!) |
| Leaks at the joint | Poor taping or gap in connection | Reinforce with layered tape and glue |
FAQ
Can I make an hourglass that lasts exactly 10 minutes?
Yes. Start with a larger bottle (1L), use fine, dry sand, and a 0.7–0.9mm hole. Test multiple times, adjusting sand quantity until timing stabilizes. Seal thoroughly to prevent air pressure issues.
Is it safe for young children to use?
Yes, especially since plastic is safer than glass. Supervise initial use to prevent disassembly or ingestion of sand. Consider using colored rice instead of fine particles for younger kids.
How do I clean it if it gets clogged?
Disassemble carefully, rinse components with warm water, and dry completely. Blow air through the hole to clear residue. Reassemble only when fully dry.
Final Checklist Before Use
- ✅ Bottles are clean and dry
- ✅ Cut edges are smooth and aligned
- ✅ Joint is securely taped and sealed
- ✅ Hole size is consistent and centered
- ✅ Sand is dry, sifted, and free-flowing
- ✅ Flow time has been tested and calibrated
- ✅ No leaks or wobbling at connection point
Conclusion: Turn Waste into Wisdom
An hourglass made from plastic bottles is more than a clever craft—it’s a statement about resourcefulness, education, and mindful living. By transforming discarded containers into a precise timekeeping device, you demonstrate that innovation doesn’t require expensive tools or rare materials. It begins with observation, patience, and a willingness to experiment.
Whether you’re guiding students through a science lesson, helping a child manage screen time, or simply enjoying the elegance of analog timing, your DIY hourglass serves as a quiet reminder: time flows steadily, and so can our efforts to live more intentionally. Build yours today—and let every grain that falls mark not just seconds, but progress.


 浙公网安备
33010002000092号
浙公网安备
33010002000092号 浙B2-20120091-4
Comments
No comments yet. Why don't you start the discussion?