
Sticky notes are more than just office supplies—they’re tools for reminders, creative brainstorming, and personal expression. But instead of buying generic yellow pads, why not design your own? Creating custom Post-it notes at home is a surprisingly simple, rewarding project that blends practicality with creativity. Whether you want motivational quotes, themed colors, or personalized artwork, this guide walks you through every step to craft sticky notes that reflect your style and serve your daily needs.
Why Make Your Own Custom Sticky Notes?
Purchasing branded sticky notes can be expensive, especially if you go through them quickly. Mass-produced versions also lack personality and often come with limited size or color options. By making your own, you gain full control over the design, shape, adhesive strength, and even sustainability. Plus, handmade notes make thoughtful gifts or unique additions to bullet journals and planners.
“Handmade stationery fosters mindfulness in daily routines. When people use something they’ve created, they engage with it more intentionally.” — Lila Nguyen, Paper Craft Educator & Author of *Mindful Making*
Materials You’ll Need
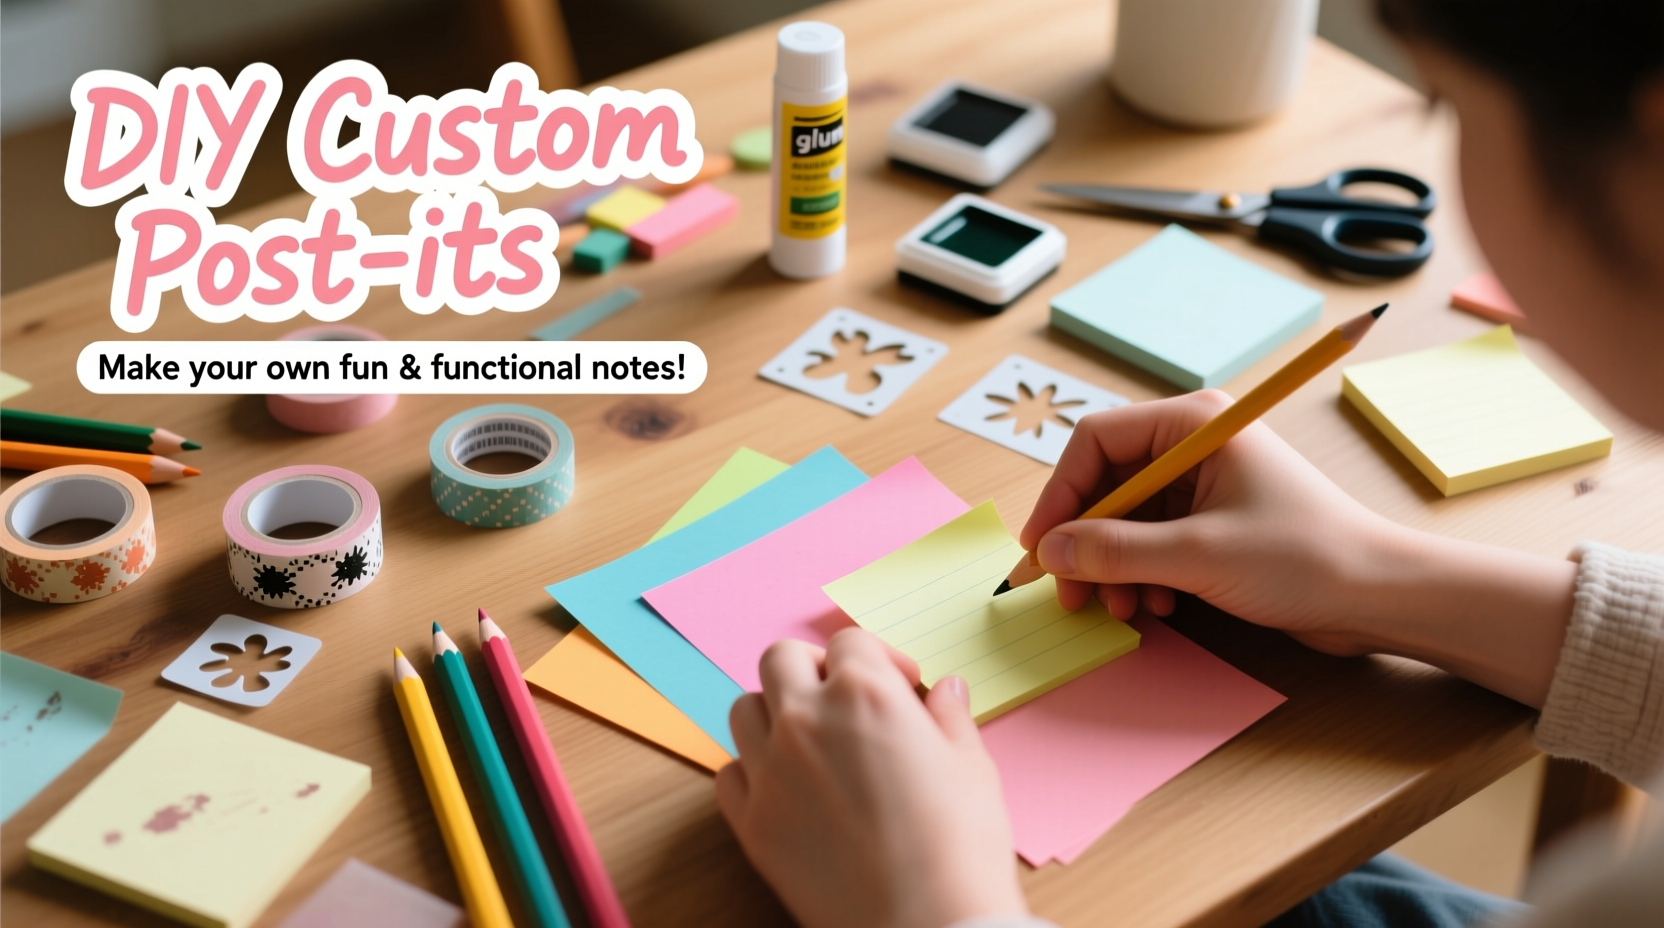
The beauty of this DIY project lies in its accessibility. Most materials can be found around the house or purchased affordably at craft stores. Here’s what you should gather before beginning:
- Colored or patterned paper (lightweight cardstock or standard printer paper)
- Scissors or a paper trimmer
- Ruler
- Pencil
- Double-sided tape or glue stick
- Repositionable glue stick or glue runner (specifically labeled “repositionable”)
- Washi tape (optional, for decorative edges)
- Markers, stamps, or stickers (for customization)
- Clear contact paper (optional, for durability)
Step-by-Step Guide to Crafting Custom Post-it Notes
Follow this detailed process to create professional-looking sticky notes from scratch. With patience and attention to detail, you’ll produce functional and beautiful tools for organization or gifting.
- Cut your paper to size. Standard Post-it dimensions are 3x3 inches, but you can experiment with rectangles (e.g., 3x5) or smaller squares for mini notes. Use a ruler and pencil to mark cutting lines, then trim carefully.
- Design your front side. Before applying adhesive, decorate each sheet. Use water-based markers, rubber stamps, doodles, or printed labels. Let ink dry completely to avoid smudging.
- Apply repositionable adhesive. Using a repositionable glue stick (like Scotch Repositionable Adhesive), apply an even layer to the back of one note. Focus on the top third—this mimics commercial Post-its where only the top sticks. Repeat for each note.
- Create a stack. Align your notes neatly and press them together at the top edge. For extra durability, reinforce the binding with a thin strip of washi tape across the top backside.
- Optional lamination. For waterproof or long-lasting notes, cover the front with clear contact paper before adding adhesive. Trim edges precisely after application.
- Test adhesion. Stick a sample to a notebook or wall. It should hold securely but lift cleanly without residue.
Design Ideas and Creative Variations
Once you’ve mastered the basics, explore these imaginative twists to elevate your sticky notes beyond function into art.
- Motivational series: Create themed sets like “Daily Affirmations,” “Gratitude Prompts,” or “Habit Trackers.”
- Color-coded system: Assign meanings to colors—pink for self-care, blue for work tasks, green for errands.
- Mini calendars: Design monthly mini-planners on 3x3 cards, perfect for fridge or desk use.
- Gift tags: Turn sticky notes into dual-purpose items—write messages on the front, use the sticky back to attach to presents.
- Interactive games: Print tiny puzzles, riddles, or conversation starters for coworkers or kids.
| Idea Type | Best Paper | Adhesive Tip | Use Case |
|---|---|---|---|
| Artistic doodles | White printer paper | Light glue on top edge | Journaling, mood tracking |
| Kids’ activity notes | Bright cardstock | Extra-wide tape strip | Fridge learning games |
| Eco-friendly memo pad | Recycled kraft paper | Repositionable glue + washi spine | Kitchen shopping lists |
| Wedding planner notes | Pastel textured paper | Glue runner with lace trim | Event organization |
A Real-Life Example: Sarah’s Study Success System
Sarah, a college student majoring in psychology, struggled with staying organized during exam season. After seeing handmade sticky notes online, she decided to create her own color-coded study system. She used green for memorization tasks, yellow for reading assignments, and pink for self-care breaks. Each note included a small icon—a brain, book, or heart—to make them instantly recognizable.
She applied repositionable glue to the top of each 2.5x2.5-inch square and stacked them with a floral washi tape spine. Within a week, her focus improved significantly. “I actually looked forward to using my notes,” she said. “They made studying feel less overwhelming and more personal.” Her classmates started asking for sets, turning her DIY project into a small campus-side business.
Tips for Longevity and Performance
Homemade sticky notes don’t have to be fragile or short-lived. A few smart choices can enhance their durability and usability.
- Use smooth, non-porous surfaces (glass, laminated paper, whiteboards) for best adhesion.
- Refresh weak stickiness by lightly rubbing the adhesive area with a kneaded eraser.
- If notes curl, place them under a heavy book overnight.
- For stronger hold on rough walls, consider double-sided removable dots instead of glue.
FAQ
Can I print designs directly onto sticky paper?
Yes, but only if you use printable sticker paper with a repositionable adhesive backing. Regular label sheets may not offer the same lift-and-reuse quality as true repositionable glue.
How many notes can I stack before they stop working?
Keep stacks under 50 sheets. Larger pads increase pressure on lower notes, weakening the adhesive bond and making them harder to peel individually.
Are homemade sticky notes eco-friendly?
Absolutely—if you use recycled paper, non-toxic glue, and avoid plastic coatings. They generate less waste than plastic-backed commercial pads and can be composted after use.
Checklist: How to Make Custom Post-it Notes at Home
Follow this quick-reference checklist to ensure success:
- ☐ Gather lightweight paper and sharp cutting tools
- ☐ Choose a consistent size (e.g., 3x3 inches)
- ☐ Decorate fronts first with ink, stamps, or drawings
- ☐ Apply repositionable glue to the top edge of each sheet
- ☐ Stack notes evenly and bind with washi tape
- ☐ Test adhesion on different surfaces
- ☐ Store in a dry, flat container when not in use
Conclusion
Making your own custom Post-it notes transforms a mundane office supply into a canvas for creativity and intention. From vibrant designs to functional systems, your handmade sticky pads can support productivity, spark joy, and even inspire others. The process is low-cost, environmentally friendly, and deeply satisfying. Whether you're organizing your week, teaching kids responsibility, or crafting heartfelt gifts, these personalized notes prove that small details make a big difference.


 浙公网安备
33010002000092号
浙公网安备
33010002000092号 浙B2-20120091-4
Comments
No comments yet. Why don't you start the discussion?