
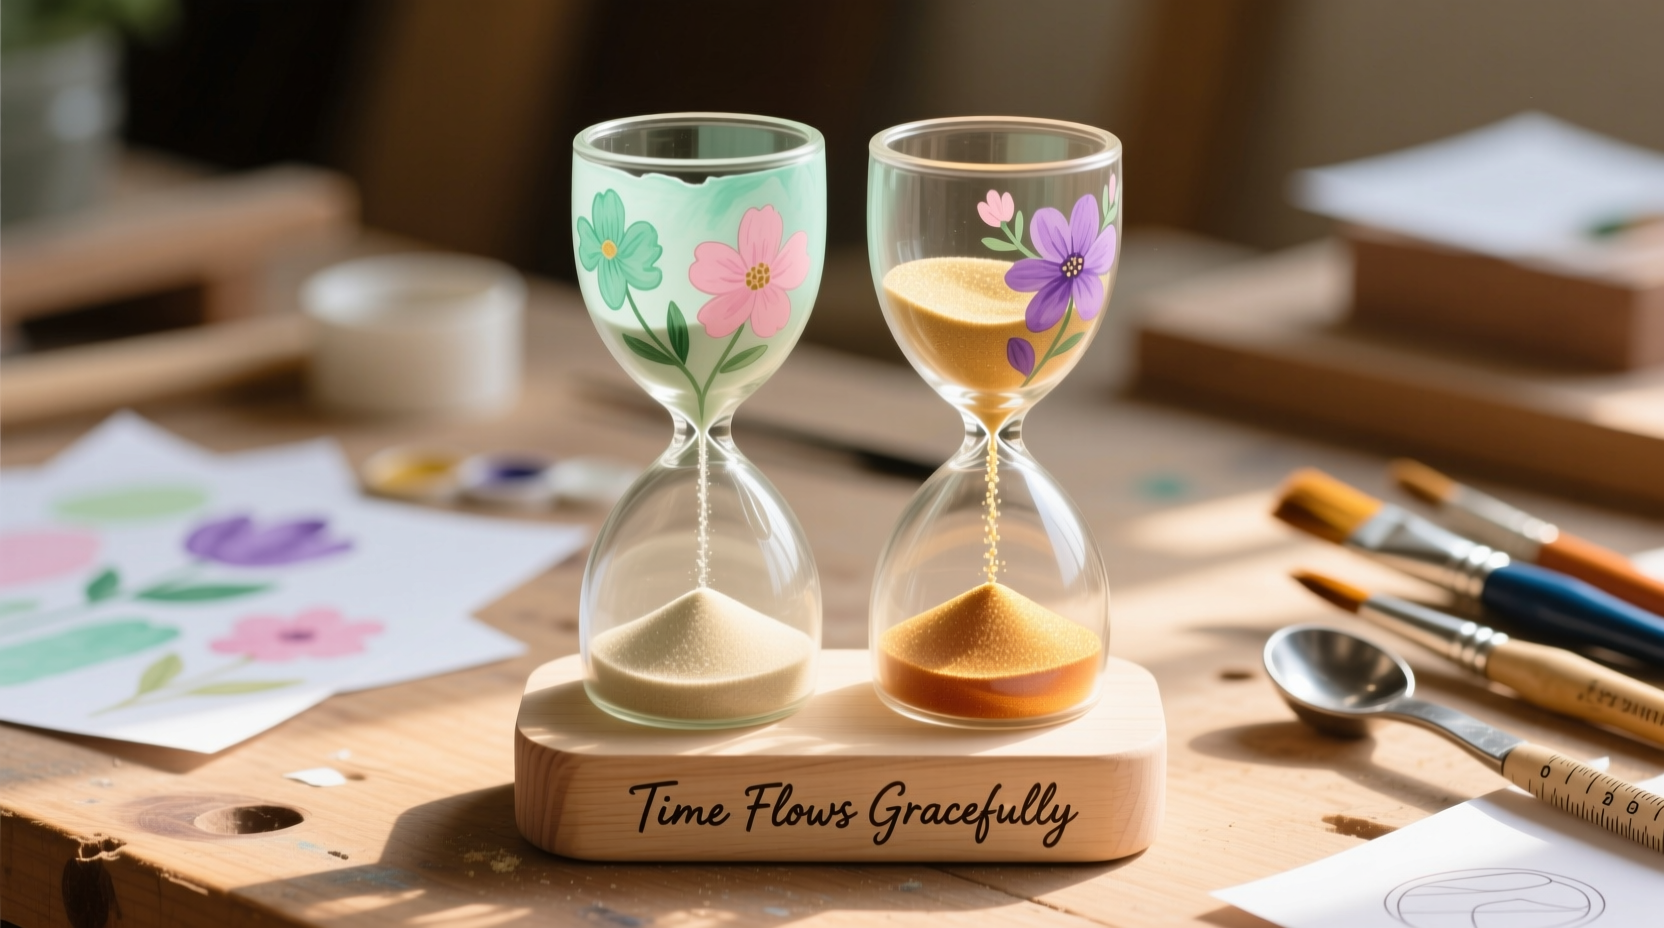
Making a functional and visually appealing hourglass doesn’t require expensive tools or advanced skills. With just a few household items—plastic or paper cups, tape, sand, and a pin—you can build a working sand timer in under 30 minutes. This DIY project blends science, creativity, and practicality, making it ideal for children’s STEM activities, classroom demonstrations, or handmade gifts. Whether you're teaching time concepts or crafting a unique centerpiece, this guide walks you through every step to ensure precision and durability.
Why Build an Hourglass from Cups?
The beauty of this craft lies in its simplicity and educational value. Unlike commercial timers, a DIY cup-based hourglass allows full customization of duration, design, and materials. It introduces fundamental physics principles like gravity, flow rate, and volume measurement. Teachers use it to demonstrate time estimation, while parents enjoy it as a screen-free activity that encourages focus and patience.
Additionally, repurposing disposable cups gives new life to everyday waste, aligning with eco-conscious crafting trends. According to educator Maria Thompson, who integrates hands-on experiments into elementary curricula:
“Simple builds like the cup hourglass spark curiosity more effectively than digital simulations. Children remember what they make with their own hands.” — Maria Thompson, Elementary Science Coordinator
Materials and Setup: What You’ll Need
Gathering the right supplies is the first step toward a successful build. While substitutions are possible, sticking to the recommended list ensures consistent results.
| Material | Purpose | Recommended Type |
|---|---|---|
| Two identical plastic or paper cups | Form the upper and lower chambers | Clear plastic (for visibility) |
| Fine sand or salt | Time-measuring medium | Dry, fine-grain sand (play sand works) |
| Strong tape (electrical or duct) | Seal connection point | Water-resistant, thick adhesive |
| Pin, needle, or small drill | Create hole for sand flow | Size #10–12 needle for moderate flow |
| Rubber band or O-ring (optional) | Reinforce joint stability | Fits cup rim diameter |
Step-by-Step Assembly Guide
Follow these steps carefully to create a reliable, leak-proof hourglass that delivers consistent timing.
- Prepare the Sand: Measure approximately 1/4 to 1/3 cup of dry sand. If using colored sand, mix in food-safe dye and let dry completely before use.
- Punch the Hole: Use a heated pin or needle to puncture the bottom center of one cup. Heat helps prevent cracking in plastic. The hole should be clean and round—rough edges disrupt flow.
- Align the Cups: Place the second cup upside down on top of the first, aligning the rims precisely. The punctured cup goes on top so sand flows downward.
- Secure the Joint: Wrap strong tape tightly around the seam where the two rims meet. Apply at least two layers for reinforcement. For extra strength, slide a rubber band over the taped area.
- Add Sand: Flip the assembly so the unpunctured cup is on the bottom. Carefully pour sand into the top cup through the open end.
- Test Flow Rate: Turn the hourglass over and time how long it takes for all sand to pass through. Adjust timing by changing hole size or sand amount.
Tuning Your Timer Duration
Duration depends on three key variables: hole diameter, sand grain size, and total volume. To achieve specific intervals:
- To shorten time: Enlarge the hole slightly or reduce sand quantity.
- To extend time: Use finer sand or decrease hole size (seal partially with glue).
- For a 1-minute timer: Start with a #11 needle hole and 3 tablespoons of fine sand.
Enhancing Design and Functionality
Once the basic structure works, personalize your hourglass for display or specialized use.
Decorative Touches
- Wrap the neck with washi tape or twine for visual appeal.
- Add glitter to the sand for a shimmering effect (mix with clear glue to prevent separation).
- Label the base with paint pens: “5-Minute Reading Timer” or “Pomodoro Break.”
Durability Upgrades
- Use hot glue around the inner rim before taping to seal micro-gaps.
- Replace paper cups with reusable plastic tumblers for long-term use.
- Store horizontally when not in use to prevent compaction at the hole.
Real-World Application: A Classroom Case Study
At Maplewood Elementary, third-grade teacher Jen Lin introduced cup hourglasses during a unit on ancient timekeeping. Students built timers to measure reading sessions and group work blocks. Each child customized their device with colored sand and labeled durations.
“I noticed immediate improvements in time awareness,” Lin reported. “Kids who usually lost track during independent tasks began self-regulating. One student even adjusted his hole size twice to get exactly three minutes—he was so proud.”
The project doubled as a math exercise in measuring volume and elapsed time. After two weeks, 87% of students could accurately estimate a minute without checking a clock—a significant improvement from pre-activity assessments.
Common Pitfalls and How to Avoid Them
Even simple crafts can go wrong without attention to detail. Below are frequent issues and solutions:
| Problem | Cause | Solution |
|---|---|---|
| Sand gets stuck or flows too slowly | Hole too small or sand damp/clumpy | Enlarge hole slightly; dry sand thoroughly |
| Leakage at the seal | Inadequate taping or misaligned cups | Re-tape with overlapping strips; check alignment |
| Timer duration varies between uses | Inconsistent flipping or compacted sand | Flip gently; store flat; standardize starting position |
| Cups separate during use | Weak adhesive or lack of reinforcement | Add rubber band or use epoxy at joint |
FAQ: Frequently Asked Questions
Can I use water instead of sand?
No—water flows too quickly and may leak due to surface tension differences. Sand provides controlled, predictable movement ideal for timing.
How do I make a longer timer, like 10 minutes?
Increase sand volume and use a larger container set (e.g., mason jars). However, with standard cups, the maximum practical duration is about 3–4 minutes due to limited capacity and structural constraints.
Is this safe for young children?
Yes, with supervision. Avoid small holes if toddlers are involved (choking hazard if disassembled). Use non-toxic sand and secure all parts permanently.
Final Checklist Before You Begin
- Preparation:
- ☐ Gather two identical cups, fine sand, tape, and a pin
- ☐ Ensure workspace is dry and clean
- Construction:
- ☐ Pierce hole in one cup’s base
- ☐ Align and tape both cups securely
- ☐ Fill with measured sand
- Testing:
- ☐ Time flow duration across 3 trials
- ☐ Adjust hole size or sand amount as needed
- ☐ Reinforce seal if any leakage occurs
Conclusion: Turn Simple Supplies into Lasting Learning Tools
A DIY hourglass made from cups proves that innovation doesn’t require complexity. With minimal cost and effort, you can create a functional, educational, and artistic object that teaches time management, scientific observation, and creative problem-solving. Whether used in a classroom, at home, or as part of a themed party activity, this sand timer brings abstract concepts into tangible form.


 浙公网安备
33010002000092号
浙公网安备
33010002000092号 浙B2-20120091-4
Comments
No comments yet. Why don't you start the discussion?