
Transforming simple materials into personalized, sophisticated accessories is one of the most rewarding aspects of handmade crafts. Among the growing trends in jewelry and fashion accessories, pearl string keychains stand out for their timeless elegance and versatility. Whether you're looking to elevate your everyday carry or create heartfelt gifts, crafting your own pearl keychain allows you to blend artistry with functionality. This guide explores creative designs, essential techniques, and practical insights to help you make stunning, durable keychains that reflect your personal style.
Selecting the Right Materials
The foundation of any successful DIY project lies in choosing quality materials. For pearl string keychains, the components you select directly impact both appearance and longevity.
- Pearls: Opt for glass, resin, or genuine freshwater pearls depending on your budget and desired look. Glass pearls offer consistent size and shine; freshwater pearls provide organic variation and natural luster.
- Cord or String: Silk thread, nylon cord, or waxed cotton are ideal for durability and knot-holding ability. Silk gives a luxurious drape but requires careful handling; waxed cotton is beginner-friendly and water-resistant.
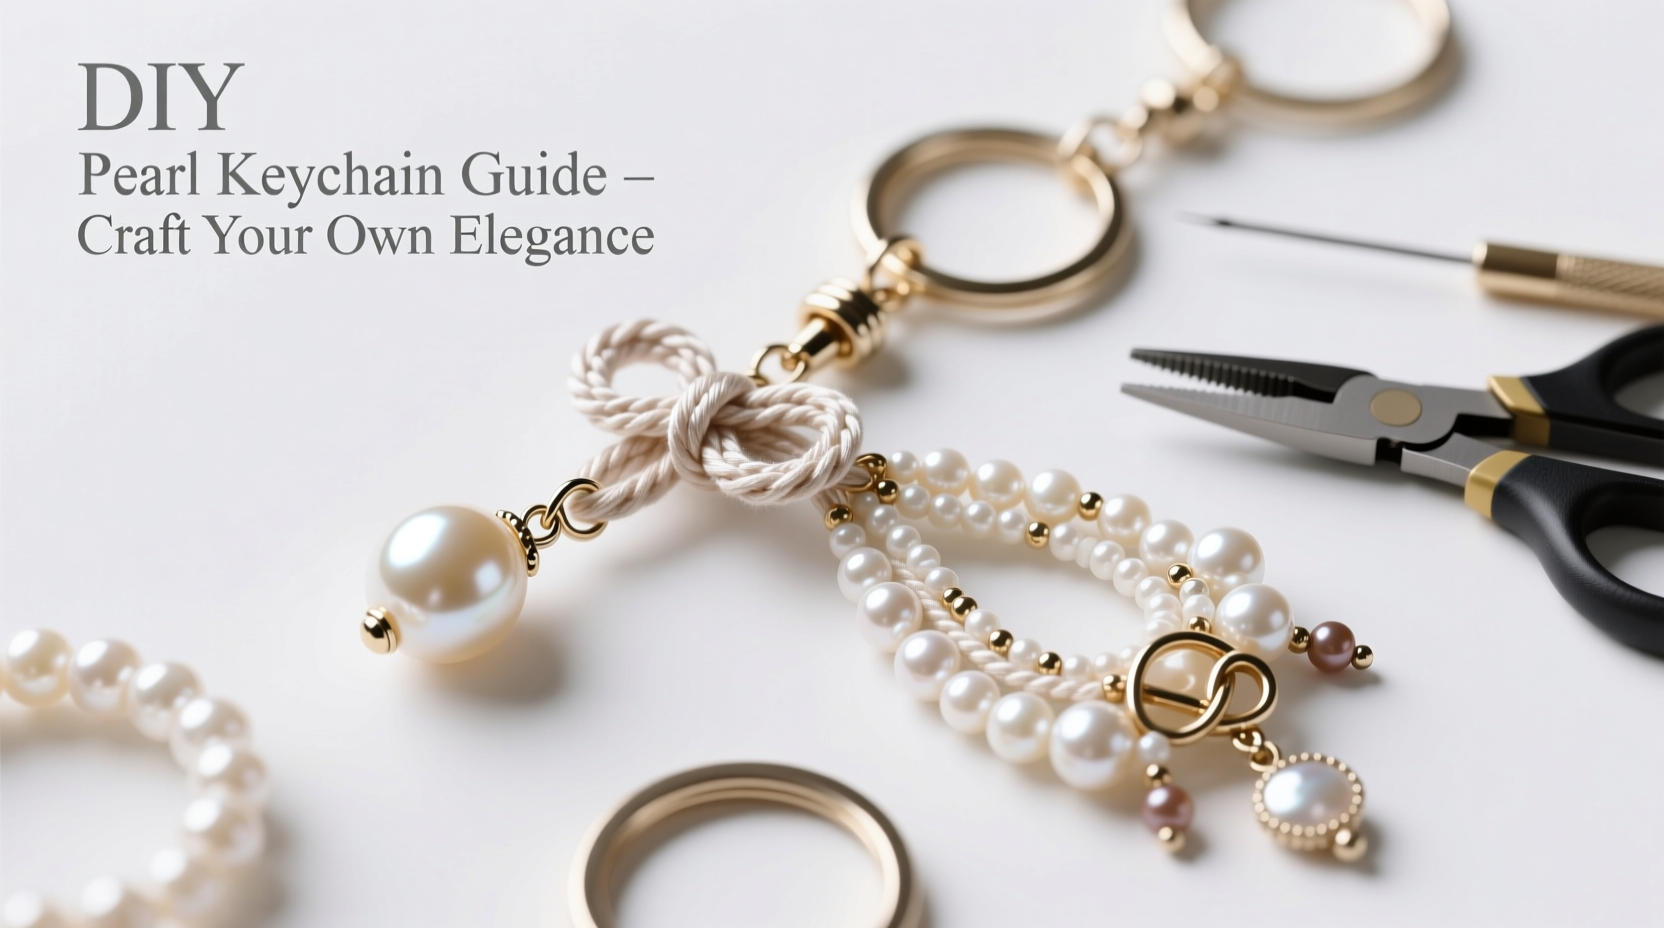
- Clasps & Key Rings: Choose stainless steel or gold-plated lobster clasps and split rings. These resist tarnishing and support daily use.
- Beading Needles & Tools: Use thin beading needles for threading small pearls. Round-nose pliers and wire cutters assist in attaching findings securely.
Inspiring Design Ideas
One of the joys of crafting your own keychain is the freedom to design something unique. Below are five distinctive concepts to spark your creativity.
- Classic Single Strand: A minimalist single line of uniform white pearls ending in a delicate clasp and key ring. Perfect for a clean, professional aesthetic.
- Dual-Tone Wrap: Combine cream and rose-tinted pearls in alternating patterns, then wrap the strand twice around the wrist to double as a bracelet when detached.
- Layered Cascade: Attach three graduated strands of varying lengths to a central charm, creating a chandelier effect that sways subtly with movement.
- Memory Bead Keychain: Intersperse meaningful beads—birthstones, engraved initials, or vintage spacers—between pearls to commemorate special dates or people.
- Tassel Finish: Replace the standard clasp with a hand-knotted silk tassel at one end, adding drama and fluidity to the piece.
| Design Style | Skill Level | Estimated Time | Ideal For |
|---|---|---|---|
| Single Strand | Beginner | 30–45 minutes | Daily use, gift-giving |
| Dual-Tone Wrap | Intermediate | 60 minutes | Stylish multitaskers |
| Layered Cascade | Advanced | 90+ minutes | Special occasions |
| Memory Bead | Beginner+ | 45–75 minutes | Personalized gifts |
| Tassel Finish | Intermediate | 70 minutes | Fashion-forward looks |
Step-by-Step Assembly Process
Follow this structured approach to assemble a basic yet elegant pearl string keychain. Once mastered, these steps can be adapted to more complex designs.
- Cut the Cord: Measure and cut approximately 24 inches of waxed cotton or silk thread, allowing extra length for knots and attachment.
- Attach the Key Ring: Thread one end through the split ring, then tie a secure overhand knot. Reinforce with a drop of clear-drying jewelry glue.
- String the Pearls: Begin threading your chosen pearls in the desired pattern. Use a bead stopper or tape to prevent slippage at the open end.
- Finish the Clasp End: After the final pearl, pass the thread through a jump ring or directly into a lobster clasp. Secure with a surgeon’s knot and apply glue to lock it in place.
- Cure and Trim: Allow glued areas to dry completely (minimum 2 hours). Carefully trim excess thread close to the knot without cutting into it.
Expert Insight on Craftsmanship
Attention to detail separates amateur attempts from heirloom-quality pieces. Jewelry artisans emphasize precision and material compatibility.
“Even the smallest knot matters. A well-secured connection ensures your keychain survives daily jostling while maintaining its graceful form.” — Lena Torres, Handmade Jewelry Designer with 12 years of experience
She recommends testing tension by gently pulling each section after knotting and suggests using a magnifier when working with tiny drill holes in pearls. Consistency in spacing and symmetry elevates the overall impression of craftsmanship.
Avoiding Common Pitfalls
Mistakes are part of the learning process, but knowing what to avoid speeds up mastery.
- Using weak thread: Regular sewing thread lacks tensile strength and will snap under stress.
- Skipping glue reinforcement: Knots alone may loosen over time, especially with frequent movement.
- Overcrowding beads: Too many pearls on a short strand restrict flexibility and increase strain on connections.
- Exposing to moisture: Genuine pearls degrade when exposed to water, perfume, or lotions. Store in a dry box away from chemicals.
Real Example: Crafting a Gift for a Best Friend’s Wedding
Sophie, a hobby crafter from Portland, wanted to create meaningful keepsakes for her best friend’s bridal party. She designed matching pearl keychains using ivory freshwater pearls and gold-plated initials representing each bridesmaid’s first letter. Each piece was wrapped in velvet pouches with handwritten notes explaining the symbolism. The bride later shared that the keychains became cherished mementos, used daily and often complimented at work. Sophie noted that investing time in even spacing and polished finishes made the difference between “homemade” and “high-end.”
Checklist for Success
Before starting your next keychain, review this checklist to ensure quality results:
- ☐ Choose high-quality, scratch-resistant pearls
- ☐ Use strong, fray-resistant cord or thread
- ☐ Measure and cut sufficient length with extra for knots
- ☐ Secure all connections with knots and adhesive
- ☐ Allow adequate drying time before handling
- ☐ Inspect for loose beads or weak joints post-assembly
- ☐ Store finished pieces in soft fabric pouches
Frequently Asked Questions
Can I wash my pearl keychain?
No. Avoid submerging it in water. Instead, gently wipe the pearls with a soft, slightly damp cloth and dry immediately. Never soak or scrub.
How long should a pearl keychain last?
With proper care, a well-made keychain can last several years. Re-stringing every 12–18 months prevents breakage due to cord fatigue.
Are fake pearls acceptable for DIY projects?
Absolutely. High-quality imitation pearls (like Czech glass) offer excellent shine and consistency at a lower cost, making them ideal for beginners or experimental designs.
Final Thoughts and Creative Encouragement
Crafting a pearl string keychain is more than a simple project—it's an expression of thoughtfulness, patience, and personal taste. Each knot tied and pearl placed becomes part of a narrative, whether it’s a functional tool, a sentimental gift, or a statement of style. With accessible materials and mindful execution, anyone can produce elegant accessories that rival boutique offerings.


 浙公网安备
33010002000092号
浙公网安备
33010002000092号 浙B2-20120091-4
Comments
No comments yet. Why don't you start the discussion?