
Transforming everyday materials into personalized accessories is one of the most satisfying aspects of DIY crafting. A woven rope keychain, while seemingly simple, offers endless opportunities for creativity, texture, and personal expression. Whether you're looking to craft a meaningful gift or add a handcrafted touch to your daily carry, mastering a few inventive weaving techniques can elevate your design from basic to standout. With just rope, scissors, and a little patience, you can create durable, stylish keychains that reflect your personality.
Why Make Your Own Woven Rope Keychain?
Commercial keychains are mass-produced and often lack character. In contrast, a handmade version allows full control over color, texture, pattern, and even functionality. Rope is an ideal medium—durable, flexible, and available in various thicknesses and materials like cotton, nylon, or hemp. Beyond aesthetics, crafting by hand improves focus, reduces stress, and fosters a sense of accomplishment. Plus, once you learn a few foundational techniques, customizing variations becomes intuitive and enjoyable.
Essential Materials and Tools
Before diving into complex weaves, gather the basics. Most supplies can be found at hardware stores, craft shops, or repurposed from household items.
- Rope or cord: 3–5 meters depending on technique (3mm diameter works well)
- Scissors: Sharp, precision-blade for clean cuts
- Keyring or split ring: Metal or brass, 20–25mm size
- Lighter or fray check: To seal cut ends
- Clipboard or tape: To secure work while weaving
- Beeswax (optional): For smoothing fibers during tight weaves
Cotton macramé cord offers softness and ease of handling, while paracord brings rugged utility. Mixing colors or textures within a single piece adds visual depth and originality.
Step-by-Step Guide to Five Creative Weaving Techniques
Each of these methods builds on fundamental knotting principles but results in dramatically different appearances. Practice each separately before combining elements.
1. The Square Knot Braid
- Cut four strands of equal length (about 60cm each).
- Fold them in half and attach the looped end to the keyring.
- Separate into two outer cords and two inner working cords.
- Take the left outer cord over the two center cords and under the right outer.
- Pass the right outer under the centers and through the left loop.
- Pull tight to form a square knot.
- Repeat down the length (10–15 knots), then trim and seal ends.
This creates a flat, textured braid with strong symmetry. Alternate colors every few knots for a striped effect.
2. Spiral Snake Braid
A hypnotic twist that coils naturally as you work. Best with three strands.
- Use three 90cm cords, tied together at one end and attached to the keyring.
- Hold the bundle vertically. Designate the left cord as the lead.
- Cross the lead over the middle cord, becoming the new middle.
- Now use the new left cord as the next lead, repeating the motion.
- Maintain consistent tension. The braid will spiral clockwise automatically.
- Weave 8–10 inches, then finish with a burnished tip.
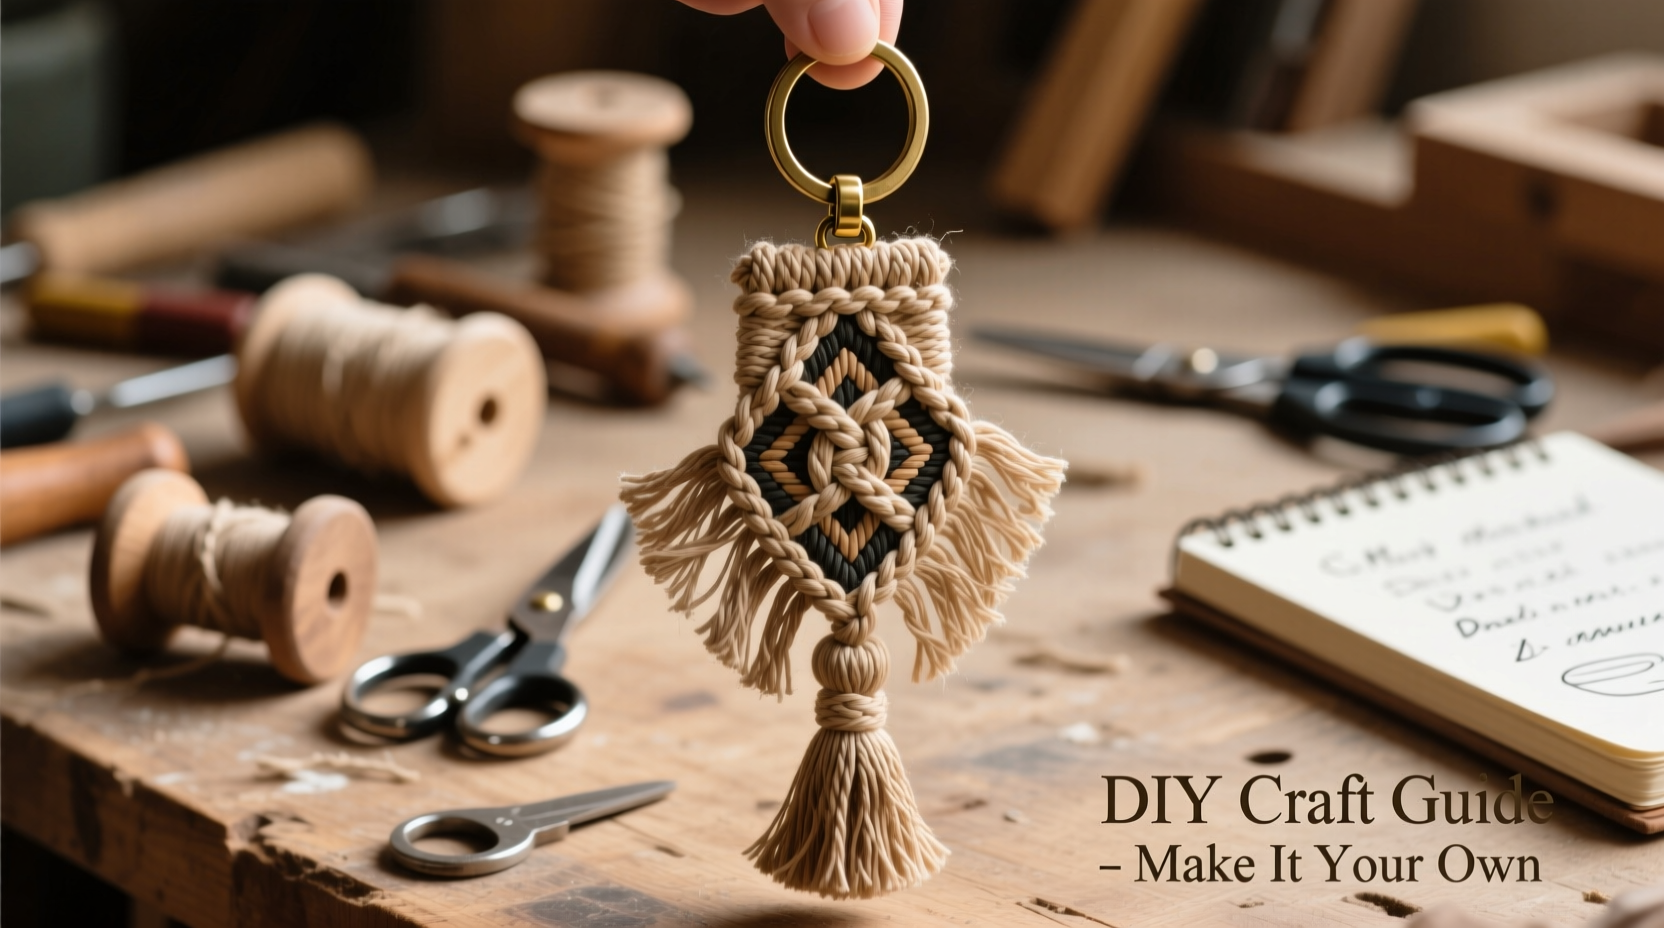
3. Diamond Lattice Weave
An advanced look using a shuttle-style method. Ideal for decorative top sections.
- Start with a base of two vertical cords (core) taped to your workspace.
- Add a horizontal strand (weaver), passing it over and under alternating verticals.
- After each row, shift the weave pattern by one to create a diagonal chevron.
- Continue until a diamond-shaped section forms (about 1 inch).
- Secure the top with a wrapped knot, then transition into a standard braid.
This technique mimics basket weaving and adds architectural flair.
4. Crown Sinnet Chain
A compact, tubular chain often used in jewelry making. Surprisingly sturdy.
- Cut three cords of equal length; tie a starting knot on the keyring.
- Arrange them in a 'Y' shape, each arm spaced evenly.
- Take the right cord over the center and under the left.
- Now take the left cord over the center and through the right loop.
- Pull all three ends to tighten into a knot.
- Repeat, ensuring each knot sits flush against the last.
The result is a dense, rope-like column perfect for minimalist designs.
5. Faux Leather Wrap Hybrid
Combine rope with thin leather strips for contrast.
- Weave a short section (1–2 inches) using the square knot.
- At the midpoint, introduce a thin leather lace (2mm x 30cm).
- Wrap the leather tightly around the core rope, securing with small knots every half inch.
- Finish with another few rows of square knots below the wrap.
This blend of textures elevates the piece into wearable art.
Do’s and Don’ts: Crafting Smart Habits
| Do’s | Don’ts |
|---|---|
| Measure and pre-cut all strands before starting | Use inconsistent tension between knots |
| Seal cut ends with a lighter (briefly!) to prevent unraveling | Leave long, unsecured tails that weaken the structure |
| Experiment with dyeing cotton rope using fabric markers | Wash unfinished pieces—dyes may bleed |
| Label color sequences if replicating a pattern | Work in dusty or windy areas where fibers tangle easily |
“Handmade details signal intention and care. A keychain isn’t just functional—it’s a tiny declaration of identity.” — Lena Torres, Artisan Craft Designer
Real Example: From Idea to Everyday Use
Jamie, a graphic designer from Portland, wanted a keychain that matched her earth-toned backpack. She combined undyed hemp rope with burnt orange cotton cord using the spiral snake braid. Midway, she added a wooden bead, then finished with a crown sinnet drop. After sealing the tip with beeswax, she used it daily for six months. Not only did it survive rain and constant use, but coworkers began asking where they could buy one. Jamie now teaches weekend workshops at a local craft studio, proving that small handmade objects can spark larger creative journeys.
Customization Ideas to Try
Once comfortable with basic techniques, personalize your keychains:
- Incorporate letter beads or metal charms for initials
- Weave in reflective thread for nighttime visibility
- Create a “memory braid” using leftover yarn from past projects
- Add a small flashlight or bottle opener as a functional element
- Dye sections with natural pigments like turmeric or avocado pits
FAQ
How do I prevent my rope from fraying during weaving?
Apply a small amount of clear nail polish or fray check to the tips. Alternatively, briefly pass the end over a flame (for synthetic fibers only) and press to melt slightly into a point.
Can I wash a rope keychain?
Spot clean with a damp cloth and mild soap. Avoid soaking, especially if using untreated wood or paper-based beads. Air dry completely before reuse.
What’s the best rope for beginners?
Three-strand twisted cotton cord (3–4mm) is affordable, easy to handle, and forgiving when undoing knots. It also accepts dyes well for customization.
Conclusion
Creating a unique woven rope keychain at home merges practicality with personal storytelling. Each knot, color choice, and texture reflects deliberate craftsmanship in an age of disposability. These techniques are accessible to all skill levels, yet rich enough to inspire years of exploration. What starts as a simple project can evolve into a signature style—something tactile, enduring, and unmistakably yours.


 浙公网安备
33010002000092号
浙公网安备
33010002000092号 浙B2-20120091-4
Comments
No comments yet. Why don't you start the discussion?