
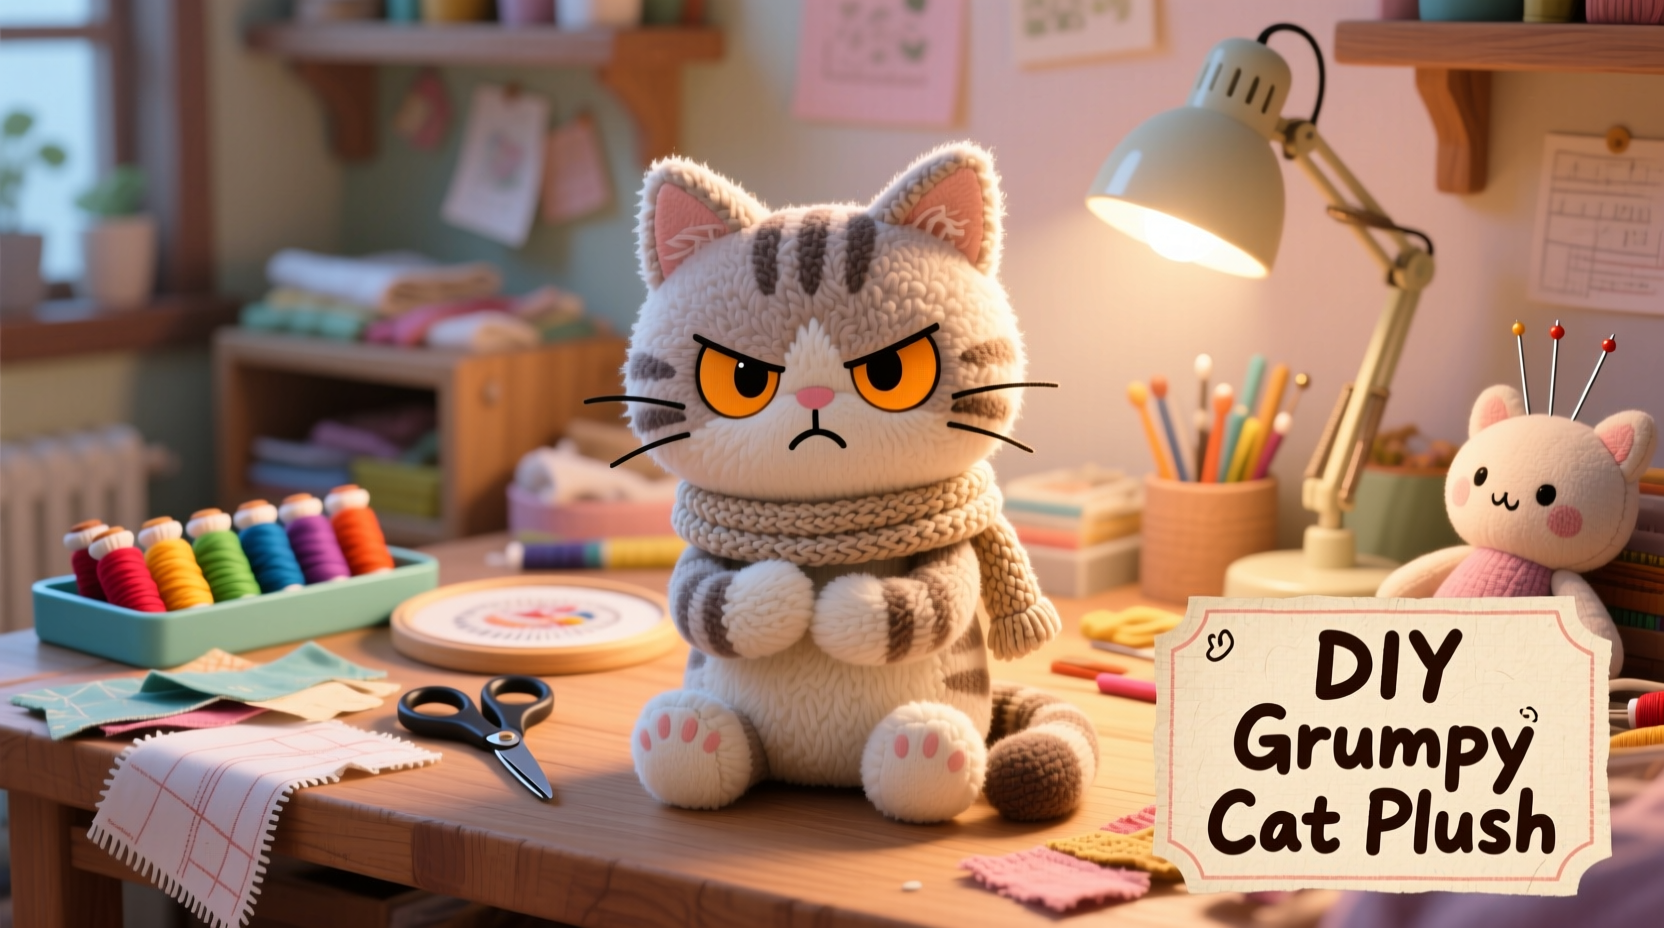
There’s something undeniably charming about the grumpy cat expression—furrowed brow, slightly open mouth, and a look that says “I’ve seen things.” What started as an internet sensation has become a cultural icon, inspiring everything from memes to merchandise. But instead of buying another mass-produced plush, why not create your own? Crafting a custom grumpy cat plush lets you personalize every detail, from fur texture to facial features, while enjoying the therapeutic benefits of sewing and handcrafting.
This guide walks you through designing, assembling, and finishing a one-of-a-kind grumpy cat plush using accessible materials and techniques suitable for beginners and experienced crafters alike. Whether you’re making it as a gift, a quirky home decor piece, or just for fun, this project blends creativity with craftsmanship in a satisfying way.
Selecting Materials and Tools
The character of your grumpy cat plush begins with thoughtful material selection. Unlike typical cute plush toys, a grumpy cat requires textures and colors that convey personality—rougher fabrics, asymmetrical details, and expressive stitching.
Start with soft but structured fabric like fleece, minky, or cotton blend for the body. For the face, consider using a different texture—such as felt or wool-blend fabric—to emphasize contrast. Choose gray, white, or ginger tones depending on whether you want to emulate the original Grumpy Cat (Tardar Sauce) or invent your own version.
- Fabric scissors or rotary cutter
- Polyester stuffing (also called fiberfill)
- Embroidery floss and needle
- Pins or clips
- Sewing machine (or needle for hand-sewing)
- Chalk or washable fabric marker
- Pattern paper (baking parchment or printer paper)
Designing Your Unique Grumpy Cat
Before cutting any fabric, sketch your design. You don’t need artistic mastery—simple shapes work best for plush toys. Break the cat down into core components: head, body, ears, paws, and tail. Decide on proportions. A larger head relative to the body enhances the cartoonish, expressive appeal.
For facial features, think beyond cuteness. The grumpy expression hinges on three key elements: downturned eyebrows, a slightly open mouth with a protruding tongue (optional), and narrowed eyes. These can be stitched, embroidered, or appliquéd.
“Plush toys are storytelling objects. The face tells the mood, the fabric tells the history.” — Lena Reyes, Soft Sculpture Artist
To make your design truly unique, consider adding quirks: mismatched eyes, crooked whiskers, or even tiny glasses perched on the nose. One crafter famously added a miniature coffee stain patch on the chest, turning their grumpy cat into a “morning person” parody.
Step-by-Step Assembly Process
- Create a pattern: Draw each part of the cat on paper, adding a ¼-inch seam allowance around all edges. Cut out paper templates and trace them onto fabric, marking where facial features will go.
- Cut fabric pieces: Cut two of each part (front and back). For the face, decide whether to embroider details before sewing or add them later.
- Pin and sew: Place fabric pieces together, right sides facing. Sew along the edges using a straight stitch, leaving a 2–3 inch opening for turning and stuffing. Backstitch at start and end for durability.
- Clip curves and corners: Trim excess fabric near tight curves to reduce bulk when turned right-side out.
- Turn and press: Carefully turn each piece right-side out using a chopstick or blunt tool. Lightly press with an iron on low heat, especially around ears and paws.
- Stuff firmly but evenly: Use small handfuls of polyester stuffing, focusing on extremities first. Overstuff slightly—the plush will settle over time.
- Close the opening: Fold in the seam allowance and hand-stitch the gap closed using a ladder stitch for invisibility.
- Add facial features: Embroider eyes, eyebrows, and mouth using backstitch or French knots. Use black or dark brown thread for definition.
- Attach parts: Pin limbs, ears, and tail to the body. Sew securely with multiple passes for durability.
Customization Ideas and Creative Variations
One of the joys of handmade plush is personalization. Here are several ways to elevate your grumpy cat beyond a simple replica:
- Seasonal themes: Dress your cat in a tiny knitted sweater for winter or give it pumpkin-colored fur for Halloween.
- Personality traits: Stitch a tiny book under its arm for a “grumpy scholar” or attach a mini clipboard for a “disgruntled manager” version.
- Fabric collage: Combine patches of corduroy, denim, and velvet for a textured, thrifted aesthetic.
- Glow-in-the-dark details: Use glow thread for eyes or whiskers for a whimsical nighttime effect.
A San Diego-based crafter, Maria Tran, created a series of “Grumpy Cats of the Zodiac,” each with symbolic accessories—Libra held a tilted scale, Scorpio had a stinger tail. Her Etsy shop now sells downloadable patterns based on her designs.
Do’s and Don’ts of Plush Crafting
| Do’s | Don’ts |
|---|---|
| Test embroidery stitches on scrap fabric first | Use thick, non-flexible thread that may tear fabric |
| Label fabric pieces during cutting to avoid confusion | Overstuff the head, which can distort facial features |
| Wash hands before handling light-colored fabrics | Leave long thread tails; they can unravel with use |
| Take breaks to assess symmetry and proportion | Rush facial detailing—this defines the entire character |
Troubleshooting Common Issues
Even experienced crafters encounter challenges. Lopsided faces, uneven stuffing, or weak seams can happen. If your cat’s expression looks off, try repositioning the eyebrows with additional stitching. If the body sags, reinforce internal structure by inserting a small disc of cardboard or plastic canvas into the base before closing.
For frayed edges, switch to pinking shears when cutting or apply a small amount of fray check solution to seam allowances before turning. If the plush feels too soft, mix shredded foam scraps with fiberfill for added firmness.
FAQ
Can I machine-wash my grumpy cat plush?
It’s best to spot-clean your plush with a damp cloth and mild detergent. If necessary, hand-wash gently and air-dry flat. Machine washing can damage embroidery and cause stuffing to clump.
What if I don’t have a sewing machine?
No problem. Hand-sew using a backstitch for seams and a ladder stitch for closing. It takes longer but offers greater control, especially for small parts like ears.
How can I make my plush more durable for kids?
Double-stitch all seams, use reinforced thread (like Upholstery or Denim thread), and consider adding safety eyes instead of embroidery if appropriate for the age group.
Final Touches and Display Ideas
Once assembled, give your grumpy cat a final grooming. Use a soft pet brush to fluff up minky or fleece fur for a lived-in look. Add subtle touches: draw faint cheek lines with chalk for age, or glue tiny beads to represent stubble.
Display options vary widely. Some place their plush on a bookshelf glaring at guests. Others tuck it into a reading nook or pair it with a miniature chair for a “cat in contemplation” scene. One customer used hers as a humorous officiant at a pet wedding, complete with a tiny top hat.
Conclusion
Crafting a grumpy cat plush isn’t just about replicating a meme—it’s about capturing attitude, humor, and individuality in fabric and thread. With careful planning and attention to expression, your handmade plush becomes more than a toy; it becomes a character with presence.


 浙公网安备
33010002000092号
浙公网安备
33010002000092号 浙B2-20120091-4
Comments
No comments yet. Why don't you start the discussion?