
A bag is more than just a functional accessory—it’s an extension of personal style. One of the simplest yet most impactful ways to personalize your favorite tote, backpack, or crossbody is by designing a custom keychain pendant. Unlike mass-produced accessories, a handmade pendant adds character, tells a story, and turns an everyday item into a signature piece. With a bit of creativity and basic crafting skills, you can create a one-of-a-kind adornment that reflects your personality, interests, or even serves as a thoughtful gift.
This guide walks you through every stage of designing your own bag keychain pendant—from conceptualization to final assembly—using accessible materials and techniques. Whether you're drawn to minimalist metal charms, whimsical polymer clay shapes, or repurposed vintage elements, the process is both rewarding and deeply personal.
1. Define Your Design Vision
Before gathering tools or materials, take time to visualize what you want your pendant to express. Ask yourself: Is it bold or subtle? Functional or purely decorative? Does it represent a hobby, memory, or aesthetic preference? Sketching rough ideas on paper helps clarify concepts before committing to physical materials.
Consider these design directions:
- Minimalist: Geometric shapes, monochrome tones, clean lines.
- Vintage-inspired: Repurposed watch gears, old keys, antique buttons.
- Whimsical: Animal silhouettes, food motifs, cartoon-style figures.
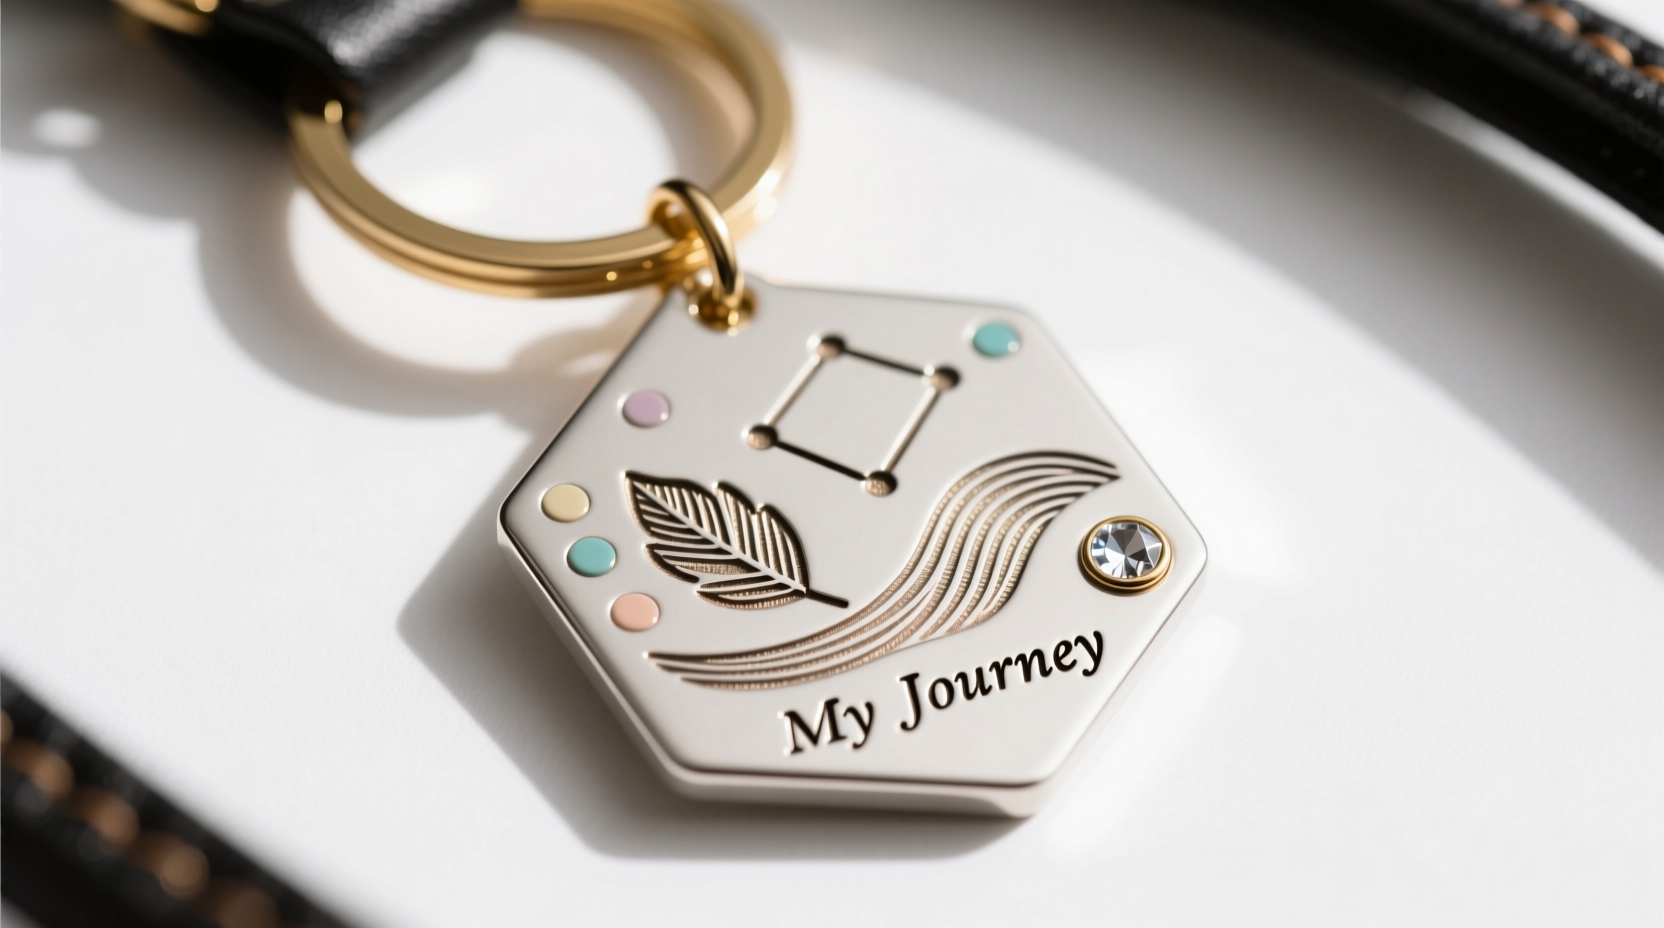
- Personalized: Initials, zodiac signs, coordinates of meaningful locations.
- Eco-conscious: Upcycled fabric scraps, cork, or biodegradable clay.
2. Gather Materials and Tools
The beauty of pendant-making lies in its versatility. You don’t need a studio or expensive equipment. Most supplies can be found at craft stores, online marketplaces, or even around the house. Below is a checklist to get started.
Essential Materials Checklist
- Base material (polymer clay, wood slice, acrylic sheet, felt, metal blank)
- Pendant finding (metal loop, split ring, keychain clasp)
- Adhesive (E6000, epoxy resin, or strong craft glue)
- Decorative elements (paints, beads, sequins, stamps)
- Sealant (matte/gloss varnish, resin coating)
- Sanding paper (for smoothing edges)
Optional additions include glow-in-the-dark pigments, embedded dried flowers, or tiny LED lights for interactive designs. Always ensure compatibility between materials—especially when baking clay or applying sealants.
3. Step-by-Step Creation Process
Follow this structured sequence to transform your idea into a polished pendant ready for daily use.
- Design & Shape: Draw your desired shape onto the base material. For clay, roll out and cut using a blade or cookie cutter. For wood or acrylic, use a laser cutter or hand file precise edges.
- Add Detail: Use stamps, carving tools, or freehand painting to add texture or patterns. Baking clay? Follow manufacturer instructions for curing time and temperature.
- Sand and Smooth: Lightly sand rough surfaces after curing or cutting. Wipe clean with a dry cloth to prepare for finishing.
- Attach Finding: Before sealing, embed a metal loop or jump ring into soft clay or glue securely to flat surfaces. Ensure it's centered and stable.
- Seal and Protect: Apply 1–2 layers of sealant to protect paint and prevent wear. Resin gives a glass-like finish; varnish offers a simpler alternative.
- Assemble Keychain: Once dry, connect the pendant to a split ring and attach a durable keychain clasp for easy bag attachment.
4. Material Comparison and Best Uses
Different materials offer distinct aesthetics and durability. Choosing wisely ensures your pendant lasts while matching your design intent.
| Material | Pros | Cons | Best For |
|---|---|---|---|
| Polymer Clay | Lightweight, customizable color, oven-bake durability | Can crack if too thin, requires baking | Figurative art, layered designs |
| Wood | Natural look, easy to engrave, eco-friendly | Prone to warping if unsealed, heavier | Boho styles, engraved initials |
| Acrylic | Crisp edges, transparent options, laser-cut precision | Can chip, limited texture | Modern/minimalist shapes |
| Felt/Fabric | Soft texture, sewable, great for kids’ designs | Less durable, absorbs moisture | Seasonal themes, plush accents |
| Metal Blanks | Durable, professional finish, engravable | Requires specialized tools, harder to modify | Monogrammed gifts, sleek branding |
5. Real Example: From Idea to Everyday Accessory
Sophie, a graphic designer from Portland, wanted a playful way to distinguish her black leather tote from others at coworking spaces. She sketched a small avocado with sunglasses—a nod to her love of brunch and humor. Using green polymer clay, she shaped the fruit, added black clay eyes and yellow lenses, baked it, then attached a brushed gold loop. After sealing with gloss resin, she clipped it to her bag’s zipper pull.
The response was immediate. “People started asking where I bought it,” she said. “When I told them I made it, two colleagues asked for tutorials.” Her simple creation sparked conversations and even inspired a monthly craft night among friends focused on personalized accessories.
“Personalization isn’t about perfection—it’s about presence. A handmade detail shows thoughtfulness no logo ever could.” — Lena Torres, Sustainable Fashion Educator
6. Common Pitfalls and How to Avoid Them
Even experienced crafters encounter challenges. Being aware of common issues helps you troubleshoot early.
- Weak Attachment: If the loop detaches, it’s likely due to improper adhesion. Always roughen smooth surfaces before gluing and allow full cure time.
- Color Fading: UV exposure dulls paints and dyes. Use UV-resistant sealants, especially for outdoor-use bags.
- Imbalanced Weight: Large pendants can tilt or swing awkwardly. Keep designs under 1.5 ounces for optimal function.
- Peeling Finish: Applying sealant too thickly causes bubbles or cloudiness. Thin, even coats work best.
7. Frequently Asked Questions
Can I wash my pendant if it gets dirty?
Yes, but gently. Use a damp microfiber cloth and mild soap. Avoid submerging resin-sealed pieces or fabric-based pendants. Never use alcohol-based cleaners on painted surfaces.
How long does a handmade pendant last?
With proper care, 2–5 years or longer. Polymer clay and sealed wood withstand daily use well. Replace if the finding loosens or the surface cracks significantly.
Can I make pendants as gifts?
Absolutely. Custom pendants are meaningful presents—especially when incorporating birthstones, favorite colors, or inside jokes. Package them in small cotton pouches with care instructions.
Bring Your Style to Life—One Pendant at a Time
Designing your own bag keychain pendant isn’t just a craft project—it’s an act of self-expression. Each choice, from the curve of a line to the shade of paint, contributes to a narrative only you can tell. The process encourages mindfulness, creativity, and connection to the objects you carry every day.
Start small. Try one technique. Refine it. Then experiment. Over time, you’ll develop a collection of pendants that evolve with your style—seasonal swaps, mood-based changes, or themed sets for different bags.


 浙公网安备
33010002000092号
浙公网安备
33010002000092号 浙B2-20120091-4
Comments
No comments yet. Why don't you start the discussion?