
Every Halloween, the race is on to craft a costume that stands out—something imaginative, personal, and memorable. While store-bought outfits are convenient, they often lack originality. Enter the DIY approach: transforming everyday items into wearable art. One of the most charming and underutilized materials for this is the humble Stitch plush. Whether it’s a well-loved childhood toy or a new addition from a recent Disney trip, a Stitch plush can be the centerpiece of a truly unique costume. This guide walks through how to creatively repurpose a Stitch plush into a wearable, head-turning ensemble—perfect for kids, adults, or even pet costumes.
Why Use a Stitch Plush?
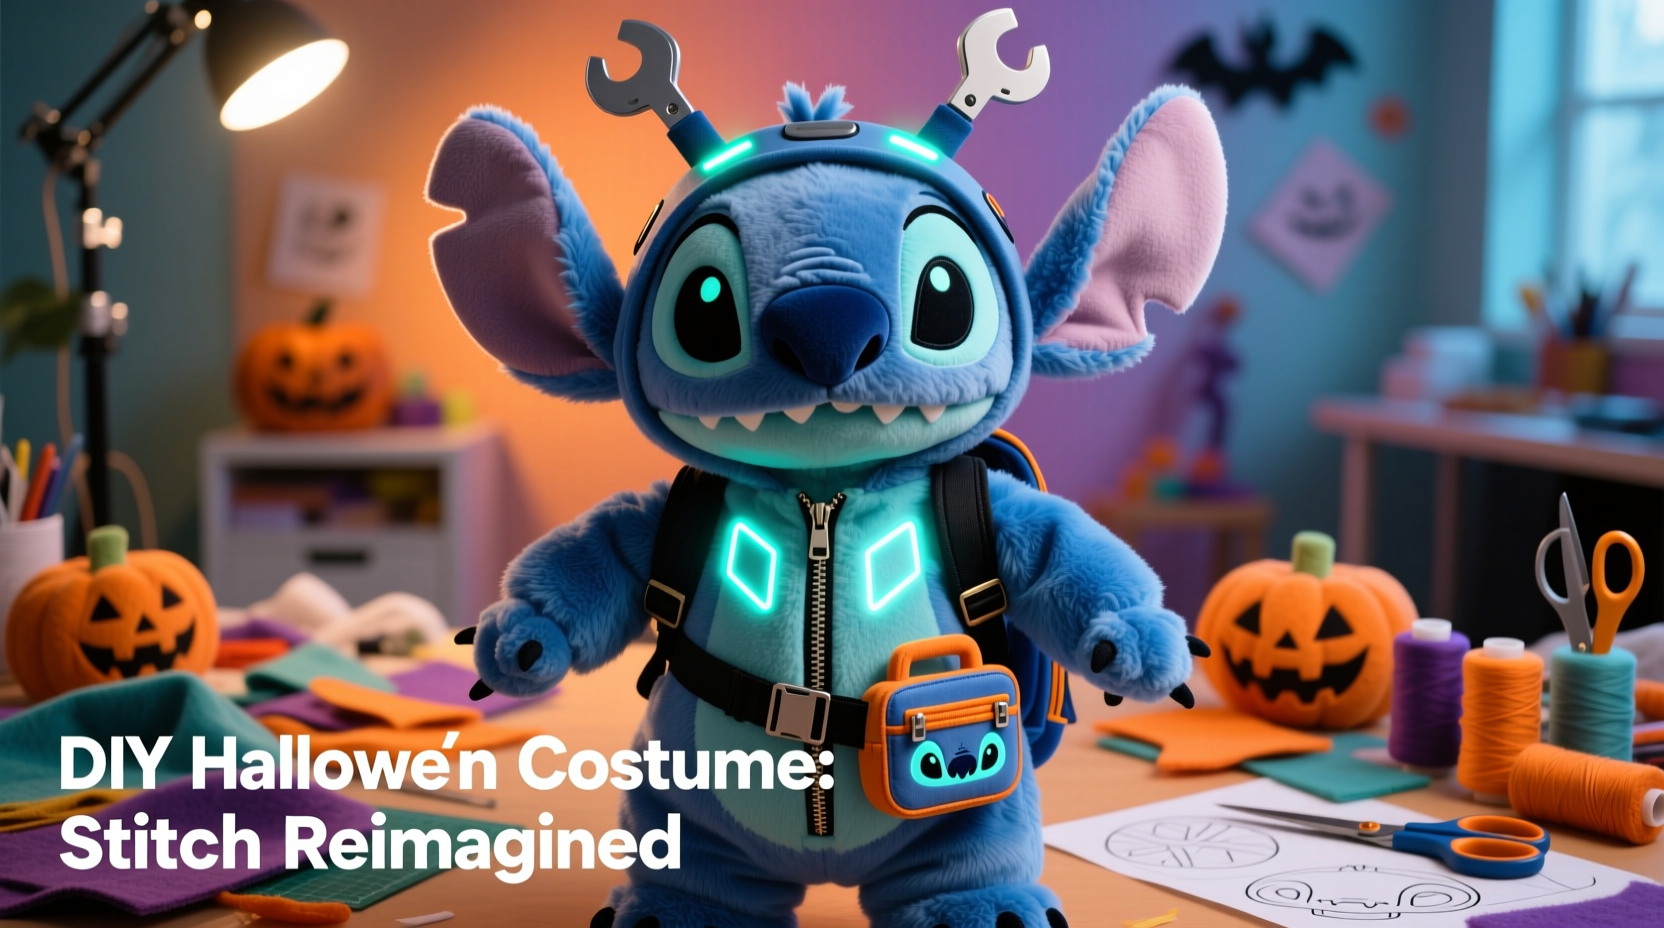
Stitch, the mischievous blue alien from Disney’s Lilo & Stitch, has become a pop culture icon known for his quirky design and emotional depth. His distinct look—large ears, wide eyes, and four arms—makes him instantly recognizable. Using a plush version as the base for a costume offers several advantages:
- Familiar silhouette: The plush already has Stitch’s shape, reducing the need for complex sculpting.
- Soft material: Fleece and polyester stuffing are easy to cut, sew, or modify.
- Emotional appeal: Repurposing a beloved toy adds sentimental value and storytelling potential.
- Budget-friendly: Most materials needed are affordable or already at home.
Step-by-Step Guide to Transform Your Stitch Plush
Creating a wearable costume from a plush doesn’t require advanced sewing skills. With patience and creativity, you can complete this project in under 10 hours. Follow this timeline for best results:
- Day 1 – Planning & Prep (1–2 hours): Sketch your design, gather supplies, and decide whether to wear the plush intact or disassemble it.
- Day 2 – Modification (3–4 hours): Cut, reshape, and reinforce key parts like ears, limbs, or torso.
- Day 3 – Assembly & Wearability (2–3 hours): Attach straps, padding, or harness systems for comfort and stability.
- Day 4 – Final Touches (1 hour): Add details like glow-in-the-dark eyes, sound modules, or themed accessories.
Phase 1: Design & Deconstruction
Begin by assessing your plush. Is it worn? Stuffed firmly? Does it have embroidered or plastic eyes? These factors affect durability. If the plush is still in good condition, consider keeping the head intact and building the costume around it.
To convert the plush into a wearable form:
- Carefully remove the stitching along the back seam using small scissors or a seam ripper.
- Remove excess stuffing from the body but leave enough to maintain facial structure.
- Flatten the body panel and trace its outline onto stiff interfacing or craft foam for reinforcement.
Phase 2: Structural Reinforcement
A flat plush won’t stand up on a costume. To give it dimension and durability:
- Attach the flattened body piece to a lightweight foam board or EVA foam cut to match Stitch’s shape.
- Use fabric glue or a hot glue gun to secure edges.
- Add wire armatures inside the ears for poseability—great for dramatic effect at parties.
Phase 3: Integration with Wearable Base
The next step is making it wearable. Options include:
- Chest rig: Sew D-rings onto the foam backing and attach adjustable nylon straps that go over the shoulders.
- Backpack frame: Mount the reinforced plush onto a child’s school backpack for hands-free wear.
- Hood integration: Cut armholes in a blue hoodie and sew the plush head around the hood opening for a seamless “I am Stitch” look.
Customization Ideas for Maximum Impact
What makes a DIY costume unforgettable is personalization. Here are several ways to elevate your Stitch creation:
- Glow-in-the-dark eyes: Replace embroidered eyes with battery-powered LED inserts.
- Moving mouth: Install a servo motor connected to a remote control for animated jaw movement.
- Sound effects: Embed a mini sound module that plays Stitch’s iconic giggles or phrases like “Meega nala kweesta.”
- Four-arm illusion: Create two additional fabric arms extending from the sides using pool noodles as armatures and blue fleece covering.
- Themed accessories: Add a tiny spaceship prop, a “dog tag” necklace, or a faux Hawaiian shirt patch.
“Repurposing toys into costumes teaches resourcefulness and deepens emotional connection to the character. It’s not just dressing up—it’s storytelling through craft.” — Dr. Lena Torres, Cultural Anthropologist & Play Studies Researcher
Checklist: Build Your Stitch Costume in Order
Follow this checklist to ensure nothing is missed during construction:
- ☐ Select a Stitch plush (12–18 inches recommended)
- ☐ Gather tools: scissors, seam ripper, hot glue gun, needle & thread, craft knife
- ☐ Acquire materials: EVA foam, nylon webbing, D-rings, LED lights, battery pack
- ☐ Disassemble plush carefully, preserving head and facial features
- ☐ Reinforce body with foam backing
- ☐ Install electronics (optional)
- ☐ Attach shoulder straps or mounting system
- ☐ Test fit and adjust for comfort
- ☐ Add final decorative touches
- ☐ Practice wearing for 30+ minutes before event
Common Pitfalls & How to Avoid Them
Even experienced crafters can run into issues. Below is a comparison of common mistakes and their solutions:
| Do’s | Don’ts |
|---|---|
| Use flexible adhesives like E6000 for attaching foam to fabric | Don’t use super glue—it can melt polyester fibers |
| Reinforce stress points (like strap attachments) with double stitching or rivets | Don’t rely solely on glue for load-bearing parts |
| Keep electronics in sealed, padded compartments | Don’t expose batteries or wires directly to skin or moisture |
| Allow room for ventilation if wearing over the head | Don’t block vision or hearing with oversized elements |
Real Example: Maya’s Animated Stitch Costume
Maya, a 28-year-old graphic designer from Portland, wanted a show-stopping costume for her company’s Halloween party. She used a vintage Stitch plush she’d had since childhood. After removing the stuffing, she mounted the head onto a custom helmet made from EVA foam, painted to match Stitch’s skin tone. She added programmable LEDs behind the eyes that blinked randomly, mimicking lifelike movement. Using a micro-servo and Arduino Nano, she engineered a remote-controlled mouth mechanism hidden inside the chest panel. Worn over a black bodysuit with faux arms on the sides, her costume drew crowds and even earned her a feature on a local news segment about creative Halloween traditions.
“It wasn’t just about looking cool,” she said. “It was about giving new life to something sentimental. People didn’t just recognize Stitch—they recognized the effort and love behind it.”
FAQ
Can I wash the plush after modifying it?
No—once electronics, foam, or glue are added, hand-wiping with a damp cloth is safest. Avoid submerging any part of the finished costume.
Is this safe for young children to wear?
Yes, with modifications. Skip small parts and electronics. Use soft foam and elastic straps. Ensure full visibility and avoid anything heavy that could strain the neck.
What if my plush is too small?
You can scale up by tracing the features onto felt or fleece and creating an enlarged version. Use the original plush only for reference or facial details.
Conclusion: Bring Your Imagination to Life
Transforming a Stitch plush into a wearable costume is more than a craft project—it’s an act of creative reinvention. It bridges nostalgia with innovation, turning a static object into a dynamic expression of identity. Whether you’re aiming for humor, awe, or heartfelt tribute, this DIY approach empowers you to stand out in a sea of generic masks and capes. The process encourages problem-solving, personalization, and sustainable reuse of cherished items.


 浙公网安备
33010002000092号
浙公网安备
33010002000092号 浙B2-20120091-4
Comments
No comments yet. Why don't you start the discussion?