
Every dog owner knows the importance of a well-fitting, comfortable harness. But store-bought options can be expensive, ill-fitting, or made with materials that don’t suit your pet’s sensitivity. What if you could repurpose something you already own—a sturdy leash—into a safe, personalized dog harness? With a bit of creativity and basic household tools, it’s entirely possible. This guide walks you through transforming an old or unused leash into a fully functional, adjustable harness tailored to your dog’s size and comfort.
Why Repurpose a Leash Into a Harness?
Dogs benefit from harnesses over collars because they distribute pressure across the chest and shoulders, reducing strain on the neck—especially important for small breeds, brachycephalic dogs (like pugs or bulldogs), or those with respiratory issues. A leash, typically made from durable nylon webbing and reinforced stitching, shares the same structural qualities as commercial harness materials. Instead of discarding a worn or redundant leash, turning it into a harness is eco-friendly, cost-effective, and allows for full customization.
Materials and Tools You’ll Need
This project requires minimal supplies, most of which are likely already in your home. No sewing machine is necessary, making this accessible even for beginners.
- An old or spare leash (minimum 1-inch width recommended)
- Measuring tape
- Scissors or rotary cutter
- Durable plastic or metal D-rings (2–3 pieces)
- Adjustable side-release buckles (shoulder and chest strap compatible)
- Lighter or fray-check solution (to seal cut ends)
- Ruler or straight edge
- Marker or fabric pen
The key is using hardware rated for canine use. Pet-specific buckles and rings are tested for tensile strength and resistance to rust, unlike generic hardware.
Step-by-Step: Building Your Custom Harness
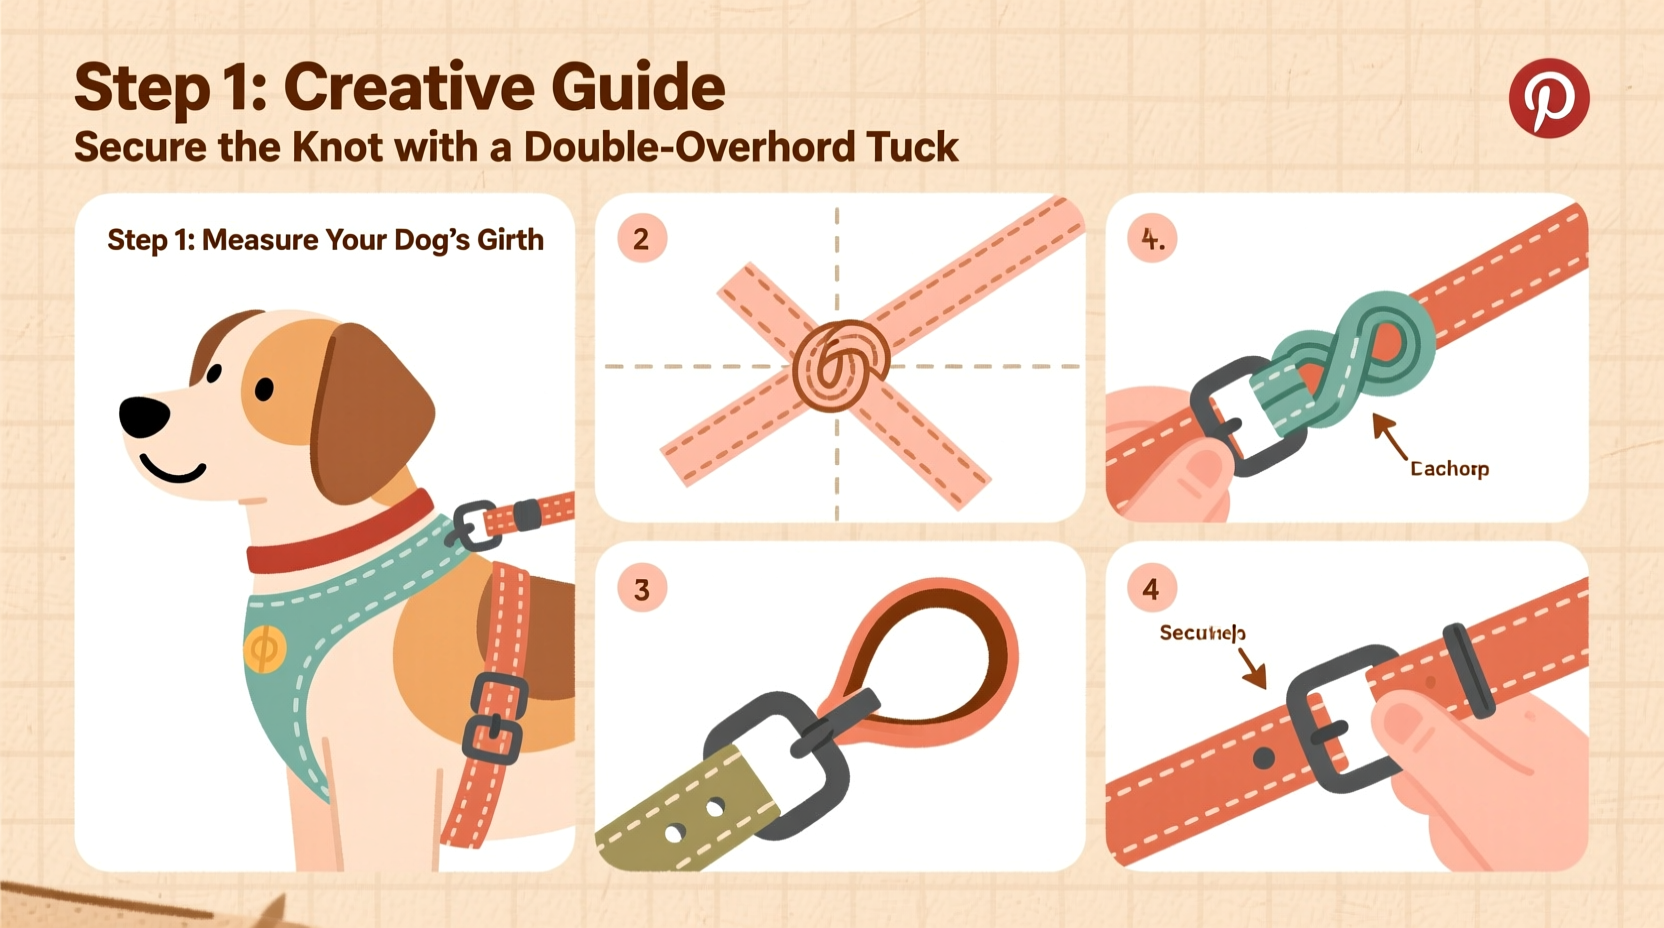
- Measure your dog: Wrap the measuring tape around the widest part of the chest (behind the front legs) and the neck at its base. Note both measurements.
- Cut the leash: Unravel the leash if it’s coiled. Cut it into three sections:
- Main loop: Chest measurement + 6 inches (for adjustment and overlap)
- Neck loop: Neck measurement + 4 inches
- Connector strap: 8–10 inches (links chest and neck loops)
- Seal the ends: Use a lighter to lightly melt the cut edges of the webbing to prevent fraying. Alternatively, apply fray-check liquid.
- Attach the buckles: Slide one end of the neck strap through a side-release buckle. Fold the end back ½ inch and secure it with a strong knot or bar tack stitching (optional). Repeat for the chest loop.
- Create the Y-junction: Position the connector strap so it runs from the center of the chest loop up between the dog’s front legs and attaches to the neck loop. Use a D-ring at the chest midpoint to anchor the connector strap securely.
- Add leash attachment point: Install a second D-ring on the top of the chest loop (center-back) where the leash will clip during walks.
- Test fit and adjust: Place the harness on your dog. Ensure it’s snug but allows two fingers beneath each strap. Adjust buckle positions as needed.
Sizing Guidelines by Dog Weight
| Dog Weight | Chest Measurement | Neck Measurement | Leash Length Needed |
|---|---|---|---|
| 5–15 lbs | 12–18 inches | 8–12 inches | ~24 inches total |
| 15–30 lbs | 18–26 inches | 12–16 inches | ~30 inches total |
| 30–60 lbs | 26–36 inches | 16–20 inches | ~36 inches total |
| 60+ lbs | 36+ inches | 20+ inches | ~40+ inches total |
Real-Life Example: Max, the Escape Artist Beagle
Sarah, a dog trainer in Asheville, NC, adopted Max, a clever 22-pound beagle known for slipping out of standard harnesses. After trying five different store-bought models, she decided to build her own using an old climbing-grade leash she had at home. She followed a similar process outlined here, adding extra padding near the armpits using soft fleece-lined tubing threaded over the straps. The result? A snug, escape-proof harness that stayed secure during hikes and training sessions. “It fits his broad chest perfectly,” Sarah said. “And he hasn’t backed out of it once.”
Expert Insight on DIY Pet Gear Safety
“While DIY projects can be innovative and resourceful, safety must come first. Any homemade harness should undergo stress testing—simulate pull forces and check all connection points weekly. Never leave a dog unattended in a non-commercial harness.” — Dr. Lena Torres, DVM, Canine Orthopedic Specialist
Dr. Torres emphasizes that improper weight distribution or weak joints in a DIY harness can lead to spinal misalignment or shoulder injury over time. Regular inspection is essential.
Do’s and Don’ts of Homemade Harness Design
| Do’s | Don’ts |
|---|---|
| Use UV-resistant, mildew-proof webbing | Use elastic or stretchy materials near load points |
| Include two-finger fit under all straps | Overtighten to prevent slipping—it can restrict breathing |
| Reinforce high-stress areas with bar tacks or rivets | Repurpose human gear (like seatbelts) not rated for dynamic loads |
| Check hardware compatibility with leash clips | Ignore signs of wear—replace immediately if fraying occurs |
Frequently Asked Questions
Can I make a no-pull harness using this method?
Yes. By positioning the leash attachment point on the dog’s chest (front-clip) instead of the back, you create gentle steering feedback that discourages pulling. Just move the D-ring to the front center of the chest strap and ensure the connector strap guides it correctly between the legs.
How long will a DIY harness last?
With proper care, a well-constructed DIY harness can last 6–12 months of regular use. Inspect it weekly for fraying, loose buckles, or weakened stitching. Exposure to moisture, dirt, and sun accelerates wear.
Is this suitable for puppies or senior dogs?
Absolutely. The ability to customize fit makes this ideal for growing puppies or older dogs with joint sensitivities. Just ensure the harness accommodates growth or mobility changes—adjust straps frequently and avoid rigid designs.
Final Checklist Before First Use
- ✔ All cut ends are sealed to prevent unraveling
- ✔ Buckles click securely and do not slip under tension
- ✔ D-rings are firmly anchored and rotate freely
- ✔ Harness lies flat without twisting on the dog
- ✔ Two fingers fit comfortably under neck and chest straps
- ✔ No rubbing or pressure points observed during a 5-minute indoor test
Conclusion: Empower Yourself and Your Pet
Transforming a leash into a custom dog harness isn’t just a craft project—it’s an act of thoughtful pet care. You gain control over fit, materials, and function, all while reducing waste and saving money. Whether you’re creating a temporary backup, tailoring gear for a unique body shape, or simply enjoying hands-on pet parenting, this skill adds real value to your routine. Start small, test thoroughly, and refine as needed. Your dog deserves comfort and safety on every walk—and now, you have the power to provide it yourself.


 浙公网安备
33010002000092号
浙公网安备
33010002000092号 浙B2-20120091-4
Comments
No comments yet. Why don't you start the discussion?