
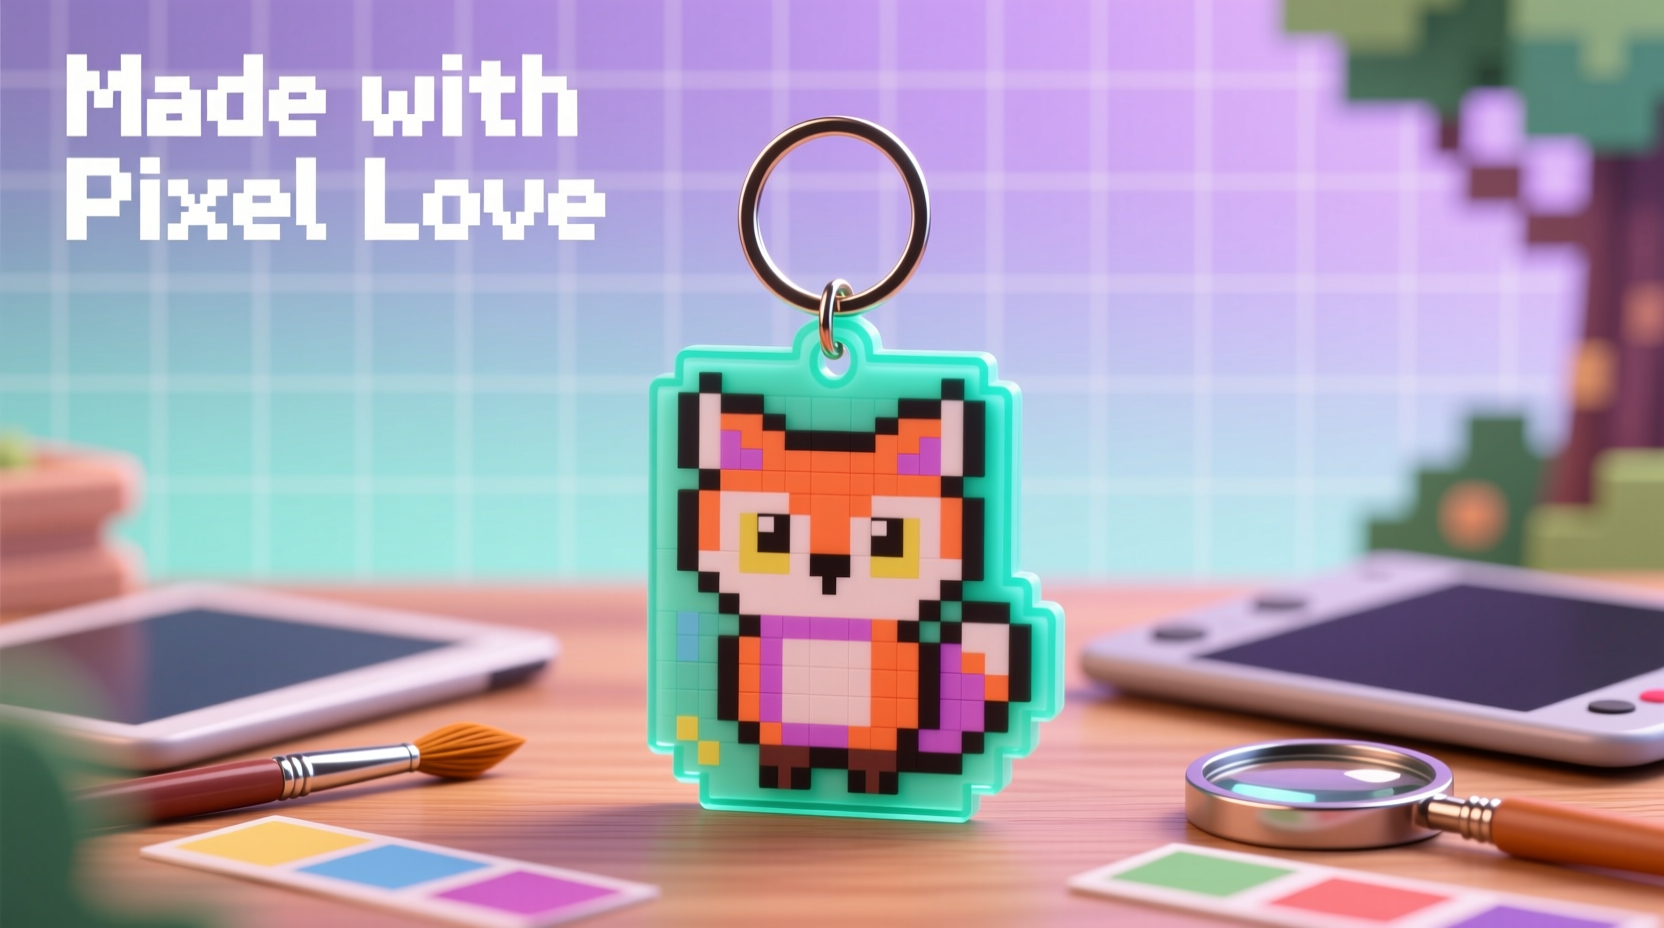
Pixel art is more than just a nostalgic nod to retro video games—it’s a vibrant, accessible form of digital-inspired craft that can be brought into the physical world. One of the most charming ways to celebrate this art style is by creating a custom pixel art keychain. Whether you’re a beginner in crafting or an experienced maker looking for a fun weekend project, making your own pixel art keychain at home is both rewarding and surprisingly simple. With basic supplies and a bit of patience, you can design and assemble a miniature wearable artwork that reflects your personality, favorite characters, or even abstract patterns.
Understanding Pixel Art and Its Craft Applications
Pixel art originated from early computer graphics, where artists created images using individual pixels on low-resolution screens. Each pixel was carefully placed to form recognizable shapes and colors. Today, this aesthetic thrives in indie games, digital illustrations, and—increasingly—in handmade crafts. When translated into physical form, pixel art often uses small colored squares such as Perler beads, pony beads, or embroidery cross-stitch grids.
For keychains, the most practical medium is the mini pegboard with heat-fused beads. These kits allow you to lay out tiny colored beads in a grid pattern, then melt them slightly with an iron (using parchment paper) to fuse them into a solid, durable piece. The result is a lightweight, colorful, and highly customizable accessory.
Materials and Tools You’ll Need
Gathering the right supplies ensures a smooth and enjoyable crafting experience. Most items are affordable and reusable across multiple projects.
- Mini pegboard: Choose a small square or rectangular board (common sizes: 5x5, 7x7, or 10x10 pegs).
- Perler beads or similar fusible beads: Available in wide color ranges, including metallic and glow-in-the-dark options.
- Tweezers or a bead picker tool: Essential for precise placement, especially on tiny boards.
- Parchment paper: Protects your iron and prevents sticking during fusing.
- Dry iron: No steam. Set to medium heat.
- Ironing surface: A cutting board or heat-safe mat.
- Keychain hardware: Small metal loops or lobster clasps (available at craft stores).
- Graph paper or digital grid: For sketching your design before building.
“Pixel art teaches precision and planning—skills that transfer beautifully into hands-on crafting.” — Lila Chen, Digital Artist & Craft Educator
Step-by-Step Guide to Crafting Your Keychain
Follow this detailed sequence to go from idea to finished keychain in under two hours.
- Design Your Artwork: Start with a concept—a heart, a smiley face, a mushroom, or even initials. Sketch it on graph paper using single squares to represent beads. Limit your palette to colors you have available.
- Choose a Board Size: Keep designs compact. A 7x7 grid is ideal for keychains—large enough for detail, small enough to stay portable.
- Transfer the Design: Place your pegboard on top of the sketch and begin placing beads according to your drawing. Use tweezers for accuracy.
- Double-Check Colors: Step back and view your work from a slight distance. Does the image read clearly? Adjust any misplaced beads.
- Fuse the Beads: Cover the design with parchment paper. Iron in circular motions for 10–15 seconds per side, checking frequently to avoid over-melting. Let cool completely before handling.
- Add the Keychain Loop: Once cooled, slide a metal ring through a top corner hole. If needed, gently reheat to reshape edges.
Design Inspiration and Creative Variations
Don’t limit yourself to basic shapes. With thoughtful planning, you can create intricate designs that stand out. Consider these ideas:
- Retro Characters: Pac-Man, Mario mushrooms, or pixel pets.
- Personal Symbols: Initials, zodiac signs, or tiny portraits.
- Seasonal Themes: Pumpkins for Halloween, snowmen for winter, hearts for Valentine’s.
- Abstract Patterns: Geometric symmetry, gradients, or optical illusions.
To add depth, use half-beads or layer different shades for shading effects. Some crafters even combine multiple fused pieces to create 3D keychains.
Real Example: Sarah’s Custom Pet Keychain
Sarah wanted a unique gift for her sister who adores her cat, Miso. She took a close-up photo of Miso’s face, simplified it into a 7x7 pixel grid using free online pixelation tools, and matched each pixel to available bead colors. After careful assembly and fusing, she attached a silver loop and presented it on a handmade card. Her sister wore it on her backpack immediately, sparking compliments from coworkers. The entire project cost under $8 and took less than three hours.
Do’s and Don’ts of Pixel Keychain Making
| Do’s | Don’ts |
|---|---|
| Use a well-lit workspace to distinguish similar colors. | Work on uneven surfaces—beads may fall off easily. |
| Sort beads by color before starting. | Rush the fusing process—under-fused beads crack easily. |
| Let the fused piece cool completely before removing. | Use wax paper instead of parchment—wax can melt and stain. |
| Store leftover beads in labeled containers for future use. | Apply excessive pressure while ironing—this distorts the shape. |
FAQ: Common Questions About DIY Pixel Art Keychains
Can I make a pixel art keychain without a pegboard?
Yes—some crafters use embroidery plastic canvas and sew tiny beads into place. However, this method is less durable and harder to resize. Fusible bead boards remain the most reliable option for sturdy, long-lasting keychains.
How do I prevent my design from warping during ironing?
Warping usually happens due to uneven heat or pressure. Use consistent circular motions, apply light pressure, and always place parchment paper on both sides of the design. Flip and re-iron the back for even fusing.
Are these keychains safe to wash or get wet?
Fused bead keychains are water-resistant but not waterproof. Prolonged exposure to moisture or submersion can degrade the material over time. Wipe clean with a damp cloth if needed.
Crafting Checklist: From Idea to Finished Keychain
Stay organized with this actionable checklist:
- ☐ Choose a theme or image for your keychain
- ☐ Sketch the design on graph paper (max 10x10 grid)
- ☐ Gather all materials: pegboard, beads, tweezers, parchment paper, iron
- ☐ Sort beads by color for quick access
- ☐ Place beads accurately on the board following your sketch
- ☐ Double-check alignment and colors before fusing
- ☐ Fuse both sides with parchment paper using medium heat
- ☐ Cool completely, then remove from board
- ☐ Attach a metal keychain loop securely
- ☐ Store extra beads and clean workspace
Conclusion: Bring Your Pixels to Life
Crafting your own pixel art keychain blends creativity, focus, and tactile satisfaction in a way few small projects can. It’s an invitation to slow down, think in grids, and build something meaningful one tiny bead at a time. Whether you keep it for yourself or give it as a heartfelt gift, your handmade keychain carries a personal touch no store-bought item can replicate. The skills you develop—planning, color matching, precision—can open doors to larger pixel art projects, from coasters to wall hangings.


 浙公网安备
33010002000092号
浙公网安备
33010002000092号 浙B2-20120091-4
Comments
No comments yet. Why don't you start the discussion?