
For quilters and crafters, storage is more than practical—it’s part of the creative process. A well-made container doesn’t just protect supplies; it inspires order, showcases fabric choices, and becomes a functional piece of studio decor. The rectangular container puff—a hybrid between a padded box and a decorative cushion—offers structure, softness, and durability in one. Unlike flimsy baskets or rigid plastic bins, this handmade solution combines form and function, ideal for holding batting scraps, thread bobbins, embroidery hoops, or even as a pin cushion with storage space beneath.
What sets the container puff apart is its dual-layer construction: a firm base supports a plush, quilted top that doubles as a seating cushion or pressing mat. When built with care, it resists wear, maintains shape, and adapts to evolving project needs. This guide walks through the design, materials, and craftsmanship required to build a long-lasting version tailored to your workspace.
Selecting Materials for Longevity
The lifespan of any handmade item begins with material selection. For a container puff, three components matter most: outer fabric, inner structure, and padding. Each plays a role in durability, comfort, and aesthetic cohesion.
Natural cotton canvas or heavy-duty linen works best for exterior panels. These fabrics resist pilling, withstand repeated handling, and accept dyes evenly if you plan custom printing. Avoid stretchy knits or lightweight calicos—they sag under weight and tear at stress points. For lining, use a tightly woven cotton poplin or decorator-grade upholstery fabric, which resists fraying and hides dust.
The structural layer determines rigidity. Corrugated plastic board (commonly known as coroplast) cut to size provides a waterproof, lightweight base. Alternatively, 1/4-inch hardwood plywood offers superior support but adds weight. Sandwich this between two layers of mid-weight fusible interfacing to prevent shifting.
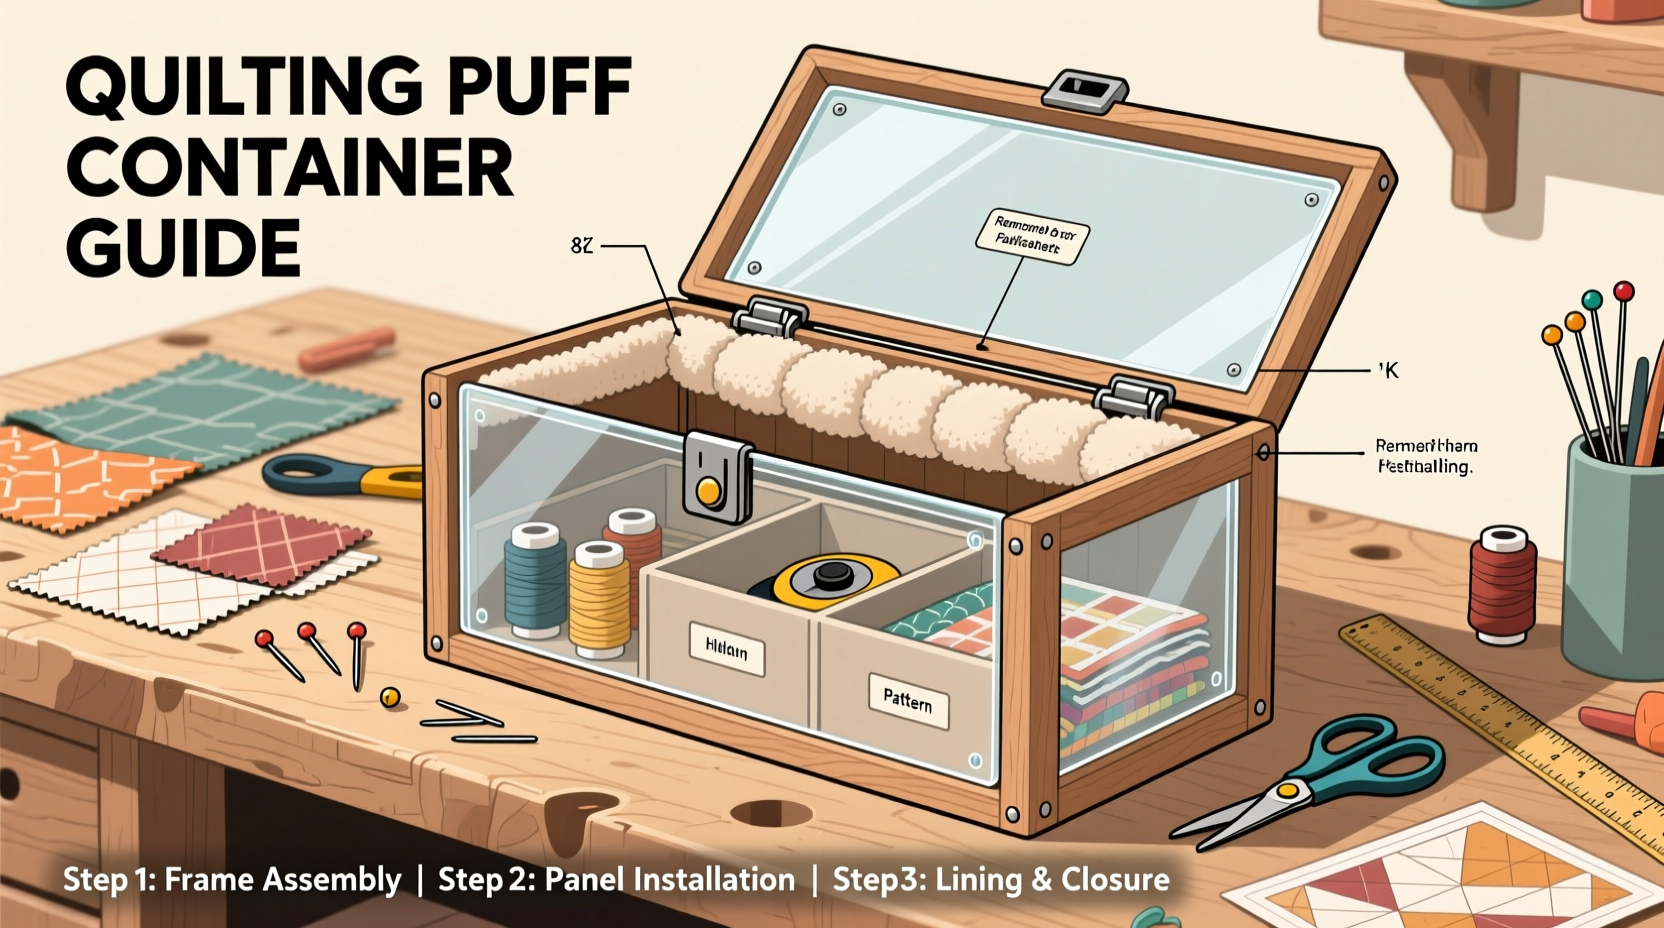
Step-by-Step Construction Process
Building the container puff involves six core stages: measuring, cutting, layering, assembling, boxing, and finishing. Precision at each phase ensures symmetry and strength.
- Measure and Cut Panels: Decide on dimensions—common sizes range from 10”x6” to 14”x10”. Cut two identical rectangles from outer fabric, lining fabric, and batting for the top. For the sides, cut four strips: two matching the length and two the width of the base, each 3 inches wide (or desired height).
- Create the Quilted Top: Layer outer fabric (right side up), batting, and lining (right side down). Baste together using spray adhesive or loose stitching. Quilt in diagonal lines or stipple pattern for texture and stability.
- Attach Side Panels: Sew side strips to the edges of the quilted top, right sides together. Miter corners by folding at 45 degrees before sewing adjacent pieces. Press seams open to reduce bulk.
- Insert the Base: Place the rigid insert inside the formed box. Extend it so it rests snugly against the inner walls. Hand-tack it to the bottom lining fabric at multiple points to prevent movement.
- Close the Bottom: Attach the remaining lining rectangle to the open base, leaving a 4-inch gap. Turn the entire unit right-side out through this opening.
- Final Closure: Hand-stitch the gap closed with ladder stitch. Optional: add a ribbon loop or leather handle to the top center for portability.
Reinforcement Techniques for Durability
A puff that holds tools must endure daily use. Reinforcements should be subtle but effective. Double-stitch all load-bearing seams using a 2.5mm stitch length. At corners, backstitch three times to anchor tension points. Consider bartacking—dense zigzag stitches—at areas where handles or clasps might later be added.
To prevent edge collapse, insert a corded piping along the upper rim before attaching side panels. Make piping by wrapping bias-cut fabric around cotton cording, then sew it between the top panel and first side strip. This creates a rounded, resilient edge that resists flattening.
| Component | Durable Choice | Avoid |
|---|---|---|
| Outer Fabric | Cotton canvas, denim, or twill | Voile, challis, or jersey knit |
| Structural Base | Coroplast or birch plywood | Cardboard or foam board |
| Padding | Needle-punched batting or felt | Polyester pillow stuffing |
| Thread | Heavy-duty polyester (Tex 40) | Regular cotton thread |
“Durability in craft storage isn’t about thickness—it’s about smart layering and stress distribution.” — Lena Torres, Textile Designer & Educator
Customization Ideas for Functionality
Once structurally sound, the container puff can be personalized. Add interior pockets by sewing vertical dividers from scrap fabric before closing the bottom. Use contrasting thread for topstitching to highlight geometric patterns. Embroider initials or tool icons on the lid for quick identification among multiple units.
For modular setups, build several puffs to uniform height and nest them side-by-side like a cubby system. Cover lids with magnetic sheets backed by fabric; attach small metal trays or scissors holsters that snap into place. Another option: install a Velcro-sealed false bottom to hide sharp tools or personal notes beneath a visible layer of favorite fabrics.
Mini Case Study: Sarah’s Studio Upgrade
Sarah, a longarm quilter from Portland, struggled with scattered batting rolls and lost pins. She built three matching container puffs using navy canvas exteriors and patchwork tops made from client project leftovers. Each puff measured 12”x8”x3”, with coroplast bases and double-layered side seams. One holds rotary cutters and rulers, another stores pin cushions and thimbles, and the third serves as a seat during machine work. After six months of daily use, none showed signs of wear. “They look good enough to display in my living room,” she said, “but they’re tough enough for shop life.”
Checklist: Building Your Container Puff
- ☐ Choose durable outer and lining fabrics
- ☐ Cut base board to match desired footprint
- ☐ Prepare batting and interfacings
- ☐ Quilt the top panel with stabilizing pattern
- ☐ Sew side panels with mitered corners
- ☐ Insert and secure rigid base
- ☐ Close bottom with hand-stitched invisible seam
- ☐ Reinforce high-stress areas with backstitching
- ☐ Add optional handles, labels, or pockets
- ☐ Test load capacity with typical tools
Frequently Asked Questions
Can I machine-wash the container puff?
Spot clean only. Full immersion risks warping the base and separating bonded layers. Use a damp cloth with mild soap for surface cleaning.
How do I prevent the base from cracking over time?
Avoid placing the puff in direct sunlight or near heating vents. UV exposure weakens plastics, while heat cycles cause wood to expand and contract. Store indoors at stable temperatures.
Is it possible to make a collapsible version?
Yes, but durability decreases. Replace the solid base with a thick foam sheet and use flexible plastic sheeting instead of rigid board. Note: this reduces weight capacity and long-term shape retention.
Conclusion: Craft Smarter with Purpose-Built Storage
A durable rectangular container puff bridges the gap between utility and artistry. It reflects the maker’s attention to detail while solving real organizational challenges. By choosing robust materials, reinforcing key seams, and designing for actual workflow needs, you create more than a box—you build a lasting companion for your creative journey. Whether used as a mobile kit, a tabletop organizer, or a dual-purpose seat, this project elevates everyday functionality into thoughtful craftsmanship.


 浙公网安备
33010002000092号
浙公网安备
33010002000092号 浙B2-20120091-4
Comments
No comments yet. Why don't you start the discussion?