
Handmade keychain bag ornaments are more than just functional—they’re a form of self-expression. Whether clipped to a backpack, purse, or used as a standalone charm, these small accessories can reflect personality, commemorate memories, or serve as thoughtful gifts. With minimal investment in time and materials, you can craft one-of-a-kind pieces that stand out in a world of mass-produced items. This guide walks you through the entire process, from selecting materials to advanced customization techniques, ensuring your creations are both beautiful and durable.
Why Handmade Keychains Matter Today
In an era dominated by fast fashion and disposable accessories, handmade items offer authenticity and intentionality. A custom keychain isn’t just decorative—it tells a story. It could feature initials, a favorite color scheme, a symbol of personal significance, or even a miniature work of art. Beyond aesthetics, crafting by hand fosters mindfulness and creativity, turning a simple project into a meaningful ritual.
Moreover, handmade keychains make excellent gifts. They require little space, cost very little to produce, and carry emotional weight. A beaded charm shaped like a cat for a pet lover, a stamped metal tag with coordinates of a special place, or a tiny polymer clay cupcake—each piece becomes a conversation starter and a lasting keepsake.
“Personalization transforms ordinary objects into cherished belongings. A handmade keychain is wearable memory.” — Lila Monroe, Craft Designer & Author of *Artful Accessories*
Essential Materials and Tools You’ll Need
Before diving into creation, gather the right supplies. The beauty of this craft lies in its flexibility—many materials are interchangeable based on availability and style preference. Below is a comprehensive list of core components:
- Base hardware: Lobster clasps, split rings, key rings, jump rings
- Beads: Glass, wood, acrylic, seed beads, or gemstone beads
- Cord or chain: Nylon cord, leather strips, waxed cotton, ball chains, or metal chains
- Embellishments: Charms, pendants, tassels, pom-poms, fabric scraps
- Adhesives: E6000 glue, super glue, or epoxy resin (for sealing)
- Tools: Pliers (flat-nose and round-nose), wire cutters, scissors, hole punch (if using leather or felt)
- Optional: Polymer clay, shrink plastic, embroidery floss, stitch markers
Step-by-Step Guide to Crafting Your First Keychain
Follow this structured process to create a professional-looking handmade keychain, even if you're new to crafting.
- Choose a theme or purpose. Is it a gift? A souvenir? A statement piece? Define the mood—playful, elegant, minimalist, or bohemian.
- Select a base design. Decide whether you want a beaded strand, layered charms, a tassel, or a sculpted element like clay or felt.
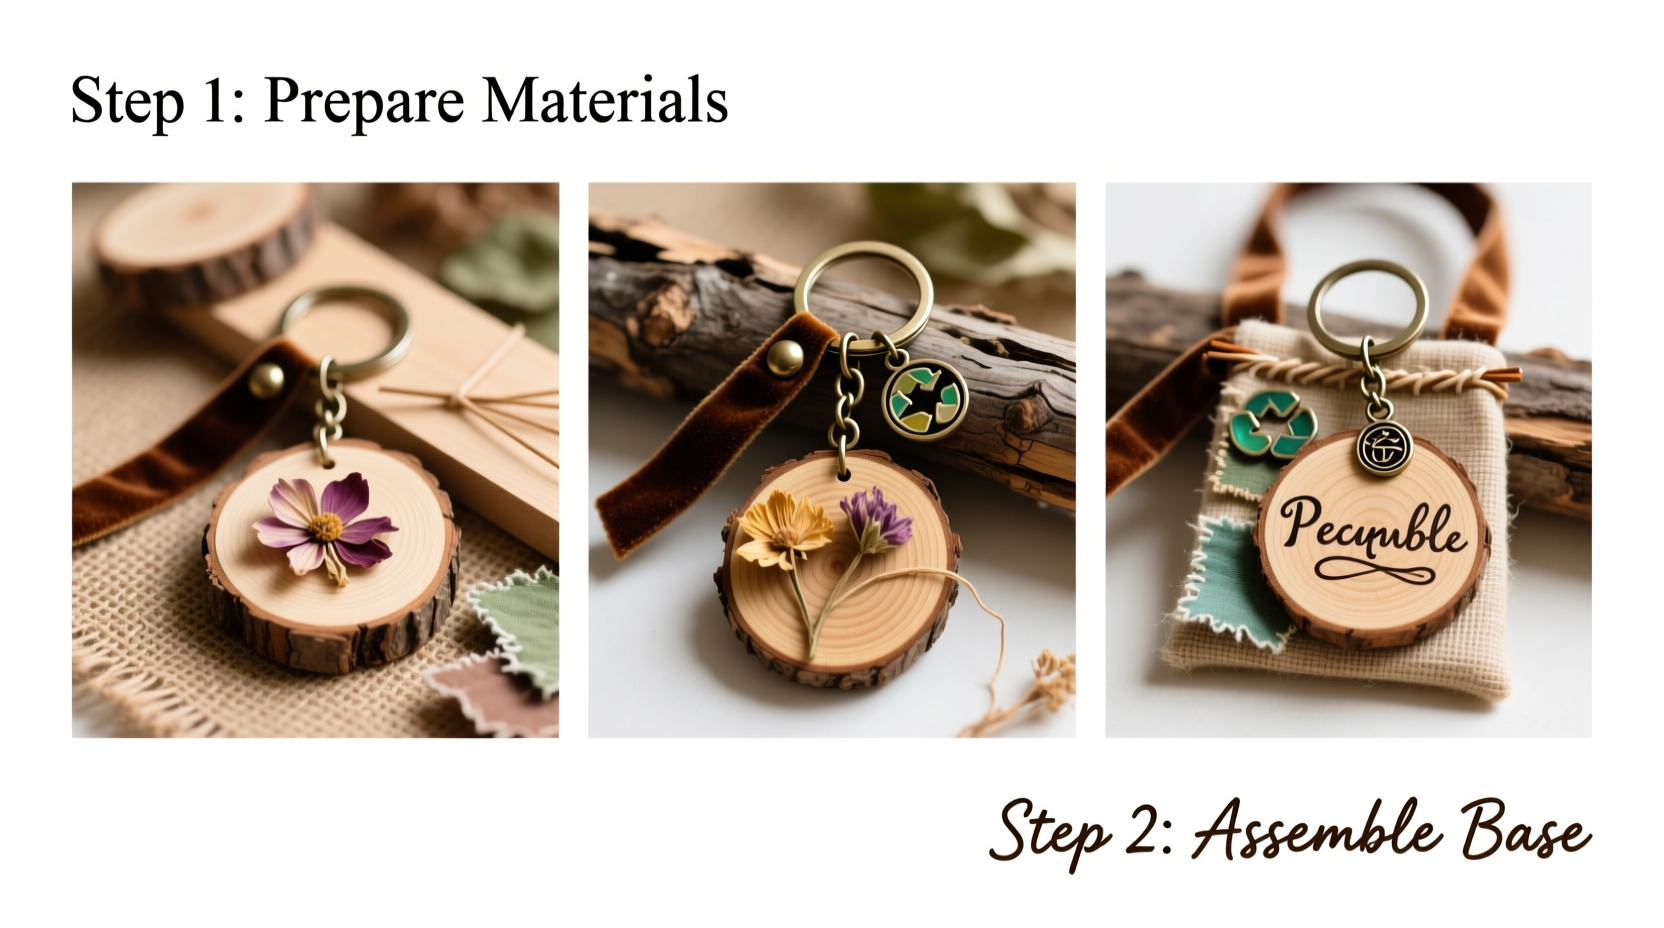
- Prepare your materials. Cut cords to desired length (typically 4–6 inches), open jump rings with pliers, and lay out all components.
- Assemble the elements. String beads onto cord or attach charms using jump rings. For layered designs, connect multiple charms to a central ring.
- Add the clasp. Use pliers to securely attach a lobster clasp or key ring to the top loop. Ensure connections are tight to prevent loss.
- Seal and finish. If using porous materials like wood or fabric, apply a light coat of clear sealant to protect against moisture and wear.
- Test durability. Gently tug on each connection point to ensure stability before gifting or daily use.
Advanced Technique: Custom Polymer Clay Charm
Create a truly unique centerpiece by making a custom charm from polymer clay.
- Condition a small amount of clay by kneading until soft.
- Shape it into a disc, heart, animal, or geometric form.
- Use toothpicks or stamps to add texture or initials.
- Bake according to package instructions (usually 275°F for 15–30 minutes).
- Let cool completely, then drill a small hole at the top using a pin vise or needle tool.
- Sand rough edges lightly, then attach with a jump ring.
- Optional: Seal with glossy varnish for shine and protection.
Material Comparison: Best Options for Different Styles
| Material | Best For | Pros | Cons |
|---|---|---|---|
| Leather Cord | Rustic, minimalist, masculine styles | Durable, ages beautifully, natural look | Limited color range, not water-resistant |
| Polymer Clay | Custom shapes, colorful designs | Highly customizable, lightweight | Fragile if thin, requires baking |
| Shrink Plastic | Detailed drawings, photo transfers | Shrinks when baked, holds fine detail | Can warp if overheated |
| Resin | Glossy finishes, encapsulating items | Crystal-clear, waterproof, professional finish | Requires molds, longer curing time |
| Waxed Cotton Cord | Macramé keychains, braided styles | Easy to knot, affordable, comes in many colors | Can fray over time |
Real Example: How Sarah Turned a Hobby Into a Side Business
Sarah Kim, a graphic designer from Portland, started making keychains as stress-relief crafts during lockdown. She began with simple beaded designs for friends, but after posting photos online, requests poured in. Within six months, she launched a small Etsy shop specializing in nature-themed polymer clay keychains—tiny mushrooms, leaves, and mountains.
She uses eco-friendly packaging and offers personalization with engraved tags. Her attention to detail and storytelling (each listing includes a short note about the inspiration) helped her stand out. Today, her monthly sales exceed $1,200, and she teaches weekend workshops locally.
“I never thought something so small could carry so much meaning,” Sarah says. “People buy them to remember hikes, lost pets, or their favorite seasons. That emotional connection is what makes handmade special.”
DIY Checklist: Build a Keychain in Under 30 Minutes
Follow this quick-reference checklist for efficient crafting:
- ☐ Choose a color palette or theme
- ☐ Gather beads, cord, clasp, and tools
- ☐ Cut cord to 5 inches (adjust for style)
- ☐ String or arrange decorative elements
- ☐ Attach jump ring and clasp securely
- ☐ Test strength of connections
- ☐ Apply sealant if needed
- ☐ Polish final product and store safely
Frequently Asked Questions
How do I prevent my beads from sliding off the cord?
Use knotting techniques between beads or crimp beads secured with pliers. Alternatively, choose cords with less slip, like waxed cotton or silicone-lined string. Adding a drop of glue to the knot provides extra security.
Can I wash handmade keychains?
Most should not be submerged. Spot-clean with a damp cloth. Avoid water exposure for pieces with paper, fabric, or untreated wood. Sealed resin or coated metal components can tolerate light moisture.
What’s the best way to personalize a keychain?
Use alphabet beads, custom stamped metal tags, hand-painted details, or shrink plastic with names or dates. For sentimental value, embed small photos under resin or include a tiny dried flower from a memorable event.
Final Thoughts and Call to Action
Creating handmade keychain bag ornaments is more than a craft—it’s a way to infuse everyday objects with identity and care. From selecting vibrant beads to shaping original clay charms, each decision adds character. These small accessories may hang quietly from a zipper or keyring, but they carry weight in meaning and craftsmanship.
Start simple, experiment boldly, and don’t fear mistakes—sometimes the most beloved designs come from happy accidents. Share your creations with friends, gift them with notes, or start a collection that evolves with your journey.


 浙公网安备
33010002000092号
浙公网安备
33010002000092号 浙B2-20120091-4
Comments
No comments yet. Why don't you start the discussion?