
Creating handmade Christmas cards is more than a craft—it’s a meaningful way to convey warmth, thoughtfulness, and personal connection during the holiday season. In an age of digital messages and mass-produced greetings, a handcrafted card stands out. It carries the imprint of time, care, and creativity. Whether you're crafting with children, preparing a batch for loved ones, or exploring a new artistic outlet, making your own Christmas cards can be both joyful and rewarding.
With minimal supplies and a few inventive techniques, you can design unique cards that reflect your personality and celebrate the spirit of the season. From textured embellishments to clever folding methods, this guide offers practical inspiration and a structured process to bring your vision to life.
Why Handmade Christmas Cards Matter
A store-bought card may be convenient, but it lacks the personal touch that transforms a greeting into a keepsake. Handmade cards offer emotional value—recipients often save them for years, taping them to fridges or storing them in memory boxes. The effort behind each cut, stamp, and handwritten message communicates sincerity in a way no printed alternative can match.
Additionally, crafting at home supports sustainability. You can repurpose scrap paper, fabric remnants, or old holiday decorations instead of contributing to seasonal waste. According to Martha Green, a paper artist and educator, “There’s a quiet power in handmade objects. They slow us down, remind us of our hands, and reconnect us to tradition.”
“Handmade cards aren’t just about aesthetics—they’re small acts of presence in a distracted world.” — Martha Green, Paper Artist & Educator
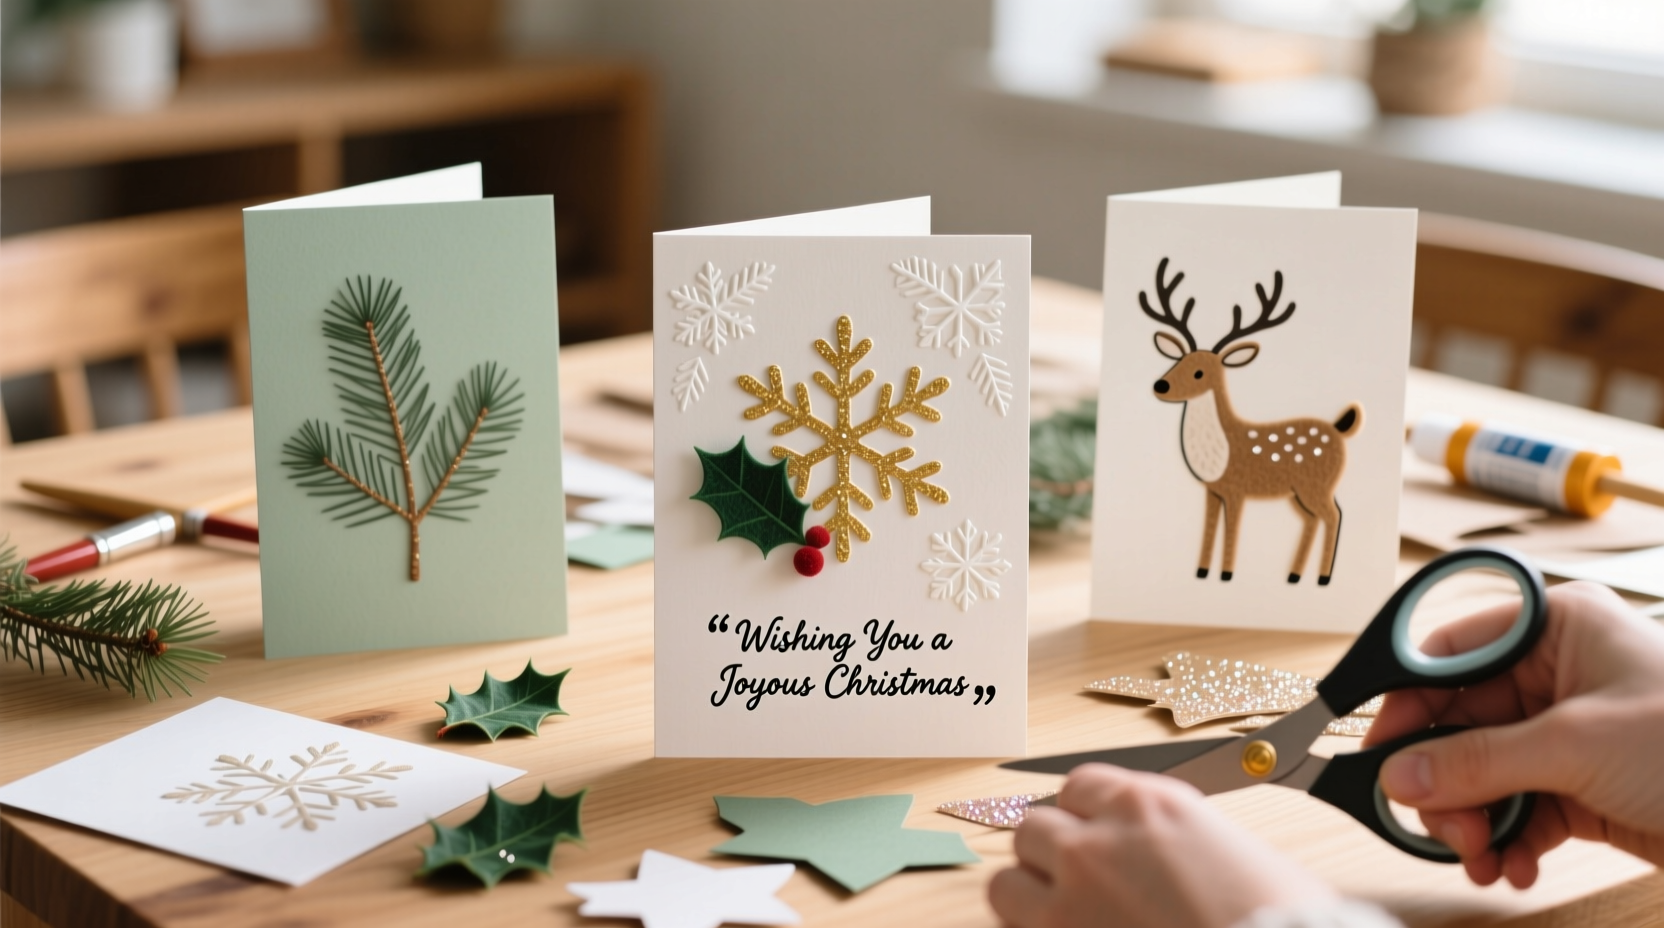
Creative Ideas to Inspire Your Designs
The beauty of homemade Christmas cards lies in their versatility. You’re not limited by templates or trends. Here are several distinctive ideas to spark your imagination:
- Foil-stamped elegance: Use metallic gel pens or heat-activated foil to create shimmering snowflakes, stars, or calligraphy.
- Pop-up elements: Craft 3D trees, snowmen, or reindeer that rise from the card when opened.
- Natural textures: Glue on pine sprigs, cinnamon sticks, or dried orange slices for a sensory experience.
- Photo collages: Combine small printed photos with festive borders and handwritten notes.
- Origami accents: Fold tiny cranes, stars, or gift boxes to attach as decorative details.
- Washi tape patterns: Layer colorful tapes into geometric designs or border frames.
- Stenciled scenes: Use cookie cutters as stencils for powdered glitter or paint snowmen and trees.
Step-by-Step Guide to Making Your Own Christmas Cards
Follow this clear, seven-step process to produce polished, professional-looking cards from start to finish.
- Gather your materials: Choose sturdy cardstock (A6 size is standard), scissors, glue, pens, and decorative items like buttons, ribbons, or stamps.
- Fold the base card: Cut paper to 5.5 x 8.5 inches, then fold in half horizontally. Use a bone folder or ruler edge for a crisp crease.
- Plan your layout: Lightly sketch where text and images will go using a pencil. Leave space for writing inside.
- Add decoration: Attach embellishments one at a time. For dimension, use foam adhesive dots under focal points.
- Incorporate texture: Try embossing with a stencil and powder, or rub crayons over lace placed on the surface.
- Write your message: Use fine-tip markers or calligraphy pens. Practice wording on scrap paper first.
- Let dry and package: Allow glue and ink to set overnight. Store flat in a box until ready to mail or deliver.
Time Investment per Card
| Design Complexity | Average Time | Best For |
|---|---|---|
| Simple (drawing + message) | 5–8 minutes | Large batches, kids’ crafts |
| Moderate (embellishments, stamping) | 12–15 minutes | Close friends and family |
| Detailed (pop-up, mixed media) | 25–35 minutes | Special recipients, keepsakes |
Avoiding Common Pitfalls
Even experienced crafters encounter issues when making cards. Being aware of frequent mistakes helps ensure success.
“Once, I glued a pom-pom right over the hinge. Learned that lesson the hard way!” — Sarah Lin, DIY Blogger
To prevent frustration, follow these do’s and don’ts:
| Do’s | Don’ts |
|---|---|
| Use acid-free glue to prevent yellowing | Overload the front with heavy items |
| Test pen ink for smudging | Forget postal regulations—cards over 1 oz need extra postage |
| Keep a consistent color palette | Use wet mediums that warp paper |
| Sign and date the back subtly | Leave loose glitter that can spill in the mail |
Real Example: A Family Crafting Night Success
The Reynolds family in Vermont decided to replace their annual photo card with handmade versions in 2023. With two children aged 7 and 10, they set up a crafting station with colored pencils, stickers, and pre-cut card bases. Each family member designed five cards using a theme: “Our Favorite Holiday Memory.” One child drew sledding adventures; the parents wrote short anecdotes about baking mishaps.
They finished 30 cards in two evenings. Though imperfect, the cards received heartfelt responses. “People said they’d keep them forever,” Mrs. Reynolds shared. “One friend even framed hers.” The project deepened family bonding and saved money compared to custom printing.
Essential Checklist Before Sending
Before mailing your handmade Christmas cards, verify each one meets these standards:
- ✅ All glue and paint are completely dry
- ✅ No loose parts that could fall out in transit
- ✅ Recipient’s address is legible and centered
- ✅ Postage is correct (weigh a sample if adding bulk)
- ✅ Personal message is warm and error-free
- ✅ Return address is included in the top left corner
Frequently Asked Questions
Can I use watercolor on cardstock?
Yes, but choose heavyweight (at least 220 gsm) cold-pressed cardstock to minimize warping. Let painted cards dry flat under a light weight to keep them straight.
How early should I start making cards?
Begin four to six weeks before December 15 to allow time for drying, addressing, and mailing. Starting early prevents last-minute stress and ensures delivery by Christmas.
Are eco-friendly materials worth it?
Absolutely. Recycled paper, plant-based inks, and biodegradable glitter reduce environmental impact. Many craft stores now label sustainable options clearly.
Bring Joy Through Your Hands
Every brushstroke, folded corner, and handwritten word adds depth to the simple act of saying “Merry Christmas.” When you make your own cards, you’re not just sending a greeting—you’re sharing a piece of your time and heart. That intangible quality is what turns a holiday card into a cherished memento.
No special talent is required. What matters most is intention. Start small: make one card for someone who needs encouragement. Then another. Soon, you might find yourself looking forward to this annual ritual as much as the carols and candlelight.


 浙公网安备
33010002000092号
浙公网安备
33010002000092号 浙B2-20120091-4
Comments
No comments yet. Why don't you start the discussion?