
In compact homes and studio apartments, every inch of space counts. Even everyday items like tissue boxes must serve dual purposes: functionality and aesthetic harmony. A standard cardboard tissue box can disrupt the visual flow of a minimalist shelf or clutter an already tight surface. The solution lies in reimagining how tissues are stored and displayed. With thoughtful design choices and a touch of creativity, it’s possible to integrate decorative tissue boxes seamlessly into small spaces—without sacrificing style or accessibility.
Why Decorative Tissue Boxes Matter in Compact Interiors
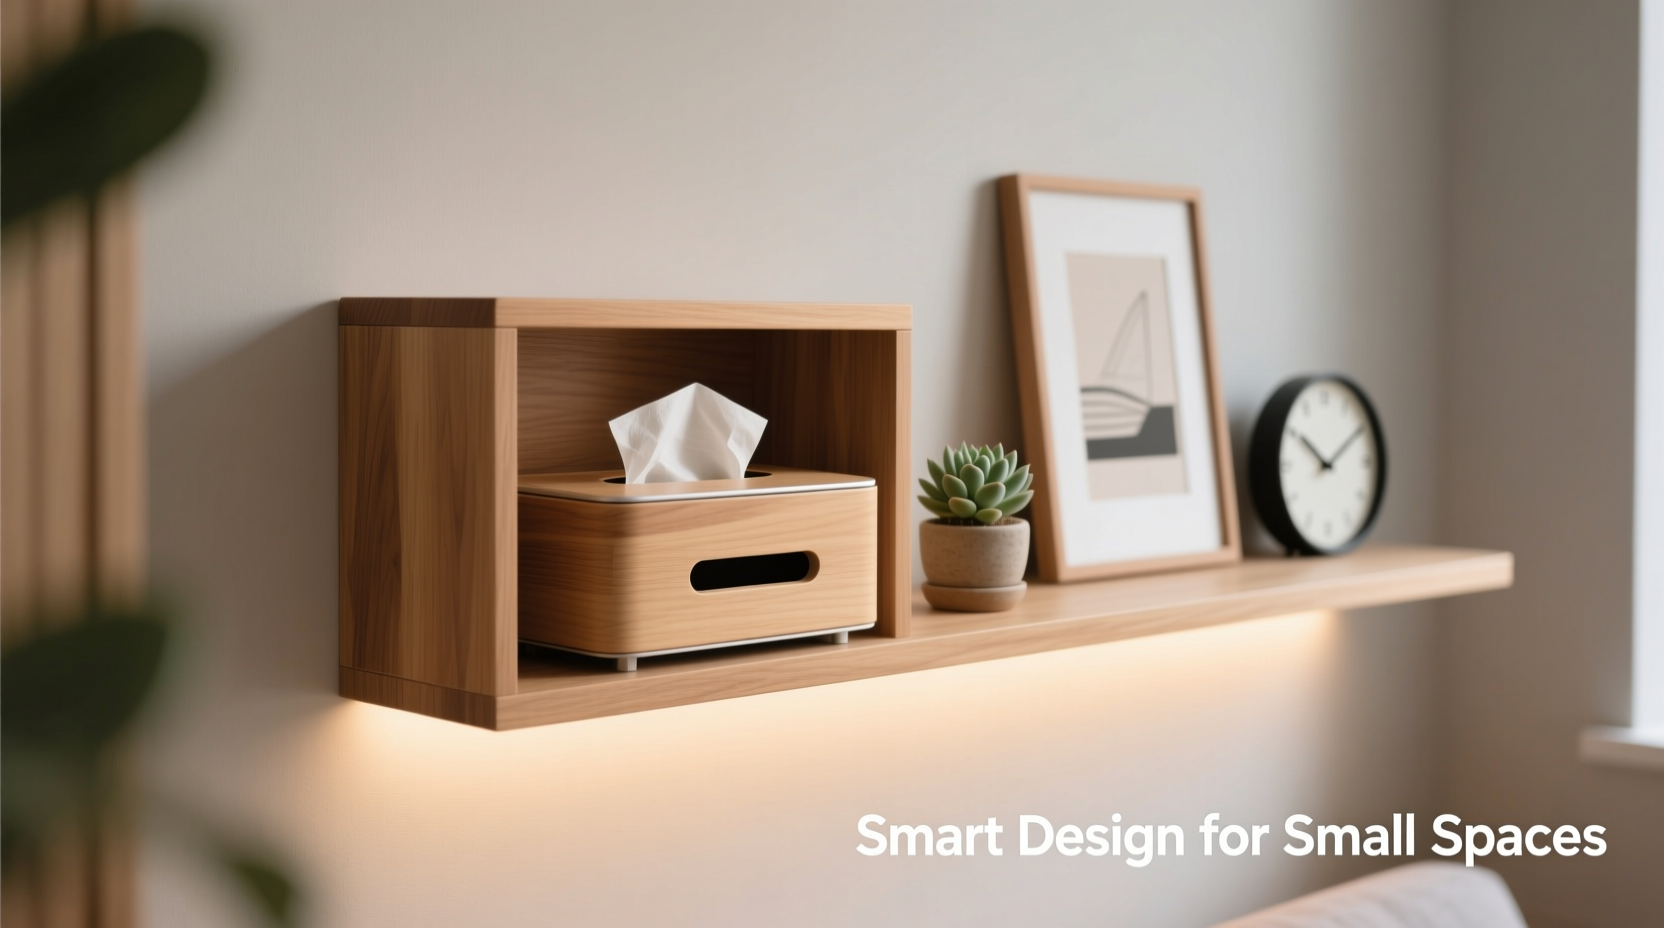
Small spaces demand smart organization. When surfaces are limited, every object becomes part of the room’s visual language. A plain tissue box contributes to visual noise, especially when placed on a coffee table, nightstand, or bathroom counter. A well-chosen decorative tissue box, however, acts as both storage and decor, helping maintain a cohesive interior theme.
Interior designers emphasize that even minor elements influence spatial perception. “The details define the atmosphere,” says Maya Tran, a New York-based micro-living specialist.
“In small interiors, overlooked items like tissue holders can either break the harmony or enhance it. Choosing one that complements your color scheme and materials elevates the entire space.” — Maya Tran, Interior Designer & Small Space Consultant
Creative Design Solutions for Space-Smart Tissue Storage
The key is selecting or designing a tissue box that blends utility with elegance while minimizing footprint. Below are several innovative approaches suitable for apartments, dorm rooms, or multifunctional living areas.
1. Dual-Purpose Furniture Integration
Many modern furniture pieces include hidden compartments. Look for side tables, ottomans, or media consoles with discreet openings designed for tissue dispensers. These allow tissues to be accessible without occupying additional surface area.
2. Wall-Mounted Dispensers
Free up tabletop real estate by installing a wall-mounted tissue holder. These come in various finishes—brushed metal, ceramic, or reclaimed wood—and can be placed near seating areas or beside beds. Some models feature hinged lids or magnetic closures to keep dust out.
Consider positioning them at seated eye level for convenience. In bathrooms, mount above the toilet tank; in bedrooms, place next to the bed frame at arm’s reach.
3. Repurposed Containers with Style
Transform everyday household containers into chic tissue holders. Vintage tins, ceramic canisters, or even cleaned-out cosmetic boxes can be modified with a simple cut on the top to feed tissues through. This DIY approach reduces waste and adds personality.
- Use a metal cookie tin lined with contact paper matching your room’s palette.
- Convert a tall glass apothecary jar by cutting a horizontal slot near the top.
- Repurpose a decorative gift box with a rigid lid—remove the inner insert and create a dispenser opening.
Material & Size Considerations for Small Areas
Not all decorative boxes are created equal. In confined environments, material choice affects both durability and spatial perception. Lighter colors and reflective finishes make objects appear less bulky, while natural textures add warmth without visual weight.
| Material | Pros | Cons | Best For |
|---|---|---|---|
| Wood (Bamboo, Walnut) | Durable, warm tone, eco-friendly | Limited moisture resistance | Living rooms, bedrooms |
| Metal (Brass, Steel) | Sleek, modern, easy to clean | Can dent, may feel cold | Bathrooms, entryways |
| Ceramic | Artistic, customizable glaze | Fragile, heavy | Shelves, dressers |
| Fabric-Covered Cardboard | Lightweight, affordable, stylish prints | Less durable, not moisture-proof | Temporary setups, rentals |
| Acrylic/Transparent Plastic | Space-efficient appearance, modern | Shows dust, can scratch | Minimalist or Scandinavian interiors |
Select dimensions carefully. Ideal tissue boxes for small spaces should not exceed 7 inches in width or height. Slim vertical designs fit better on narrow shelves than wide, low-profile versions.
Step-by-Step Guide: Creating Your Own Space-Saving Tissue Solution
If store-bought options don’t meet your needs, consider crafting a custom solution. Follow this timeline to build a tailored tissue holder in under two hours.
- Assess Location (10 min): Identify where tissues are most needed—bedside, sofa side, or entry nook. Measure available depth and height.
- Choose Container (15 min): Select a repurposed or purchased vessel that fits the space and matches your décor. Ensure it’s at least 5” deep to hold a full tissue pack.
- Modify for Dispensing (20 min): Using a utility knife or drill, cut a 2.5” x 4” rectangle on the top or front face. Sand sharp edges if using wood or plastic.
- Enhance Aesthetics (30 min): Paint, wrap in fabric, or apply decoupage to align with your room’s theme. Let dry completely.
- Insert Tissues & Position (5 min): Load a standard tissue pack, feed the first tissue through the slot, and place in its designated spot.
Real-World Example: Studio Apartment Bathroom Upgrade
Jessica L., a graphic designer living in a 450-square-foot Brooklyn studio, struggled with bathroom clutter. Her sink area was cramped, yet she wanted tissues accessible for guests. She solved it by mounting a brushed-nickel wall dispenser above the toilet tank—only 4 inches wide. She paired it with folded pastel tissues that peeked neatly through the slot, matching her vanity tray. “It took five minutes to install, and now my sink counter is completely clear. Guests think it’s built-in,” she shares.
This case illustrates how a small change can yield significant functional and visual benefits. By relocating the tissue box off the counter, Jessica gained usable space and improved the room’s cleanliness factor.
Checklist: Choosing the Right Decorative Tissue Box
Before purchasing or building a solution, verify these criteria:
- ✅ Measures under 7” in any dimension
- ✅ Fits standard tissue pack (or specify travel size if using smaller)
- ✅ Matches existing color scheme or materials (wood, metal, ceramic)
- ✅ Has a secure opening to prevent dust accumulation
- ✅ Allows easy one-handed access
- ✅ Can be mounted or tucked into existing furniture
- ✅ Is easy to clean or wipe down
Frequently Asked Questions
Can I use a decorative box for travel-sized tissue packs?
Absolutely. Many compact decorative holders are designed specifically for pocket tissues. These work well on nightstands or in home offices where full-size boxes are unnecessary. Just ensure the opening is sized appropriately to prevent the pack from slipping inside.
How do I keep tissues from drying out in open-top boxes?
Opt for boxes with flip lids, sliding panels, or magnetic covers. If using an open design, place a small piece of removable adhesive film over the opening when not in use. Alternatively, choose thicker quilted tissues that resist drying more effectively.
Are there foldable or collapsible decorative tissue boxes?
Yes—some fabric-covered or silicone models collapse flat when empty. These are ideal for temporary setups, guest rooms, or seasonal use. While less rigid, they offer excellent portability and storage efficiency.
Final Thoughts: Elevate Functionality Without Sacrificing Style
Finding the perfect decorative tissue box for a small space isn’t just about containment—it’s about intentionality. Every object in a compact environment should contribute to comfort, clarity, and calm. Whether you select a sleek wall-mounted unit, repurpose a vintage container, or integrate tissues into multifunctional furniture, the goal remains the same: seamless living through thoughtful design.
Start today by evaluating one high-use area in your home. Replace the exposed tissue box with a curated alternative. Notice how that small upgrade affects the room’s balance. Over time, these micro-improvements compound into a more harmonious, spacious-feeling home.


 浙公网安备
33010002000092号
浙公网安备
33010002000092号 浙B2-20120091-4
Comments
No comments yet. Why don't you start the discussion?