
Integrating pets into modern living spaces means more than just setting out a food bowl or placing a scratching post in the corner. For cat owners who appreciate both function and form, combining furniture with feline comfort is the next evolution of pet-friendly design. A cat house bench offers a dual-purpose solution: a cozy hideaway for your cat and an elegant seating option for guests. With thoughtful planning and basic carpentry skills, you can create a piece that enhances your décor while catering to your cat’s instinctual need for elevated, secure spaces.
Why Combine a Cat House with a Bench?
Cats thrive in environments where they can observe their surroundings from a safe vantage point. A bench with an integrated cat house places them at eye level—ideal for monitoring household activity—while freeing up floor space. Unlike standalone cat condos, which often clash with interior aesthetics, a built-in cat nook becomes part of your furniture narrative. This hybrid design also encourages bonding; you sit on the bench, your cat curls up inside or perches on top, creating shared moments without sacrificing style.
“Furniture that serves both human and animal needs fosters a harmonious living environment. The key is seamless integration.” — Lena Torres, Pet-Inclusive Interior Designer
Design Considerations Before You Begin
Before picking up tools, define the purpose and placement of your cat bench. Will it be used primarily for lounging, hiding, or socializing? Is it meant for one small cat or multiple larger breeds? These questions shape size, access points, and materials.
- Dimensions: Allow at least 18” x 18” interior space per cat. Height should enable easy jumping but not exceed 24” for accessibility.
- Access Design: Side-entry tunnels suit shy cats; top openings work well for confident climbers.
- Materials: Use sanded plywood (½” thick) for structure, pine or poplar for trim, and non-toxic wood glue and finish.
- Style Match: Choose stain or paint that complements existing furniture—walnut stain for rustic homes, white enamel for modern lofts.
Do’s and Don’ts of Cat Furniture Design
| Do’s | Don’ts |
|---|---|
| Include ventilation holes (1/2” diameter, spaced every 6 inches) | Use particleboard or MDF (off-gasses harmful chemicals) |
| Add removable top or side panel for cleaning | Oversize the structure beyond room proportions |
| Round all edges for safety and visual softness | Place entry too close to corners (limits visibility) |
| Reinforce joints with corner brackets or dowels | Forget about future maintenance access |
Step-by-Step Construction Guide
With design finalized, gather tools and materials. This project takes approximately 6–8 hours over two days, including drying time.
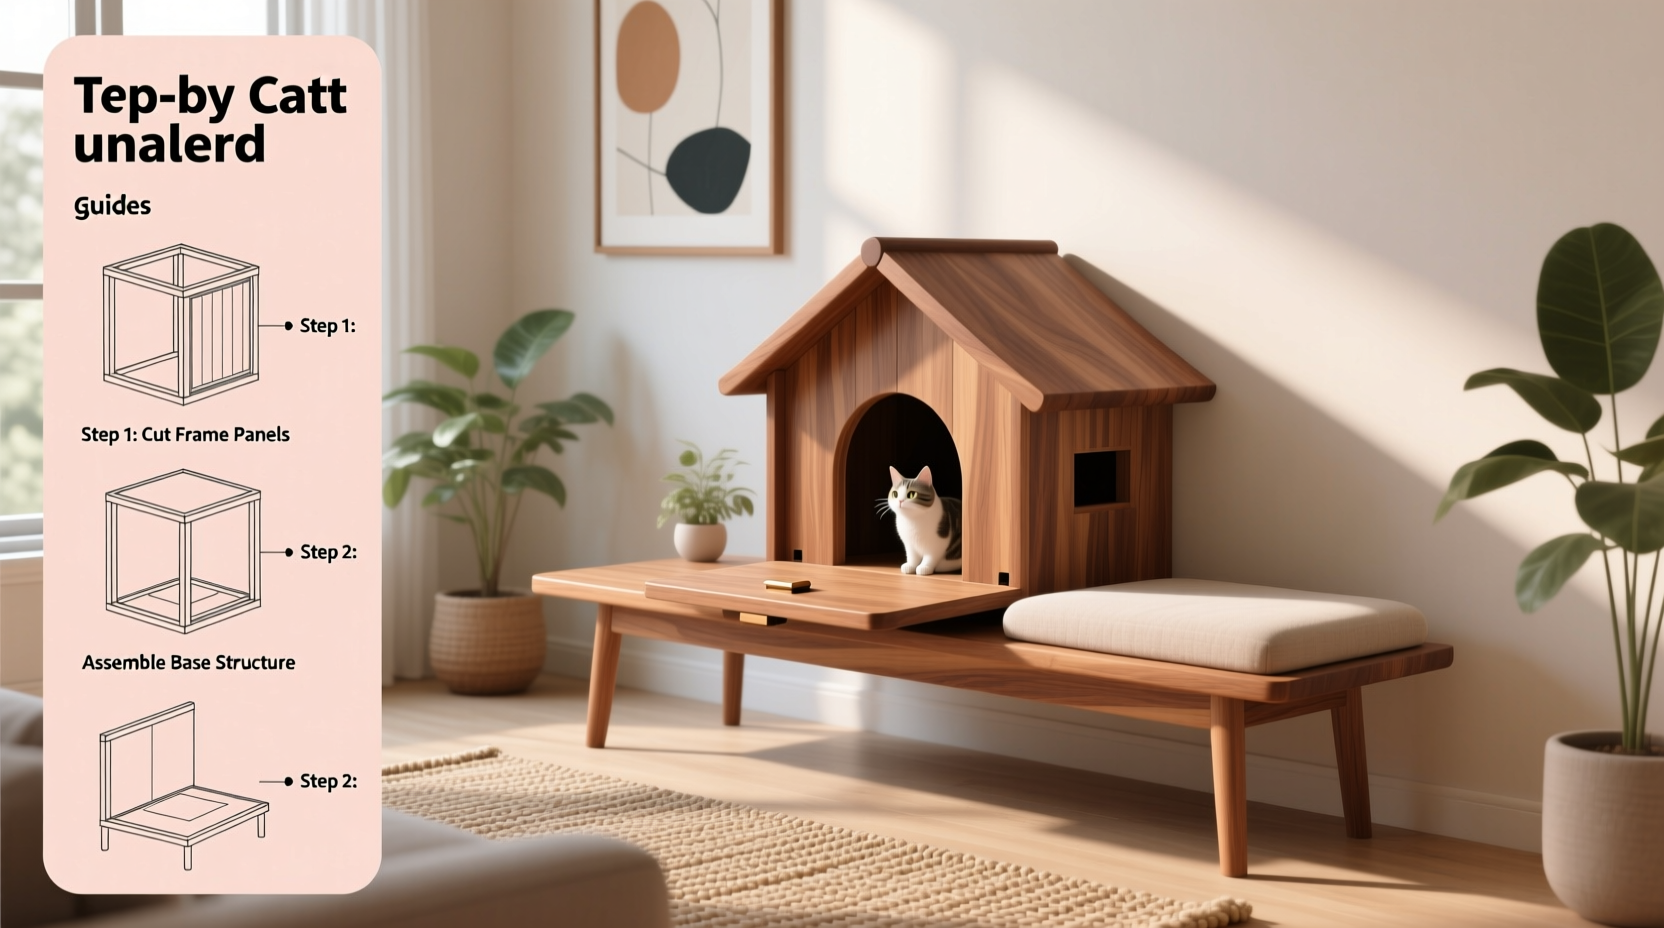
- Measure and Cut Wood Pieces
Create a base frame: two side panels (24” high x 16” wide), front and back (36” long x 16” high), and a bottom shelf (36” x 16”). Cut an arched entrance (7” wide x 8” high) into the front panel. For the cat chamber, cut internal dividers if adding levels or separate rooms. - Assemble the Box Frame
Apply wood glue to edges and clamp side, front, and back panels together. Reinforce with 1.5” wood screws every 6 inches. Attach the bottom shelf flush with the base. Let dry for 2 hours. - Build the Seat Platform
Cut a 36” x 16” seat top from ¾” plywood. Sand smooth. Attach using L-brackets underneath the frame for stability. Ensure no screws protrude into the cat cavity. - Add Ventilation and Access
Drill four ½” ventilation holes near the top rear of each side panel. If desired, install a removable side panel using small hinges or slide-in grooves lined with felt. - Sand and Finish
Sand all surfaces with 120- then 220-grit paper. Wipe clean. Apply two coats of water-based polyurethane or low-VOC paint. Let cure 24 hours before use. - Install Soft Interiors
Line the interior with a washable fleece cushion or memory foam pad cut to fit. Avoid loose fabrics that could snag claws. - Optional: Add Climbing Features
Attach sisal rope around legs or a small perch above the bench using brackets. Ensure all additions are securely fastened.
Real-Life Example: The Brooklyn Apartment Upgrade
In a compact 600 sq ft Brooklyn loft, Sarah Chen struggled with cluttered cat gear. Her two rescue cats, Milo and Juno, avoided the plastic carrier-style house tucked behind the couch. After researching space-saving solutions, she built a walnut-stained cat bench along her bay window. She incorporated a front archway, ventilation slots painted white to blend in, and a lift-off lid for vacuuming fur. The cushion matches her linen sofa, and the cats now claim the bench daily. “It looks like something from West Elm,” she says. “And my friends never guess it’s a cat cave.”
Essential Tools and Materials Checklist
Prepare these items before starting:
- ½” and ¾” sanded plywood
- Wood glue (non-toxic, water-based)
- 1.5” wood screws
- L-brackets (4–6)
- Orbital sander or sanding blocks
- Drill with ½” spade bit
- Tape measure, clamps, level
- Low-VOC wood stain or paint
- Fleece-covered cushion (custom-cut)
- Safety goggles and mask
Frequently Asked Questions
Can I modify this design for kittens or older cats?
Absolutely. For kittens, reduce the entry height to 6” and ensure no sharp edges. For senior cats with mobility issues, consider a ramp or lower profile (under 18” tall) with a wider entrance. Adding a soft ramp covered in carpet remnants improves accessibility.
How do I keep the interior clean?
Designate the cushion as removable and machine-washable. Vacuum the interior monthly using a crevice tool. For deeper cleaning, wipe down surfaces with a pet-safe wood cleaner. Avoid steam cleaners, which can warp plywood over time.
Will my cat actually use it?
Success depends on placement and familiarity. Introduce the bench with treats, toys, or catnip inside. Position it near your usual sitting area so your cat associates it with your presence. Most cats investigate new structures within 48 hours, especially if elevated and near windows.
Final Thoughts and Next Steps
A handmade cat house bench transcends utility—it reflects care for both your pet and your personal space. By merging craftsmanship with behavioral insight, you create more than furniture; you craft a shared habitat. This project doesn’t require master carpentry, only attention to detail and empathy for your cat’s instincts. Whether placed in a sunlit hallway, beside a reading chair, or beneath a bookshelf, the bench becomes a quiet centerpiece of domestic harmony.


 浙公网安备
33010002000092号
浙公网安备
33010002000092号 浙B2-20120091-4
Comments
No comments yet. Why don't you start the discussion?