
In a world saturated with digital noise, a well-crafted physical sign still holds unmatched power. Whether it’s for a small business, a home garden, or a special event, a custom sign communicates identity, sets tone, and draws attention. But not all signs are created equal. To truly stand out, a sign must balance creativity, clarity, and craftsmanship. This guide walks you through the essential steps—from concept to completion—with practical advice, design insights, and real-world applications that ensure your sign doesn’t just exist, but commands attention.
Define Your Purpose and Audience
Before sketching a single letter, ask: Who is this sign for, and what should it accomplish? A whimsical chalkboard sign outside a coffee shop aims to charm and invite. A sleek acrylic plaque on a corporate office door projects professionalism. The purpose shapes every decision that follows.
Consider these key questions:
- Is the sign meant to inform, welcome, advertise, or decorate?
- Who will see it—pedestrians, customers, guests?
- What emotional response do you want to evoke—trust, joy, curiosity?
Choose Materials That Match Your Message
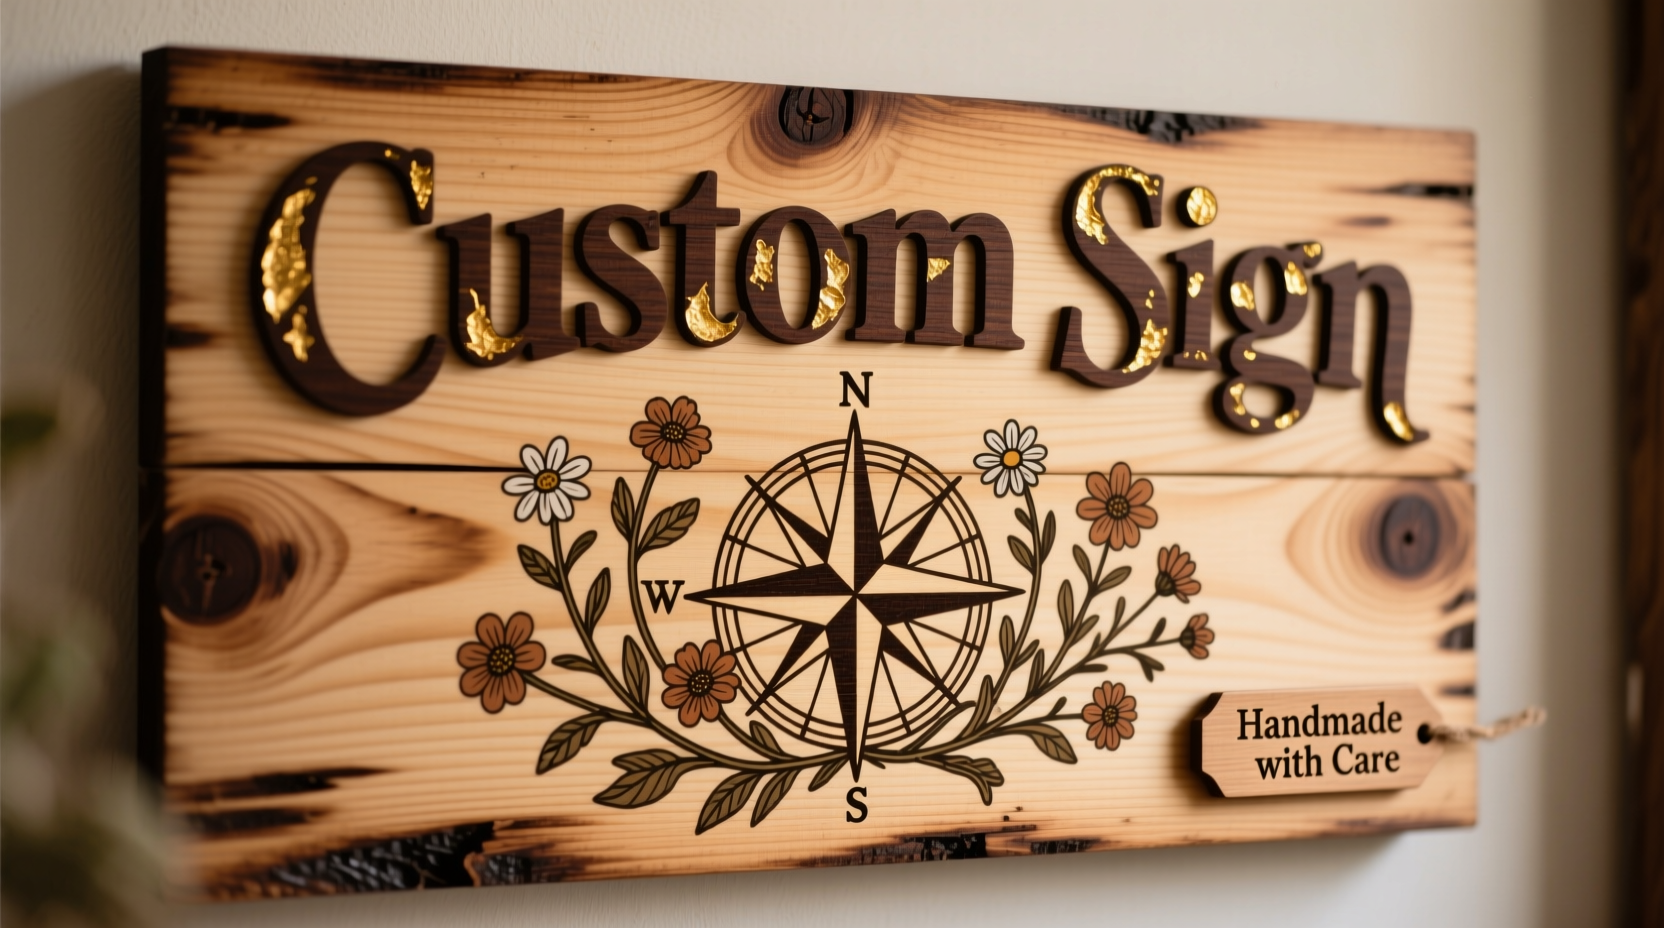
The material of your sign does more than support the design—it speaks volumes about quality, durability, and aesthetic intent. Wood conveys rustic charm, metal suggests strength, and acrylic offers modern elegance. Each has strengths and limitations depending on environment and budget.
| Material | Best For | Limitations |
|---|---|---|
| Wood (Plywood, Cedar) | Rustic shops, outdoor signage, farmhouse decor | Requires sealing; may warp outdoors |
| Acrylic/Plastic | Modern interiors, illuminated signs, indoor displays | Scratches easily; not ideal for heavy weather |
| Metal (Aluminum, Steel) | Durable outdoor use, industrial themes, long-term branding | Heavier; harder to cut at home |
| Chalkboard or Slate | Menus, temporary messages, trendy cafes | Needs frequent maintenance; not permanent |
Selecting the right material isn’t just about looks—it’s about longevity and context. A backyard garden sign in untreated pine may look charming on day one but rot within months. Plan for where the sign lives: indoors, under cover, or fully exposed.
Design with Intention: Typography, Color, and Layout
A sign’s visual impact hinges on three core elements: typography, color, and composition. These aren’t decorative afterthoughts—they’re functional tools that determine readability and emotional resonance.
Typography: Choose fonts that reflect your brand or personality. Serif fonts (like Times New Roman) feel traditional and trustworthy. Sans-serif (like Helvetica) reads as clean and modern. Script fonts add elegance but can be hard to read from a distance—use them sparingly for accents.
Color Contrast: High contrast ensures legibility. Black text on white, white on dark green, or yellow on navy works well. Avoid red-green or blue-yellow combinations for accessibility reasons.
Layout Principles: Apply the rule of thirds—place key text off-center for visual interest. Leave breathing room around letters; overcrowding kills clarity. Use size hierarchy: largest font for the main message, smaller for details.
“Good signage isn’t about being loud—it’s about being clear. The best designs communicate instantly, even at a glance.” — Lena Torres, Environmental Graphic Designer
Step-by-Step Guide: From Sketch to Final Design
- Sketch Ideas on Paper: Begin with rough thumbnails. Focus on layout, not perfection.
- Determine Dimensions: Measure the space where the sign will hang. Standard sizes like 12”x18” or 24”x36” simplify material cutting.
- Create a Digital Mockup: Use free tools like Canva or Inkscape to refine spacing, fonts, and colors.
- Test Readability: Print a scaled version and view it from 10 feet away. Can you read it in 3 seconds?
- Finalize and Export: Save high-resolution files (300 DPI) if sending to a print shop or laser cutter.
Bring It to Life: Crafting Techniques That Impress
Now comes the satisfying part—building the sign. The method depends on your materials and tools, but here’s a versatile approach using wood as an example:
Materials Needed:
- Pre-cut wooden board (sanded smooth)
- Printed stencil or transfer paper
- Acrylic or exterior-grade paint
- Fine brushes or spray paint
- Clear sealant (matte or glossy)
- Masking tape, ruler, pencil
Assembly Steps:
- Lay your design over the board using transfer paper or a printed stencil taped in place.
- Trace the letters carefully with a fine pencil or stylus.
- Paint with steady, thin coats—avoid drips by not overloading the brush.
- Let dry completely between layers (at least 2 hours).
- Once painted, remove stencil and touch up edges with a small brush.
- Apply 2–3 coats of sealant, sanding lightly between layers for smoothness.
For advanced options, consider routing letters into wood with a Dremel, or using adhesive vinyl for crisp, modern finishes. If you lack tools, many local makerspaces offer access to laser cutters and CNC routers for a small fee.
Mini Case Study: The Book Nook Café Sign
A new independent café, “The Book Nook,” wanted a welcoming sign that reflected its cozy, literary vibe. Owner Maya chose reclaimed barn wood for texture and history. She designed a serif font for “The Book Nook” and added a hand-painted quill icon. Using a stencil, she painted the text in deep forest green with cream outlines for contrast. After sealing with matte varnish, she mounted it with wrought iron brackets.
The result? Customers consistently comment on the sign’s charm. Local press featured it in a “Best New Shopfronts” article. Maya spent under $50 and three evenings on the project—proof that thoughtful design beats big budgets.
Checklist: Build a Sign That Stands Out
Use this checklist before starting your project:
- ✅ Defined the sign’s purpose and audience
- ✅ Chosen durable, appropriate materials
- ✅ Selected readable, on-brand fonts
- ✅ Tested color contrast for visibility
- ✅ Created a scaled mockup
- ✅ Practiced painting or cutting on scrap material
- ✅ Planned for mounting (hooks, stands, adhesives)
- ✅ Applied protective finish for longevity
Frequently Asked Questions
How do I make a sign last outdoors?
Use weather-resistant materials like cedar, marine-grade plywood, or aluminum. Seal all sides with exterior polyurethane or spar varnish. Avoid paper-based paints or untreated metals.
Can I make a professional-looking sign without artistic skills?
Absolutely. Use pre-made templates, vinyl decals, or stencils. Digital design tools offer drag-and-drop precision. Focus on clean execution—even simple designs shine when well-made.
What’s the ideal height and size for readability?
As a rule: 1 inch of letter height for every 10 feet of viewing distance. So, if people will read it from 30 feet away, letters should be at least 3 inches tall. Mount signs at eye level (around 4.5–5.5 feet) unless visibility requires higher placement.
Make It Meaningful, Make It Yours
A standout sign isn’t born from expensive tools or fancy software. It emerges from intention, care, and a willingness to experiment. Whether you’re marking your front gate or launching a brand, every stroke of paint or carved line adds character that mass-produced signs can’t replicate. The most memorable signs don’t just convey information—they tell stories.


 浙公网安备
33010002000092号
浙公网安备
33010002000092号 浙B2-20120091-4
Comments
No comments yet. Why don't you start the discussion?