
There’s a quiet luxury in sitting on a cushion you made yourself—crafted not just with thread and fabric, but with intention. Homemade cushions elevate both comfort and character in any living space. Unlike mass-produced decor, handmade pieces reflect your taste, suit your sofa perfectly, and support sustainable living by reducing waste. Whether you're aiming to refresh a tired corner or build a coordinated set for your reading nook, creating cushions from scratch is an accessible project that blends creativity with practicality.
Selecting the Right Materials
The foundation of a beautiful, long-lasting cushion lies in thoughtful material selection. Begin with fabric choice: cotton, linen, and canvas are breathable and easy to sew, ideal for beginners. For durability and texture, consider upholstery-weight fabrics like twill or denim. If you’re drawn to pattern play, mix solids with prints—but keep scale in mind. A large floral paired with a fine geometric can clash unless balanced with a neutral third fabric.
Filling is equally important. Polyester fiberfill is affordable and soft, perfect for decorative pillows. For firm support, especially in seating cushions, use high-resilience foam cut to size. Memory foam adds luxurious sink-in comfort but requires more advanced handling during assembly.
Design Planning and Measurements
Before touching a needle, sketch your design. Decide whether you want envelope backs, zippers, or button closures. Each offers different benefits: envelope backs are simple and reversible; zippers provide a clean finish and easy insert removal; buttons add vintage charm but require precision.
Measure the intended space or existing cushion form. Standard throw pillows range from 16” to 20” square, but custom sizes fit better in irregular spaces. Add one inch to each dimension for seam allowance when cutting fabric. For a boxed cushion (with side panels), calculate perimeter length for the border strip.
“Good design begins with proportion. A cushion should complement the furniture, not dominate it.” — Lena Torres, Interior Textile Designer
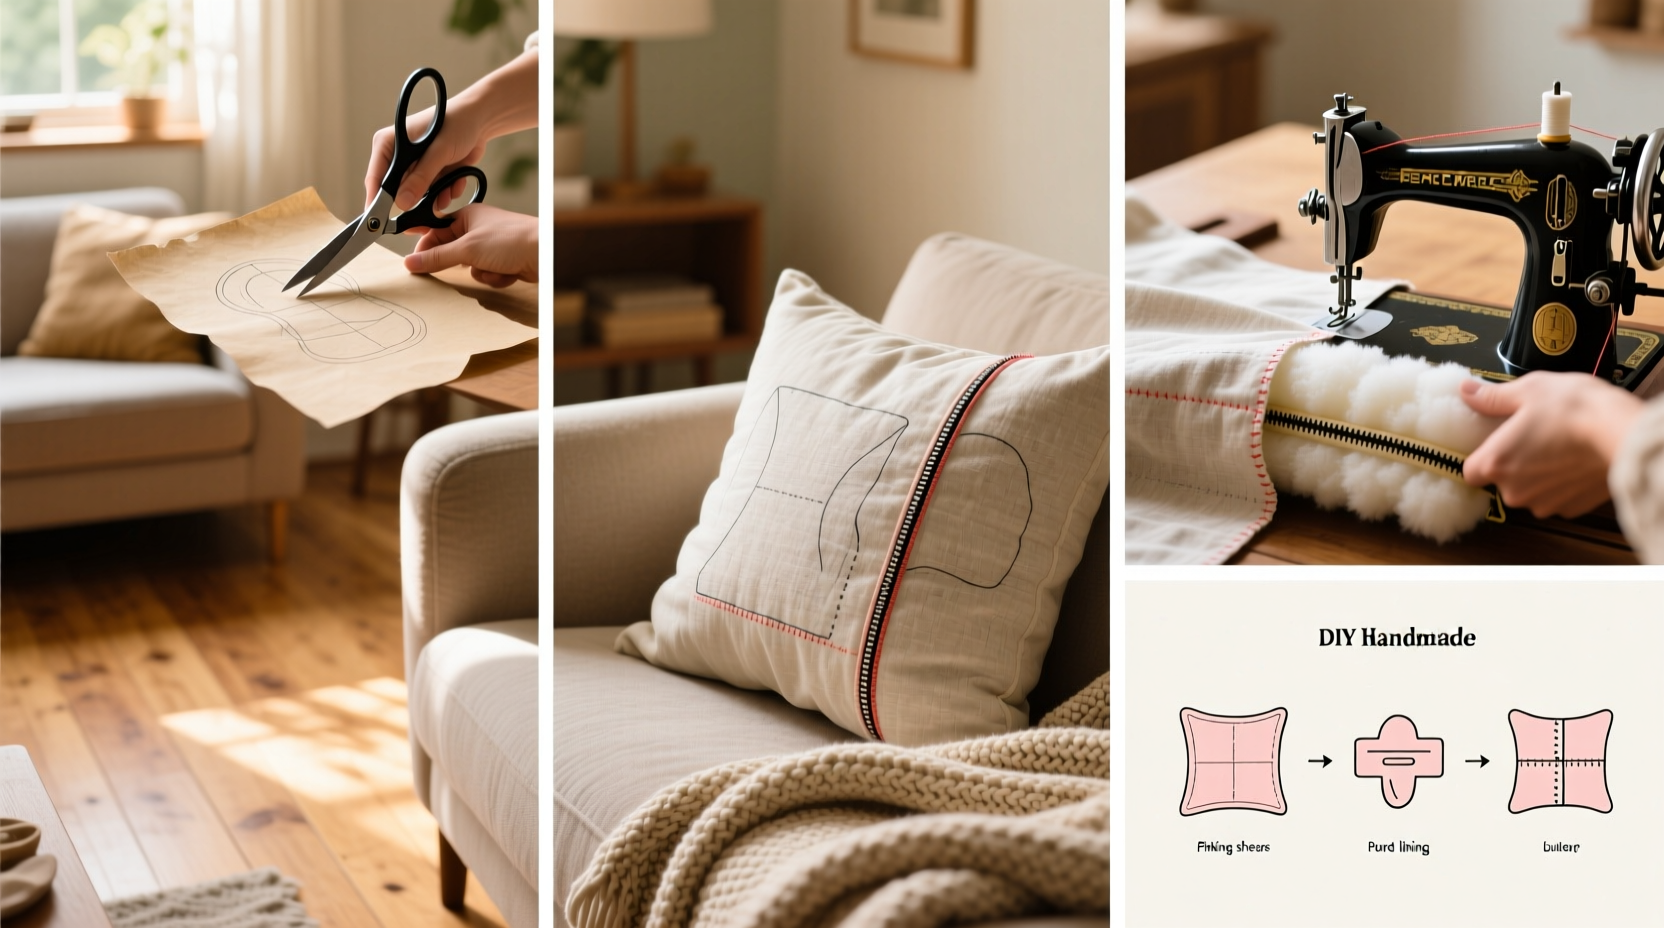
Step-by-Step Construction Guide
- Prepare your workspace: Clear a flat surface and gather tools—scissors, pins, measuring tape, sewing machine, thread, and iron.
- Cut the fabric: Using your measurements, cut two identical pieces for front and back. If using a zipper or envelope closure, cut back panels accordingly.
- Iron the fabric: Smooth out wrinkles to ensure accurate alignment during sewing.
- Sew the front and back (or closure):
- For zippered backs: Place zipper face-down along the edge of the back panel, pin in place, and stitch with a zipper foot. Repeat for the other half.
- For envelope backs: Overlap two rectangular back pieces centrally; no zipper needed.
- Pin and sew sides: Align right sides together, pin around edges, and sew with a ½-inch seam allowance. Backstitch at start and end for strength.
- Clip corners and turn: Trim excess fabric at corners (being careful not to cut stitches) to reduce bulk. Turn the cover right-side out through the opening.
- Insert filling: Gently push in polyester fill or slide in foam. Use a chopstick or blunt tool to nudge corners fully.
- Close the cover: Hand-stitch the opening closed with ladder stitch for invisible seams, or leave zipper shut.
Material Comparison Table
| Fabric Type | Best For | Pros | Cons |
|---|---|---|---|
| Cotton | Decorative pillows | Affordable, easy to wash, wide print variety | Less durable, wrinkles easily |
| Linen | Natural-style interiors | Breathable, elegant drape, ages beautifully | Prone to wrinkling, higher cost |
| Upholstery Fabric | Seating cushions | Durable, stain-resistant, long-lasting | Harder to sew, limited patterns |
| Polyester Blend | High-use areas | Stain-resistant, retains shape, budget-friendly | Less breathable, may pill over time |
Real-Life Example: Reviving a Sunroom Corner
Sarah, a homeowner in Portland, wanted to transform her sun-drenched but underused corner into a cozy retreat. She measured the built-in bench and designed three deep-seated cushions using outdoor-grade fabric to withstand sunlight and moisture. She added piping in navy blue for polish and used high-density foam topped with a thin layer of batting for plushness. The result? A functional, inviting spot her family now uses daily for reading and afternoon tea. Her total cost was under $75—half the price of retail equivalents—and she matched the colors exactly to her existing palette.
Customization and Creative Touches
Once the basics are mastered, personalization brings true distinction. Try these ideas:
- Add contrast piping or fringe trim for visual interest.
- Use embroidery to monogram initials or stitch botanical motifs.
- Layer multiple cushions in varying sizes for depth.
- Repurpose vintage scarves or saris for unique covers.
- Create seasonal sets—floral for spring, flannel for winter.
Consider reversible designs: one side bold, one subtle. Flip them depending on mood or occasion. This doubles utility and reduces clutter.
Checklist: Making Your First Cushion
- ☐ Measure desired cushion size + add 1” for seam allowance
- ☐ Choose and pre-wash fabric
- ☐ Select filling type (foam, fiberfill, etc.)
- ☐ Cut two front/back pieces (or closure panels)
- ☐ Attach zipper or prepare envelope back
- ☐ Pin and sew sides with right sides together
- ☐ Clip corners and turn cover right-side out
- ☐ Insert filling evenly
- ☐ Hand-stitch or zip closed
- ☐ Fluff and style in your space
Frequently Asked Questions
How do I keep my cushion inserts from shifting inside the cover?
Use ties or ribbons sewn inside the corners of the cover that fasten around the insert. Alternatively, opt for a snug-fitting cover or Velcro strips at inner edges.
Can I make cushions without a sewing machine?
Yes. Hand-sewing works well, especially with a backstitch for strength. Use upholstery thread and a heavy-duty needle. It takes longer but is entirely feasible for small projects.
What’s the best way to clean handmade cushions?
Always check fabric care labels. Removable covers should be machine-washed cold on gentle cycle. Spot clean non-removable covers with mild soap and damp cloth. Never saturate foam inserts.
Final Thoughts and Call to Action
Making cushions from scratch isn’t just about saving money or matching decor—it’s about reclaiming craftsmanship in a disposable world. Each stitch carries intention. Each fabric choice tells a story. And every time you sink into a pillow you created, you’re reminded that comfort doesn’t have to be bought; it can be built.
Start small: one cushion, one color, one afternoon. Then expand. Mix textures. Experiment with shapes. Share your creations online or gift them to loved ones. The act of making invites mindfulness, creativity, and deeper connection to the spaces we inhabit.


 浙公网安备
33010002000092号
浙公网安备
33010002000092号 浙B2-20120091-4
Comments
No comments yet. Why don't you start the discussion?