
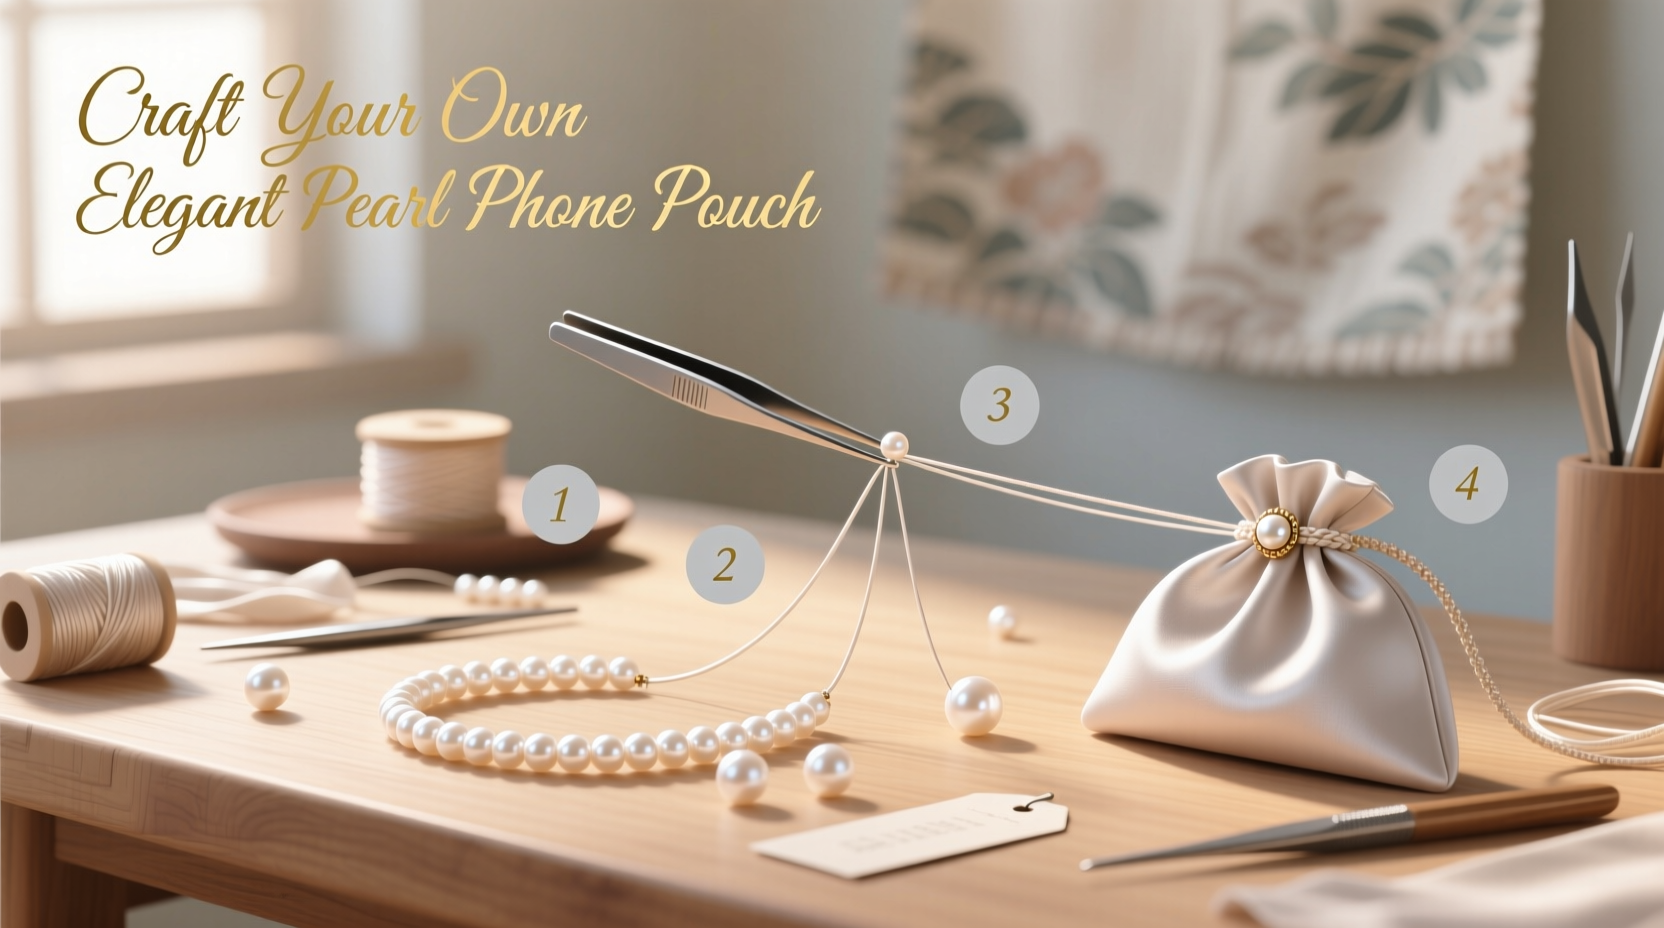
In a world where personalization meets practicality, creating your own accessories offers both charm and function. A pearl phone pouch is more than just a protective case—it’s a statement of elegance, craftsmanship, and individuality. Whether you're new to handcrafting or an experienced DIY enthusiast, making a custom pearl-adorned phone pouch allows you to blend vintage sophistication with modern utility. This guide walks you through every stage, from selecting the right materials to securing the final embellishment, ensuring your creation looks store-bought but carries the soul of handmade artistry.
Why Craft Your Own Pearl Phone Pouch?
Mass-produced phone cases may offer protection, but they rarely reflect personal style. A handmade pearl pouch, on the other hand, combines soft fabric protection with luxurious detailing. Pearls—real or simulated—add a timeless touch, evoking classic jewelry aesthetics while elevating everyday objects. Beyond aesthetics, the act of crafting fosters mindfulness and creativity, turning a simple project into a meaningful experience. Plus, it makes for a thoughtful gift when personalized with color choices or monogramming.
Selecting Materials and Tools
The foundation of a polished result lies in thoughtful material selection. You don’t need rare or expensive supplies, but quality matters—especially since the pouch will be handled daily.
| Material/Tool | Purpose | Recommended Type |
|---|---|---|
| Fabric | Main body of pouch | Satin, velvet, or cotton twill (medium weight) |
| Lining Fabric | Inner layer for smooth finish | Soft cotton or silk |
| Pearls | Embellishment | 6–8mm glass or acrylic pearls (flat-backed or with holes) |
| Needle & Thread | Sewing and attaching pearls | Finishing needle with polyester or silk thread |
| Scissors | Cutting fabric and thread | Sharp embroidery or fabric scissors |
| Measuring Tape/Ruler | Ensuring accurate dimensions | Flexible tape measure |
| Snaps or Magnetic Closure | Secure opening | Mini magnetic snap (12–15mm) |
For sustainability, consider repurposing fabric from old garments or using eco-friendly faux pearls. If you prefer natural elements, freshwater pearls can be used, though they require gentle handling due to their delicate nature.
Step-by-Step Construction Guide
Follow this detailed sequence to build your pouch with precision and grace. Allow two to three hours for completion, depending on your sewing speed and embellishment complexity.
- Measure and Cut Fabric: Measure your phone and add 1 inch (2.5 cm) to both length and width for seam allowance and ease. Cut two identical outer pieces and two lining pieces.
- Sew Outer Layers: Place the outer fabric pieces right sides together. Sew along three edges (both sides and bottom), leaving the top open. Press seams flat with an iron set to low heat (use a pressing cloth for delicate fabrics).
- Repeat with Lining: Do the same with the lining pieces, but leave a 2-inch gap on one side for turning later.
- Attach Inner and Outer Layers: Turn the outer pouch right side out. Insert the lining (wrong side out) into the outer pouch. Align the top edges and pin them together. Stitch around the open edge, creating a clean seam.
- Turn and Close: Reach through the gap in the lining, pull the entire pouch through so it’s now right-side out. Use a blunt tool (like a chopstick) to push out corners gently. Hand-stitch the gap in the lining closed.
- Add Closure: Position the magnetic snap centered on the inner flap and corresponding front panel. Mark placement, then sew securely using strong thread in a crisscross pattern for durability.
- Begin Pearl Embellishment: Plan your design—options include a border, floral motif, or scattered cluster. Start from the center and work outward to maintain symmetry.
- Secure Each Pearl: Thread a finishing needle with double thread and knot the end. For hole pearls, pass the thread through twice and secure with a backstitch under the pearl. For flat-backed pearls, use fabric glue in addition to stitching for extra hold.
- Final Pressing: Lay the pouch on a towel and lightly press with a cool iron to smooth any wrinkles, avoiding direct contact with pearls.
“Hand-embellished accessories gain emotional value over time. The small imperfections become part of their story.” — Lila Nguyen, Textile Artist & Craft Educator
Design Inspiration and Customization Ideas
Your pouch doesn’t have to follow conventional patterns. Consider these variations to make it uniquely yours:
- Color Themes: Pair ivory pearls with navy velvet for contrast, or blush pink satin for a romantic look.
- Pattern Layouts: Try a single large pearl at the corner, a vertical line down the spine, or a crescent moon arrangement.
- Additional Embellishments: Combine pearls with tiny rhinestones, lace trim, or embroidered initials.
- Seasonal Touches: Use gold-toned threads and cream pearls for winter; pastel pearls on white linen for spring.
Mini Case Study: Sarah’s Bridal Gift Project
Sarah wanted to create matching accessories for her bridesmaids. She crafted six pearl phone pouches using blush satin and 6mm cream pearls arranged in a teardrop shape near the closure. By pre-cutting all fabric pieces and using a consistent stitching template, she completed each pouch in under three hours. The bridesmaids used them throughout the wedding weekend—not just for phones, but also to store rings and lip balm. Months later, one friend shared that she still uses hers daily, calling it “the most useful keepsake” from the wedding.
Avoiding Common Pitfalls
Even skilled crafters can encounter setbacks. Awareness helps prevent frustration and rework.
| Common Mistake | Why It Happens | How to Avoid |
|---|---|---|
| Pearls falling off | Insufficient stitching or weak thread | Use double-threaded needle and reinforce with fabric glue |
| Puckered fabric | Uneven tension or ironing too hot | Press gently with a cloth barrier; stitch slowly |
| Misaligned closure | Improper marking before sewing | Test closure placement with pins first |
| Scratched phone | Rough inner seams or stiff fabric | Use soft lining and finish seams neatly |
Essential Checklist Before You Begin
Ensure you’re fully prepared with this actionable checklist:
- ☐ Measure your phone accurately
- ☐ Select and pre-wash fabric (if needed)
- ☐ Cut all fabric pieces with seam allowance
- ☐ Organize pearls by size and color
- ☐ Test magnetic snap strength
- ☐ Prepare workspace with good lighting
- ☐ Thread needles and knot securely
- ☐ Plan pearl layout on paper first
Frequently Asked Questions
Can I wash my pearl phone pouch?
Spot clean only. Submerging the pouch may loosen glue or tarnish thread. Use a damp microfiber cloth with mild soap, then air dry flat away from direct sunlight.
Are real pearls worth using?
Real freshwater pearls are beautiful but sensitive to moisture, sweat, and friction. For a functional item like a phone pouch, high-quality faux pearls are more durable and cost-effective while offering the same luster.
What if I make a mistake in pearl placement?
Remove stitches carefully with a seam ripper. If glue was used, let it dry completely before repositioning. Always work slowly—precision beats speed in embellishment.
Bring Elegance to the Everyday
Crafting a pearl phone pouch transforms an ordinary object into a wearable piece of art. It’s not about perfection, but intention—the quiet joy of choosing each material, placing every pearl with care, and knowing your hands shaped something both useful and beautiful. In a digital age dominated by screens and speed, this small act of slow creation becomes quietly revolutionary.


 浙公网安备
33010002000092号
浙公网安备
33010002000092号 浙B2-20120091-4
Comments
No comments yet. Why don't you start the discussion?