
Crafting personalized accessories offers a meaningful way to express creativity while producing functional keepsakes. Among the most enchanting themes is the ocean—its vibrant colors, mysterious creatures, and rhythmic waves inspire endless design possibilities. Creating a DIY ocean-themed keychain combines artistic expression with practicality, resulting in a small but striking piece that captures the essence of the sea. Whether you're crafting for yourself, as a gift, or to sell at a local market, this guide provides a detailed, hands-on approach to building a durable and visually appealing keychain using affordable, easy-to-find materials.
Gathering Your Materials and Tools
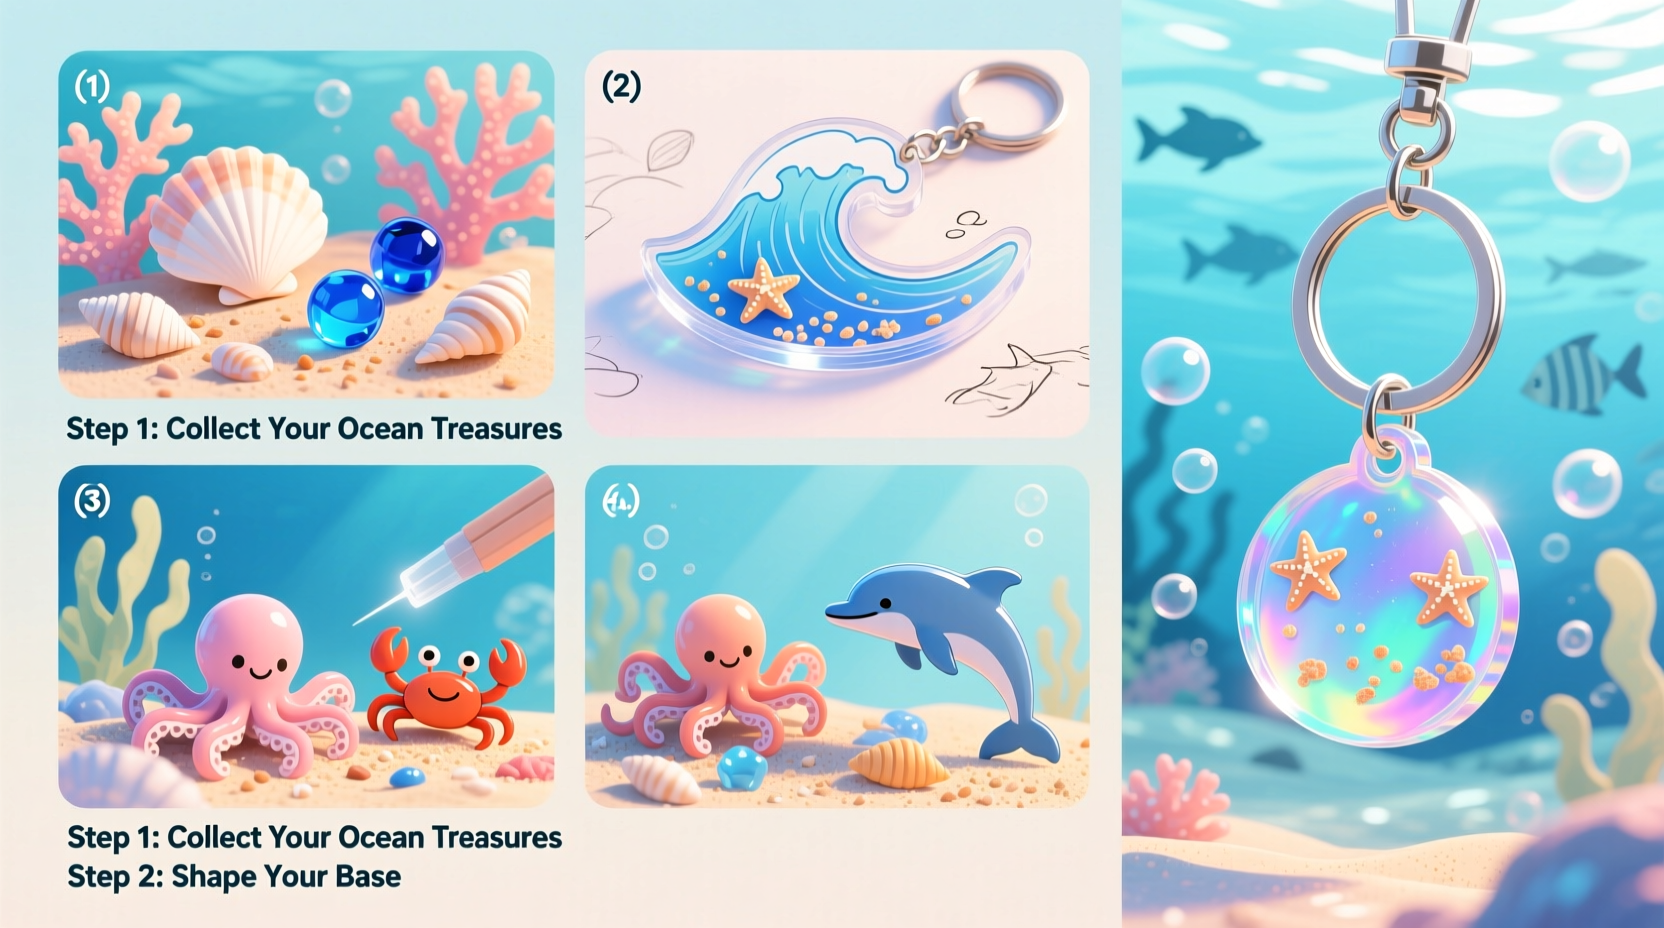
The foundation of any successful craft project lies in preparation. Assembling the right supplies ensures a smooth workflow and minimizes interruptions. For an ocean-themed keychain, focus on materials that mimic water tones, marine life, and natural textures.
| Category | Item | Purpose |
|---|---|---|
| Base Material | Silicone molds (wave, shell, fish shapes) | Shape the resin into thematic elements |
| Binding Agent | Epoxy resin & hardener | Creates a glossy, durable finish |
| Colorants | Blue, turquoise, white mica powders or liquid dyes | Simulate ocean hues and wave foam |
| Embellishments | Mini seashells, tiny plastic fish, glitter (blue/silver) | Add depth and realism |
| Hardware | Keyring, jump ring, lobster clasp (optional) | Functional attachment components |
| Tools | Mixing cups, stir sticks, gloves, droppers, tweezers | Precise handling and safety |
Design Planning and Theme Development
Before pouring any resin, define your visual concept. The ocean theme can be interpreted in many ways—realistic coral reefs, abstract wave patterns, or whimsical cartoon sea creatures. Decide whether your keychain will be minimalist or layered with intricate details.
- Color Palette: Combine deep navy, aquamarine, and translucent white to represent different ocean depths.
- Layering Strategy: Pour resin in stages to create dimension—start with darker blues at the base, then add lighter shades and floating elements.
- Size Considerations: Most silicone molds are under 2 inches wide, ideal for keychains. Avoid overcrowding.
“Resin crafts allow for incredible depth and clarity when layered properly. Think like a painter—each pour is a brushstroke.” — Lila Monroe, Resin Art Instructor
Step-by-Step Creation Process
Follow this structured sequence to ensure professional results, even if you’re new to resin crafting.
- Prepare Your Workspace: Cover surfaces with wax paper or silicone mats. Arrange all tools and materials within reach.
- Mix the Resin: Follow manufacturer instructions to combine resin and hardener (typically 1:1 ratio). Stir slowly for 3–5 minutes to avoid bubbles.
- First Layer – Ocean Base: Pour a thin layer of dark blue resin into the mold. Let it sit for 15–20 minutes until slightly tacky (not fully cured).
- Add Embellishments: Use tweezers to place mini shells, a tiny fish figurine, or sprinkle iridescent glitter to mimic plankton.
- Second Layer – Wave Effect: Mix a lighter blue or clear resin with a bit of white mica powder. Carefully pour over the first layer to create a foamy surface effect.
- Final Cure: Cover the mold with a dust-free container and let cure for 24 hours at room temperature.
- Demold and Finish: Gently flex the silicone mold to release the piece. Sand rough edges lightly with fine-grit sandpaper if needed.
- Attach Hardware: Open a jump ring using pliers, thread it through the keychain’s loop, add the keyring, and close securely.
Real-World Example: Crafting for a Coastal Gift Shop
Sarah, a hobbyist from Newport, began making ocean-themed keychains as birthday gifts for friends. Encouraged by their positive reactions, she started selling them at a local seaside market. She uses clamshell-shaped molds filled with gradient resin layers and embeds real crushed abalone fragments for shimmer. Each keychain is paired with a recycled glass bottle tag describing its handmade origin. Within three months, her small booth became one of the market’s top sellers, proving that thoughtful, handcrafted items resonate deeply with customers seeking authentic souvenirs.
Her success stemmed not just from aesthetics, but consistency—she standardized her mixing ratios and curing times, ensuring every piece met the same quality standard.
Troubleshooting Common Issues
Even experienced crafters encounter challenges. Knowing how to respond improves outcomes and reduces waste.
- Sticky Resin: Caused by inaccurate mixing ratios. Always measure by weight or volume precisely. If uncured, remove and re-pour.
- Cloudy Finish: Often due to moisture contamination. Ensure molds are completely dry before use.
- Stuck in Mold: Freeze the mold for 15 minutes—this contracts the resin slightly and eases removal.
- Overflow: Overfilling causes uneven backs. Fill only to the mold’s rim line.
Checklist: Preparing for Your First Keychain
- ☐ Choose a mold with a built-in loop or plan to drill a hole post-cure
- ☐ Measure resin and hardener accurately using a digital scale
- ☐ Prepare embellishments and have tweezers ready
- ☐ Work in a space protected from dust and drafts
- ☐ Allow full 24-hour cure time before demolding
- ☐ Test hardware attachment for security
Frequently Asked Questions
Can I use UV resin instead of epoxy?
Yes, UV resin cures faster under a UV lamp (within minutes), but it’s less durable and suitable only for very thin layers. Epoxy resin is recommended for thicker, long-lasting keychains.
How do I make the keychain waterproof?
Epoxy resin is inherently waterproof once fully cured. Avoid submerging uncured pieces in water, and store finished ones away from prolonged direct sunlight to prevent yellowing.
Are there eco-friendly alternatives to plastic embellishments?
Absolutely. Use natural materials like real crushed seashells (sanitized), dried seaweed flakes (sealed in resin), or biodegradable glitter made from cellulose.
Expanding Your Craft: Variations and Customization
Once comfortable with the basic process, experiment with advanced techniques:
- Glow-in-the-Dark Resin: Add phosphorescent powder to mimic bioluminescent plankton.
- Translucent Layers: Alternate clear and tinted pours to simulate water clarity at different depths.
- Personalization: Insert tiny alphabet beads or embed a miniature photo under the final layer.
- Multi-Piece Designs: Create separate wave, starfish, and anchor charms, then link them with jump rings for a dynamic keychain cluster.
These variations allow for seasonal editions—turquoise and silver for summer, deep blue with silver glitter for winter ocean themes.
Conclusion: Bring the Ocean With You
Creating a DIY ocean-themed keychain is more than a craft—it’s a way to carry a piece of nature’s serenity wherever you go. With careful planning, attention to detail, and a touch of imagination, you can produce a charming accessory that reflects both personal style and environmental appreciation. The process fosters mindfulness, encourages sustainable material choices, and yields a unique item that store-bought versions rarely match.


 浙公网安备
33010002000092号
浙公网安备
33010002000092号 浙B2-20120091-4
Comments
No comments yet. Why don't you start the discussion?