
Handbags are more than just functional accessories—they're personal statements. One of the simplest ways to elevate a bag from ordinary to one-of-a-kind is with a custom charm. Rather than purchasing mass-produced trinkets, creating your own DIY handbag charm allows you to express individuality, experiment with textures and colors, and add sentimental value. Whether you're drawn to minimalist elegance or bold, whimsical designs, this guide walks you through every stage of designing and assembling a charm that reflects your personality and style.
Why Make Your Own Handbag Charm?
Commercial charms often lack uniqueness and can be surprisingly expensive for what they offer. By making your own, you gain full control over materials, size, color, and meaning. A handmade charm might incorporate a birthstone, a favorite symbol, or even a tiny keepsake like a photo or handwritten note sealed inside. Beyond aesthetics, the process of creation fosters mindfulness and creativity—transforming an accessory into a meaningful extension of self-expression.
“Personalization is the future of fashion. When you make something by hand, you’re not just accessorizing—you’re storytelling.” — Lila Monroe, Textile Artist & Sustainable Designer
Materials and Tools You’ll Need
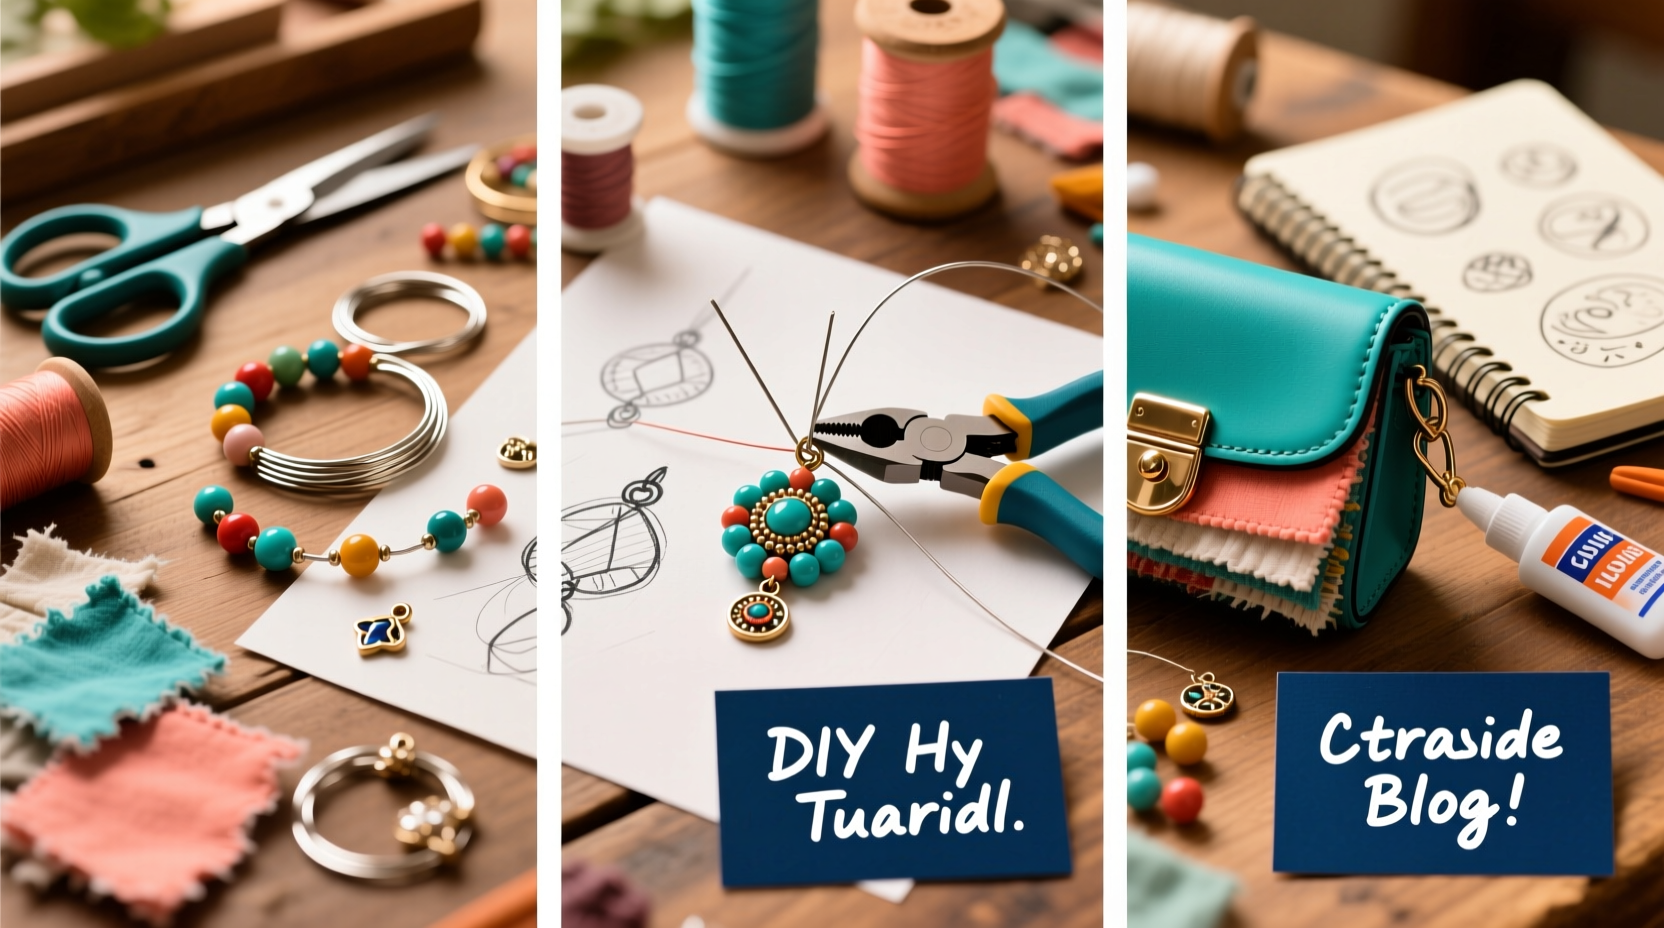
The beauty of DIY charms lies in their adaptability. You don’t need a fully stocked craft studio—most supplies are affordable and widely available. Below is a comprehensive list of common materials and tools categorized by function:
| Category | Items |
|---|---|
| Base Elements | Felt, polymer clay, wood slices, resin blanks, leather scraps |
| Embellishments | Beads, sequins, embroidery floss, miniature pom-poms, tassels |
| Hardware | Jump rings, lobster clasps, keychain rings, split rings, eye pins |
| Adhesives | E6000 glue, epoxy resin, hot glue (for non-durable items) |
| Tools | Scissors, pliers (flat-nose and round-nose), needle, ruler, paintbrushes |
Step-by-Step Guide to Crafting Your Charm
Follow this structured approach to ensure a polished, professional-looking result—even if you're new to crafting.
- Define Your Concept: Start by brainstorming ideas. Is it inspired by nature, travel, astrology, or a hobby? Sketch a rough idea on paper. Consider dimensions—most charms range from 1 to 3 inches wide.
- Select Your Base Material: Choose based on durability and aesthetic. Polymer clay is ideal for sculpted shapes; felt is soft and easy to cut; resin allows for encapsulating small objects.
- Create the Main Element:
- For polymer clay: Roll, shape, and bake according to package instructions.
- For felt: Use templates to cut symmetrical shapes like hearts, stars, or animals.
- For resin: Pour into silicone molds and embed dried flowers, glitter, or micro-printed images.
- Add Personal Details: Paint symbols, initials, or patterns using acrylic paints or fabric markers. For embroidered details on felt, use backstitch or French knots.
- Attach Hardware: Secure a jump ring to the top using pliers. If your base has no built-in loop, glue an eye pin or metal bail in place before attaching the ring.
- Incorporate Layers or Dangles: Link additional elements like beads, mini tassels, or secondary charms using smaller jump rings for movement and depth.
- Seal and Protect: For porous materials like clay or wood, apply a clear sealant spray or brush-on varnish to prevent wear and fading.
Example: The “Memory Capsule” Charm
Sophie, a graphic designer from Portland, wanted a charm that reminded her of her grandmother’s garden. She used a small resin blank mold, placing dried lavender sprigs and a tiny engraved tag with the word “bloom” inside. After curing, she painted the edges gold and attached a vintage-style brass key ring. Now, every time she opens her tote, she’s greeted by both sight and scent—a small but powerful emotional anchor.
Design Tips for Maximum Impact
A great charm balances visual interest with practicality. Keep these principles in mind as you build:
- Weight Matters: Avoid making charms too heavy. Overloading a delicate chain or strap can cause strain or breakage.
- Theme Consistency: Match your charm’s vibe to your bag. A sleek black satchel pairs well with monochrome geometric charms, while a boho crossbody suits earthy beads and fringe.
- Color Coordination: Use a color wheel to select complementary or analogous tones. Limit your palette to 2–3 main colors for cohesion.
- Durability First: If your bag sees daily use, opt for water-resistant finishes and secure attachments. Avoid loose threads or fragile components.
Checklist: Before You Attach Your Charm
- ✅ Is the adhesive fully cured?
- Wait at least 24 hours after gluing critical joints.
- ✅ Are all metal components securely closed?
- Double-check jump rings—are they twisted shut, not pulled apart?
- ✅ Does it reflect your intended style?
- Hold it against your bag. Step back and assess the overall look.
- ✅ Is it safe for everyday wear?
- No sharp edges, loose parts, or materials that degrade with moisture.
Common Mistakes to Avoid
Even experienced crafters can overlook small errors that compromise quality. Steer clear of these pitfalls:
| Mistake | Consequence | Solution |
|---|---|---|
| Using weak glue | Charm falls apart after days | Use industrial-strength adhesives like E6000 or UV resin |
| Skipping sealing | Paint chips, fabric frays | Apply 1–2 layers of protective finish |
| Overloading with dangles | Excessive weight, tangling | Limits to 2–3 moving elements max |
| Poor alignment | Charm hangs crooked | Test suspension point before final attachment |
FAQ
Can I make a charm without using glue?
Yes—some materials allow mechanical assembly. For example, you can sew felt layers together with embroidery floss and thread a metal finding through the top stitch. Metal charms can be linked with jump rings only, provided connections are tightly closed.
How do I clean my DIY charm?
Dust gently with a dry microfiber cloth. For tougher grime, dampen a cotton swab with mild soapy water and spot-clean. Never submerge unless the charm is fully sealed with waterproof resin.
Are there eco-friendly options for DIY charms?
Absolutely. Use recycled leather scraps, sustainably harvested wood, organic cotton thread, and non-toxic dyes. Avoid plastic-based glitter; opt for biodegradable mica or cellulose alternatives.
Final Thoughts and Inspiration
Crafting your own handbag charm isn’t just about decoration—it’s a form of wearable art. Each choice, from the curve of a clay edge to the hue of a single bead, becomes part of your narrative. These small creations carry memories, represent passions, and spark conversations. More than that, they remind us that beauty often lives in the handmade, the imperfect, and the intentional.
You don’t need years of experience to begin. Start with simple materials, trust your instincts, and let your first charm be a learning piece. With each new design, your confidence and creativity will grow. The next time someone compliments your bag, you’ll be able to say, “Thank you—I made that part myself.”


 浙公网安备
33010002000092号
浙公网安备
33010002000092号 浙B2-20120091-4
Comments
No comments yet. Why don't you start the discussion?