
There’s something inherently joyful about transforming everyday stationery into vibrant, personalized tools that spark creativity. A DIY handbook isn’t just a notebook—it becomes a companion, a planner, or a visual diary when infused with personality. When you pair handmade charm with the playful energy of cartoon highlighters, the result is both functional and delightful. These colorful pens, often adorned with whimsical characters or bold patterns, do more than mark text—they elevate your note-taking experience into an expressive art form.
The fusion of utility and cuteness isn’t just aesthetic; it supports memory retention, boosts motivation, and encourages consistent use. Whether you're a student, educator, bullet journal enthusiast, or someone who simply loves organizing life with flair, crafting a DIY handbook with cartoon highlighters turns routine tasks into moments of joy.
Selecting Your Materials with Intention
Every great project begins with thoughtful material selection. For a DIY handbook that balances durability and charm, choose components that reflect both practicality and playfulness.
- Notebook Base: Opt for a blank or dotted A5 or B6 notebook with thick, bleed-resistant paper. Ring-bound or disc-bound notebooks allow pages to lie flat, making writing and decorating easier.
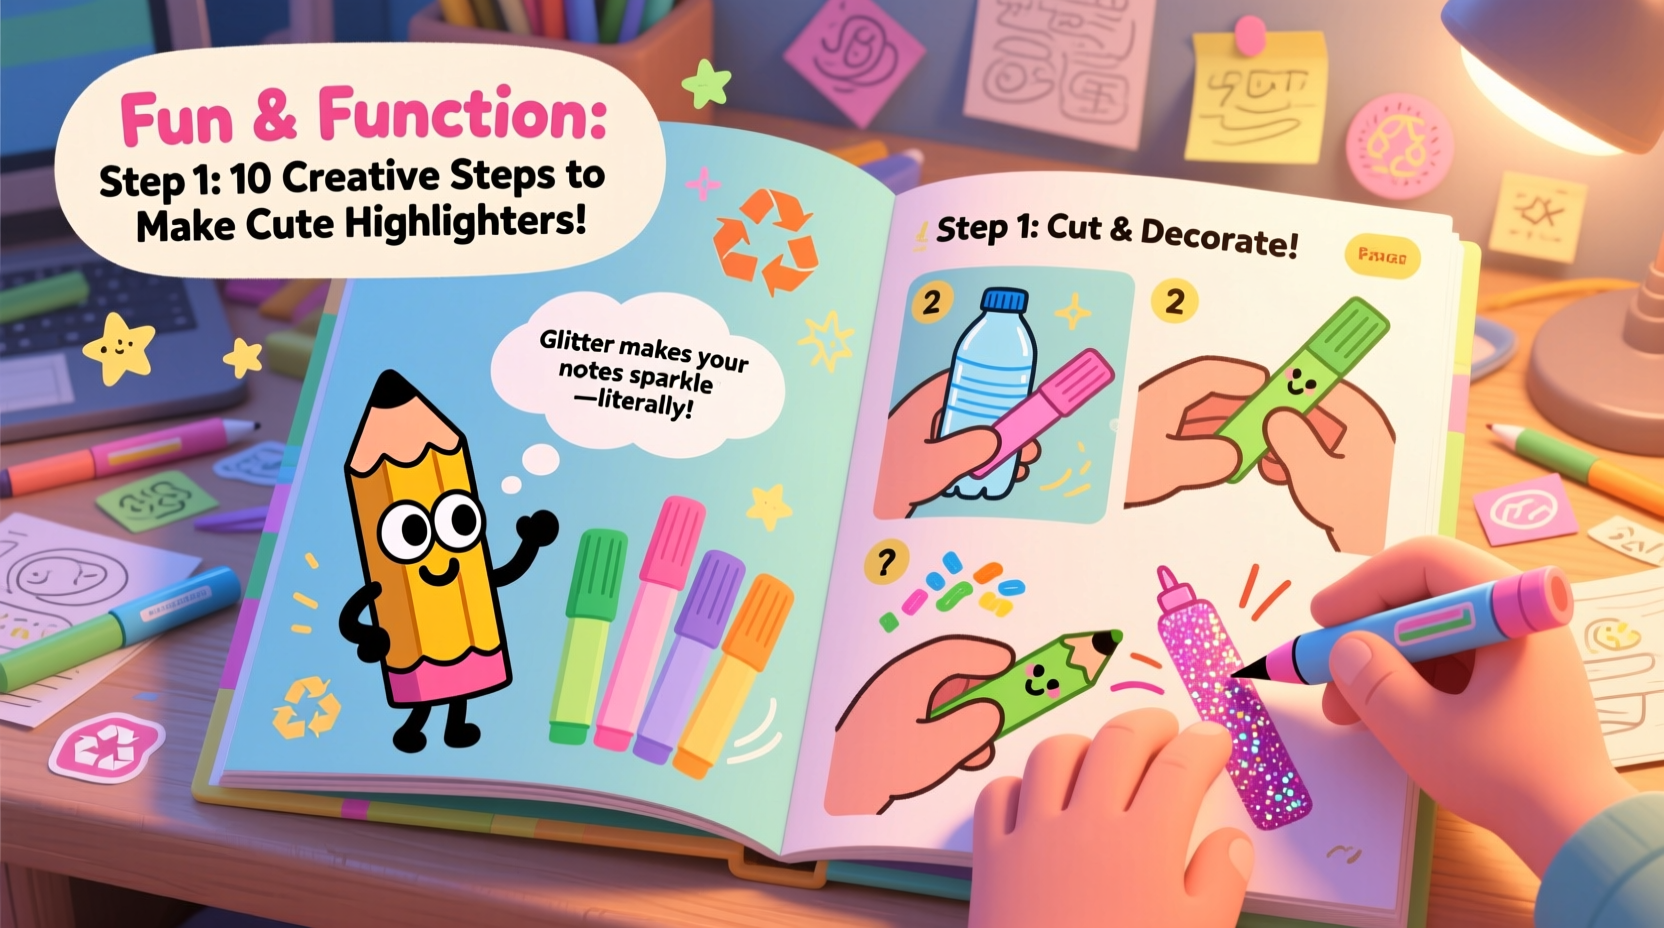
- Cartoon Highlighters: Look for brands known for vibrant ink and cute designs—such as KOKUYO, Zebra, or Tombow. Many feature animal faces, food themes, or kawaii characters on the barrel, adding instant personality.
- Complementary Tools: Include fine liners (0.3mm), washi tape with matching themes, sticky notes shaped like clouds or stars, and colored pencils for texture.
- Binding Supplies: If assembling from loose sheets, consider a hole punch and binder rings, or use a needle and thread for a hand-stitched look.
Designing Your Handbook Layout
A well-structured layout ensures your handbook remains useful beyond its initial cuteness. Plan sections based on how you intend to use it—planning, tracking, brainstorming, or reflecting.
- Front Matter: Include a title page, table of contents, and key (explaining color codes or symbols).
- Daily/Weekly Planners: Use light pastel highlights for time blocks, reserving bolder cartoon hues for priority tasks.
- Habit Trackers: Assign each habit a character-themed highlighter—e.g., a bunny for morning runs, a cat for reading.
- Note-Taking Zones: Designate areas for summaries, quotes, and doodles. Use yellow or pink cartoon highlighters to flag main ideas.
- Back Section: Reserve space for inspiration—quotes, sketches, or a “wins of the month” log.
| Section | Suggested Highlighter Color | Function |
|---|---|---|
| Important Deadlines | Red Panda (red-orange) | High visibility for urgent items |
| Self-Care Reminders | Penguin (light blue) | Cool tone for calming activities |
| Creative Ideas | Unicorn (purple) | Spark imagination and innovation |
| Meetings & Calls | Bear (brown) | Earthy tone for professional entries |
Bringing It to Life: Step-by-Step Assembly
With materials gathered and structure planned, begin construction in stages. This methodical approach prevents overwhelm and ensures consistency.
- Prepare Pages: Print or hand-draw templates for each section. Use a ruler and pencil for clean lines.
- Add Headers & Icons: Write section titles in playful fonts. Draw tiny icons next to headings—a teacup for breaks, a book for reading goals.
- Incorporate Cartoon Highlights: Use the highlighters not just for underlining, but as design elements. Trace borders, create frames, or add burst shapes around motivational phrases.
- Personalize with Doodles: Let the highlighter characters inspire your drawings. If using a banana-shaped highlighter, draw a monkey swinging nearby.
- Final Binding: Assemble all pages in order. Secure with rings, stitch by hand, or use a thermal binding machine for a polished finish.
“Colorful organization doesn’t have to be childish—it can be sophisticated and effective. When people enjoy interacting with their planner, they’re far more likely to stick with it.” — Lila Nguyen, Productivity Designer & Journal Coach
Real-Life Inspiration: Maya’s Study Companion Handbook
Maya, a university sophomore majoring in psychology, struggled with staying engaged while reviewing dense textbooks. She decided to build a DIY handbook using her collection of San-X character highlighters—each featuring smiling fruits and animals.
She dedicated one section to weekly course summaries, highlighting key theories in melon-green or strawberry-pink ink. Important dates were marked with a grinning pineapple highlighter, which became her symbol for deadlines. Over time, she noticed she was flipping through her handbook more often—not just to study, but to enjoy the visuals.
The turning point came during finals week. Instead of feeling overwhelmed, she felt motivated. “Seeing my favorite banana character every time I reviewed notes made it feel less like work,” she shared. Her grades improved, and she even started a small workshop teaching classmates how to make their own themed handbooks.
Maximizing Function Without Sacrificing Fun
It’s easy for decorative elements to overshadow utility. To maintain balance, follow these best practices:
- Use consistent color coding across all sections.
- Leave white space for flexibility—don’t overcrowd pages.
- Revisit and refine layouts monthly based on what’s working.
- Keep a master key inside the back cover for quick reference.
Frequently Asked Questions
Can I use cartoon highlighters for serious work or professional settings?
Absolutely. While the highlighters are playful, their function is sound. Use them discreetly—underline key data or organize sections subtly. The emotional boost they provide can enhance focus, even in formal environments.
What if I run out of a specific cartoon highlighter?
Many brands release seasonal or limited-edition styles, so stock up when possible. Alternatively, designate a “swap” highlighter with similar color and energy. Label the change in your key to maintain consistency.
How do I prevent ink smudging?
Choose quick-drying, water-based highlighters. After highlighting, let the page sit for 10–15 seconds before closing the book. You can also place a sheet of tracing paper between pages as a protective barrier.
Your Creative Handbook Checklist
- Choose a durable notebook with high-quality paper
- Collect 3–5 cartoon highlighters with distinct colors and characters
- Plan your sections: planning, tracking, notes, reflection
- Design headers and incorporate light doodles
- Apply highlighters for both function (marking) and design (borders, accents)
- Assemble and bind pages securely
- Create a legend for color and symbol meanings
- Review and adjust layout after two weeks of use
Bring Joy Into Organization
A handbook doesn’t need to be sterile to be effective. In fact, the more personal and uplifting it feels, the more likely you are to use it consistently. By weaving cartoon highlighters into a thoughtfully crafted DIY system, you transform mundane tasks into moments of delight. This isn’t just about being productive—it’s about enjoying the process.
Start small. Dedicate an afternoon to designing one section. Let your favorite characters guide your color choices. Before long, you’ll have a functional masterpiece that reflects your personality and supports your goals. The best tools aren’t just efficient—they inspire you to keep going.


 浙公网安备
33010002000092号
浙公网安备
33010002000092号 浙B2-20120091-4
Comments
No comments yet. Why don't you start the discussion?