
Nano blocks, the miniature cousins of traditional building bricks, have gained popularity not just as toys but as powerful tools for cognitive development in children. Their small size and intricate design demand precision, patience, and problem-solving—qualities that align perfectly with foundational STEM learning. When used creatively, nano blocks can transform playtime into a dynamic educational experience. The key lies not in simply handing over a kit, but in guiding children through structured yet imaginative activities that foster skill-building while keeping engagement high.
Why Nano Blocks Are More Than Just Miniature Toys
The appeal of nano blocks extends beyond their compact charm. Because they require finer motor control than standard building sets, they naturally enhance hand-eye coordination and dexterity. Each connection demands focus, encouraging children to slow down and think deliberately. This tactile precision supports neural development, particularly in younger children still refining fine motor pathways.
Beyond physical skills, nano blocks stimulate spatial reasoning, pattern recognition, and logical sequencing. As kids assemble increasingly complex models—from robots to architectural landmarks—they begin to understand structural integrity, symmetry, and cause-and-effect relationships. These are not abstract lessons; they emerge organically through trial, error, and iteration.
“Small-scale construction toys like nano blocks offer disproportionate developmental returns. They compress real engineering principles into accessible, playful formats.” — Dr. Lena Patel, Child Development Researcher at the Institute for Play & Learning
Creative Teaching Strategies That Turn Building Into Learning
To maximize educational value, adults must shift from passive observers to engaged facilitators. The following strategies blend guided instruction with open-ended exploration, ensuring children develop technical skills without sacrificing creativity.
1. Theme-Based Building Challenges
Instead of freeform play, introduce weekly themes such as “Space Explorers,” “Medieval Castles,” or “Future Cities.” Provide reference images or short stories to inspire designs. For example, challenge kids to build a lunar base capable of housing three astronauts and supporting solar panels. This adds narrative depth and purpose to construction, pushing them to consider functionality alongside aesthetics.
2. Reverse Engineering: Deconstruct to Understand
Begin by showing a completed model, then disassemble it piece by piece while discussing each component’s role. Ask questions like: “Why do you think this support beam is placed here?” or “What happens if we remove this connector?” This method teaches analytical thinking and reinforces the idea that every part has a function.
3. Collaborative Builds with Defined Roles
Divide children into teams and assign roles such as Designer, Engineer, Quality Checker, and Materials Manager. Rotate roles regularly so each child experiences different aspects of the building process. Collaboration builds communication skills and introduces early project management concepts.
4. Storyboarding Before Building
Encourage sketching ideas on paper before touching any blocks. This pre-planning phase strengthens visualization and organizational abilities. Even rough drawings help children mentally map out steps, reducing frustration during assembly.
5. Integrate Math and Science Concepts Naturally
Use nano block sessions to introduce fractions (“We need half a row of red pieces”), symmetry (“Let’s mirror this wing on the other side”), or even basic physics (“Will this tower fall if we add weight up top?”). These mini-lessons feel organic because they arise directly from the task at hand.
Step-by-Step Guide: Launching a Weekly Nano Block Workshop at Home or School
A structured routine ensures consistent progress while preserving excitement. Follow this six-week timeline to establish a sustainable program:
- Week 1: Exploration Phase – Let children freely explore the blocks. No instructions. Observe how they handle pieces and interact with the material.
- Week 2: Skill Introduction – Teach proper handling techniques (e.g., using tweezers for small parts), sorting methods, and basic connections.
- Week 3: Guided Build – Complete a simple official kit together, emphasizing following step-by-step diagrams.
- Week 4: Creative Challenge – Present an open prompt: “Build something that moves.” Allow use of only 50 pieces to encourage efficiency.
- Week 5: Team Project – Assign groups to create a shared cityscape where each structure must connect physically and thematically.
- Week 6: Showcase & Reflect – Host a mini-exhibition. Have each child explain their creation, what worked, and what they’d change next time.
Essential Checklist for Educators and Parents
- ✅ Sort blocks by color and size before each session
- ✅ Use trays or compartment boxes to prevent loss
- ✅ Keep magnifying glasses or kid-safe tweezers available
- ✅ Display instruction manuals upright using book stands
- ✅ Schedule 30–45 minute sessions to match attention spans
- ✅ Praise effort and process, not just final results
- ✅ Store completed models temporarily to celebrate progress
Do’s and Don’ts When Teaching with Nano Blocks
| Do’s | Don’ts |
|---|---|
| Start with larger pieces for younger children | Force perfection or symmetrical outcomes |
| Incorporate storytelling into builds | Take over when mistakes happen |
| Use failures as discussion points | Allow unsupervised use by very young children (choking hazard) |
| Link builds to real-world structures or careers | Compare one child’s work to another’s |
| Rotate themes to sustain interest | Overload sessions with too many rules |
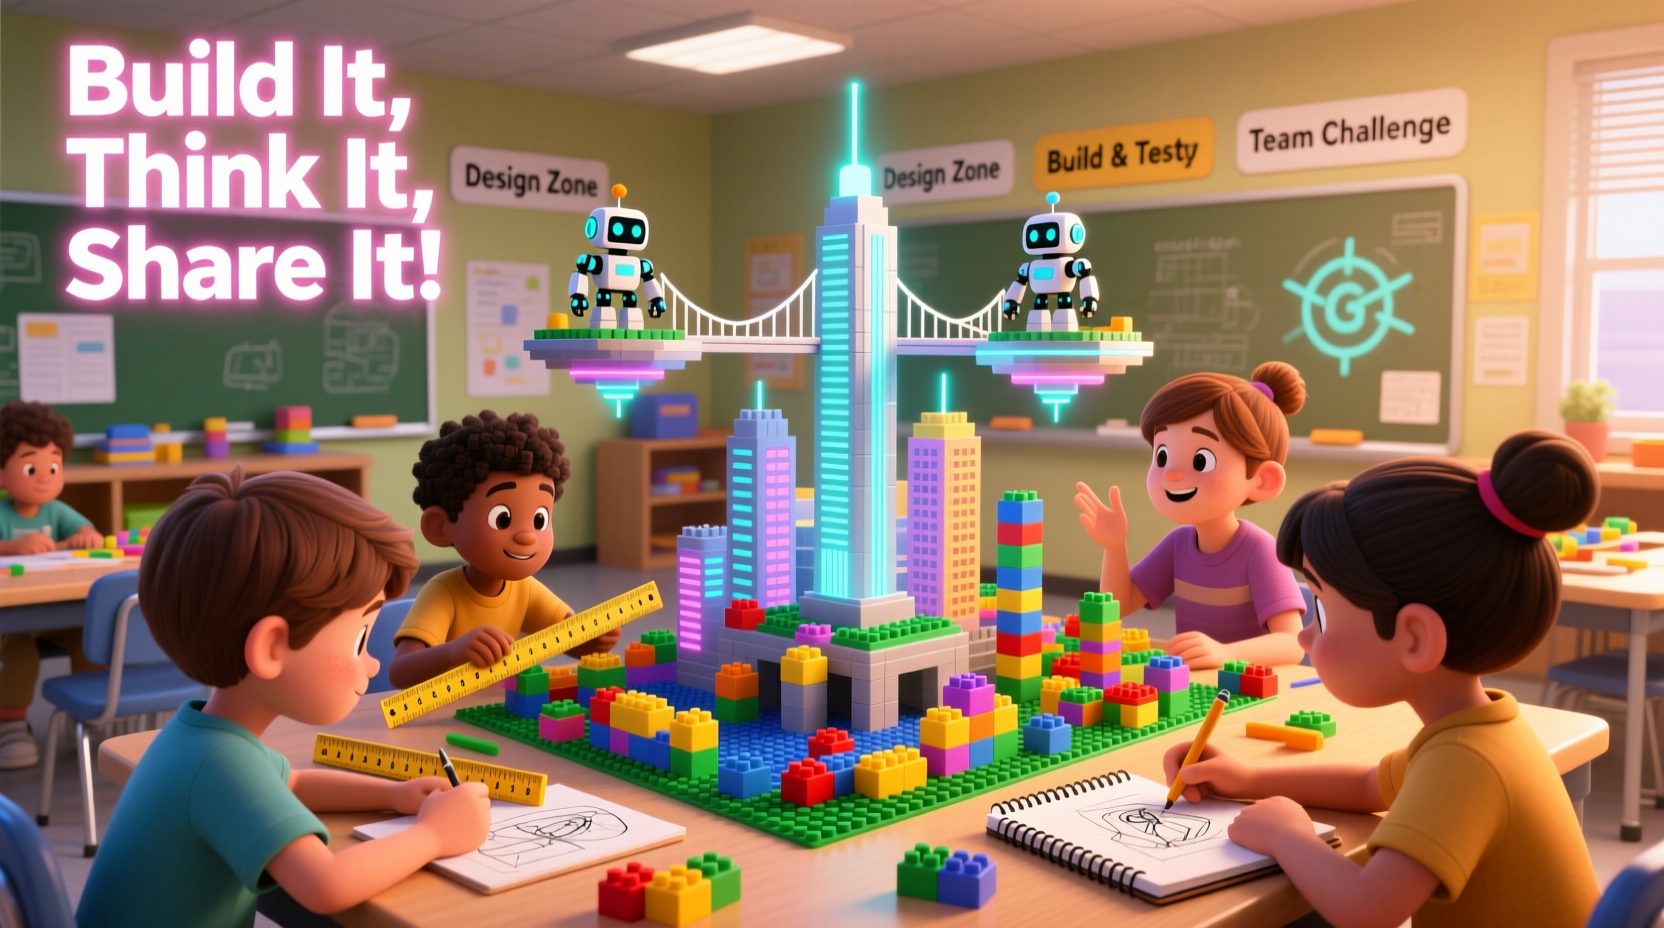
Mini Case Study: The Classroom Bridge Challenge
In a third-grade classroom in Portland, Oregon, teacher Mr. Alan Reyes introduced a two-week nano block unit centered around bridges. Students first studied photos of suspension, arch, and beam bridges. Then, working in pairs, they were tasked with building a bridge spanning 15 centimeters that could support a small toy car.
Initial attempts collapsed under weight. Rather than provide solutions, Mr. Reyes asked probing questions: “Where is the weakest point?” and “How might adding triangles help?” After three redesigns, all teams achieved stable structures. One pair even incorporated movable drawbridge elements using hinge-like configurations.
Post-project assessments showed improved understanding of load distribution and teamwork. More importantly, students reported higher confidence in tackling unfamiliar problems—a testament to the power of hands-on experimentation.
Frequently Asked Questions
At what age are nano blocks appropriate?
Nano blocks are generally recommended for ages 8 and up due to small parts. However, modified sets with larger connectors or supervised group activities can make them accessible to younger children under adult guidance.
How can I keep tiny pieces organized and prevent loss?
Use labeled plastic containers with multiple compartments. Conduct a “piece count” before and after each session. Consider designating a specific table mat with raised edges to contain spills. Regular inventory checks become part of the responsibility routine.
Are there educational kits specifically designed for learning?
Yes. Several brands offer STEM-focused nano block sets that include curriculum guides, experiment prompts, and QR codes linking to video tutorials. Look for sets labeled “educational edition” or those aligned with Next Generation Science Standards (NGSS).
Conclusion: Building Minds One Block at a Time
Teaching building skills with nano blocks is about more than assembling tiny plastic pieces—it’s about constructing confidence, creativity, and critical thinking. When approached with intentionality, these miniature systems become gateways to lifelong learning. Whether at home or in the classroom, every snapped connection represents a decision made, a problem solved, a mind growing.


 浙公网安备
33010002000092号
浙公网安备
33010002000092号 浙B2-20120091-4
Comments
No comments yet. Why don't you start the discussion?