
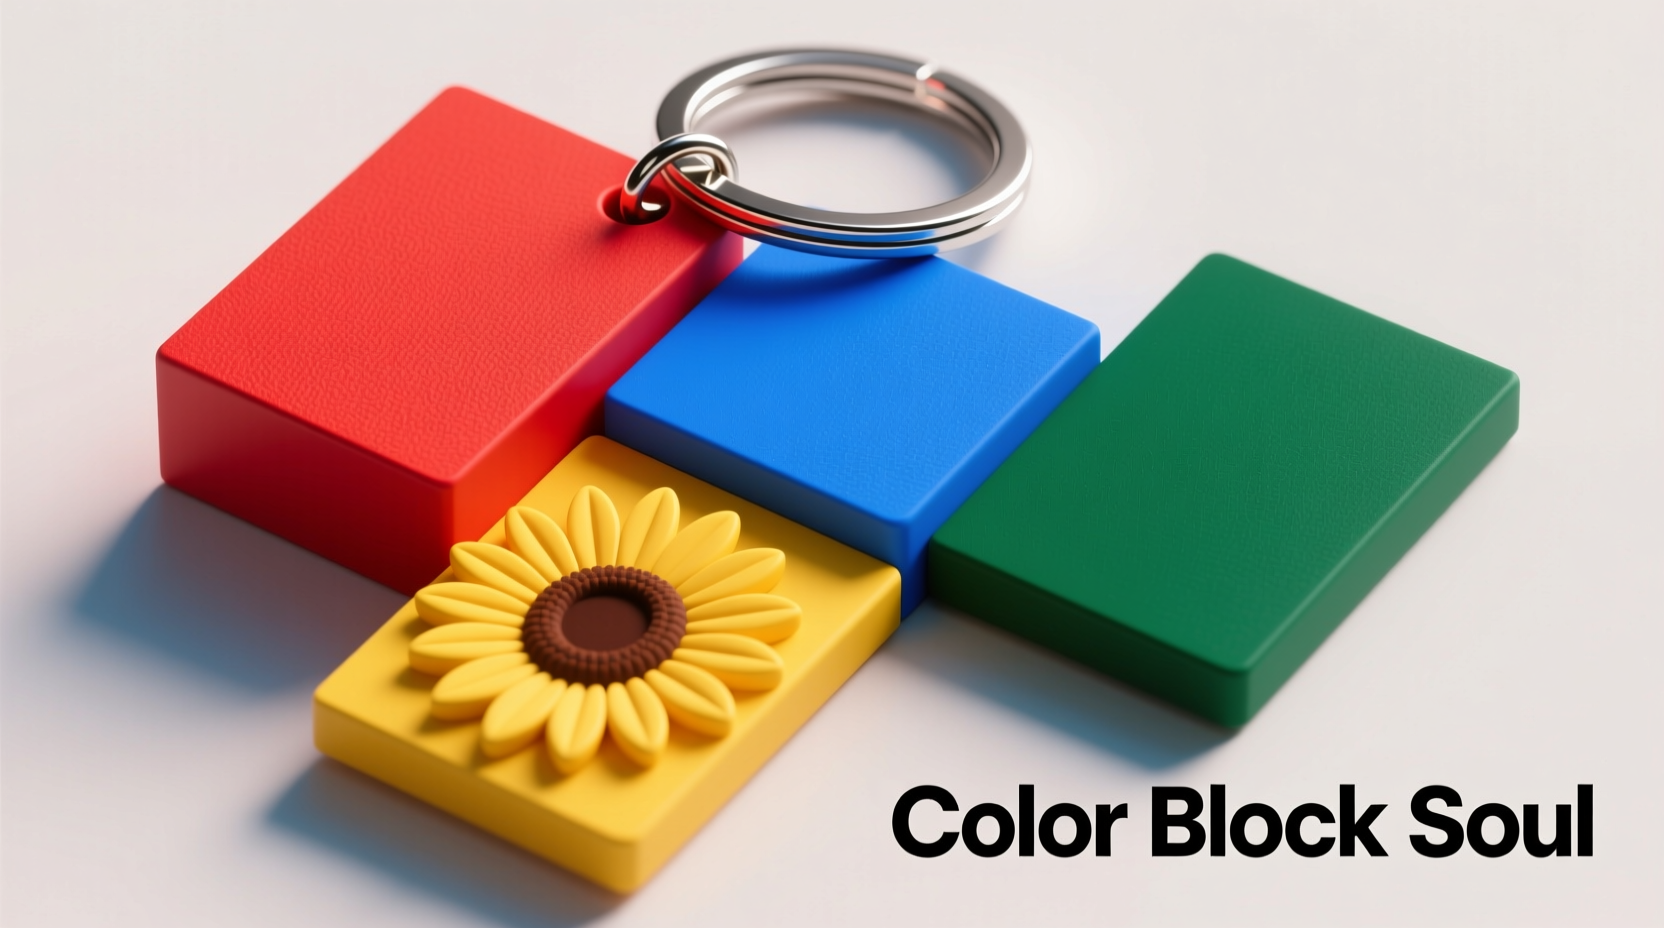
Color blocking isn’t just for fashion—it’s a powerful design tool in accessory crafting, especially when applied to small items like keychains. By combining bold, contrasting colors in clean geometric arrangements, you can transform an ordinary keychain into a statement piece. Whether you're a DIY enthusiast or a small-batch artisan looking to elevate your product line, mastering the color block effect opens up endless creative possibilities. The challenge lies not in choosing colors, but in executing crisp transitions and balanced compositions on a miniature scale.
Selecting the Right Materials for Precision Color Blocking
The foundation of any successful color block design is material compatibility. Keychains are typically made from resin, metal, leather, fabric, or acrylic, each requiring different handling when introducing multiple colors. For beginners, epoxy resin offers the most flexibility due to its pourable nature and ability to hold sharp edges between hues.
- Epoxy Resin: Ideal for layered pours and gradient blocks. Use silicone molds for clean shapes.
- Acrylic Sheets: Can be laser-cut and glued together for solid color panels with no bleed.
- Fabric & Leather: Best for sewn or laminated patches; use fusible interfacing to maintain shape.
- UV Resin: Perfect for small touch-ups or adding top-layer accents without full casting.
When working with liquid mediums like resin, viscosity control is critical. Thicker resins reduce color migration, helping preserve hard lines between blocks. Additives like silica thickener can help achieve a honey-like consistency ideal for precise layering.
Layered Resin Technique: A Step-by-Step Guide
Resin allows for deep dimensionality and glass-like finishes, making it one of the most effective mediums for color blocking. Follow this timeline to create a professional-grade result.
- Prepare Your Mold: Choose a geometric mold (circle, square, hexagon) with clean edges. Apply mold release agent lightly.
- Mix First Layer: Combine epoxy resin with pigment (use alcohol-based dyes or mica powders). Pour only enough to cover the base (about 1/8 inch).
- Cure Partially: Let the first layer set for 2–3 hours until it reaches a gel-like “tacky” stage—this prevents mixing with the next pour.
- Add Second Color: Mix a contrasting color and carefully pour along one edge using a toothpick to guide flow and avoid disturbing the base.
- Repeat as Needed: Build up to three distinct color zones. Allow 24 hours between final layers for full cure.
- Demold & Finish: Sand edges with 600–2000 grit paper, then polish with a microfiber cloth and resin polish.
This method works best with high-contrast palettes—think cobalt blue beside mustard yellow, or magenta next to forest green. The semi-cured layer acts as a dam, minimizing bleed and preserving clean boundaries.
Design Balance: Avoiding Common Color Mistakes
A visually striking color block isn't just about bright hues—it's about harmony and proportion. Many amateur attempts fail due to poor distribution or clashing tones. Refer to the table below for guidance on what to do—and what not to do.
| Do’s | Don’ts |
|---|---|
| Use the 60-30-10 rule: 60% dominant color, 30% secondary, 10% accent | Mix more than three main colors in a single keychain |
| Test color combinations under natural light before finalizing | Rely solely on screen previews—colors shift when cured or printed |
| Align seams symmetrically (e.g., diagonal split, tri-section) | Create uneven zones that make the piece look lopsided |
| Incorporate metallics or clear resin as neutral dividers | Use fluorescent and pastel shades side-by-side without a buffer tone |
“Color blocking is visual architecture. It demands intentionality—every hue must earn its place.” — Lena Torres, Industrial Designer & Craft Educator
Alternative Methods: Paint, Vinyl, and Inlay Techniques
Not all creators work with resin. For those seeking accessible or non-toxic options, several alternative approaches deliver excellent results.
Hand-Painted Acrylic Method
Using fine-tipped brushes and artist-grade acrylics, paint directly onto primed metal or plastic blanks. Apply masking tape to define edges. Seal with a matte or glossy varnish to protect the finish. This technique suits minimalist designs like split rectangles or quartered circles.
Vinyl Stencil Application
Digital cutting tools (like Cricut or Silhouette) allow precise vinyl stencils to be applied to flat surfaces. Layer colored sprays or paints within the cutouts. Peel carefully after drying to reveal razor-sharp borders. Ideal for batch production.
Inlay with Epoxy or Enamel
Carve shallow channels into wooden or metal keychain bases using a rotary tool. Fill grooves with colored two-part epoxy or cold enamel. Sand flush once cured. This creates a tactile, embedded look reminiscent of mid-century modern design.
Real-World Example: The “Urban Prism” Collection
Jada Lin, a Toronto-based accessory designer, launched her “Urban Prism” series by experimenting with triangular color splits in resin. She began with mismatched scraps but soon developed a repeatable process using silicone triangle molds and timed pours. Her breakthrough came when she introduced translucent layers over metallic leaf bases, creating depth without muddying the color blocks.
Each keychain featured a unique combination—terracotta, cream, and sage—inspired by city rooftops at sunset. She priced them at $18 each and sold out within three days at a local maker market. What started as a personal project now supplies five boutique stores across Ontario. Jada credits her success to disciplined color testing: “I made 17 sample swatches before launching. One bad bleed can ruin the whole aesthetic.”
Essential Checklist for Flawless Color Blocking
Before starting your next keychain project, review this checklist to ensure quality and consistency:
- ☐ Choose a mold or base with clean, defined edges
- ☐ Test color mix ratios on a spare tile or palette
- ☐ Use barriers (tape, dams, partial cures) between colors
- ☐ Work in a dust-free environment with stable temperature
- ☐ Label each pigment container clearly to avoid mix-ups
- ☐ Allow full curing time before sanding or assembling
- ☐ Attach hardware (rings, clips) only after final finishing
Frequently Asked Questions
Can I mix different materials in one color-blocked keychain?
Yes, but consider structural integrity. Combining resin sections with wood or metal requires strong adhesives like E6000. Ensure surfaces are roughened slightly for better grip. Also, account for differences in expansion and contraction due to temperature changes.
How do I prevent bubbles in multi-layer resin pours?
After pouring each layer, use a heat gun or torch on low setting to pop surface bubbles. Work slowly and pour in thin streams. Letting mixed resin sit for 2–3 minutes before pouring also helps trapped air escape. Avoid shaking the mixture vigorously during mixing.
Are there eco-friendly options for color blocking?
Absolutely. Use bio-resins derived from plant-based sources, water-based acrylics, and recycled acrylic sheets. Natural dyes like beetroot powder or turmeric can tint clear resins subtly, though they’re less vibrant than synthetic pigments. Pair with sustainably sourced wood blanks for a fully eco-conscious product.
Final Thoughts: Make Every Color Count
A stunning color block effect on a keychain is more than decoration—it’s a deliberate act of visual storytelling. Each hue, angle, and boundary communicates intention. Whether you're crafting a gift, building a brand, or simply exploring creativity, the techniques outlined here provide both structure and freedom. Mastery comes not from complexity, but from precision and thoughtful choices.


 浙公网安备
33010002000092号
浙公网安备
33010002000092号 浙B2-20120091-4
Comments
No comments yet. Why don't you start the discussion?