
Drawing everyday objects like an umbrella might seem simple at first glance, but capturing its structure, texture, and expressive potential can elevate your artistic practice. Whether you're a beginner exploring basic shapes or an experienced artist experimenting with perspective and shading, the umbrella offers a versatile subject to refine technique and creativity. This guide breaks down the process into accessible steps while introducing imaginative approaches that go beyond the basics.
Understanding the Structure of an Umbrella
An umbrella is more than just a curved canopy on a stick—it’s a study in symmetry, mechanics, and form. Before drawing, it helps to mentally dissect its components: the canopy (dome), ribs, shaft, ferrule (tip), and handle. Recognizing these parts allows for accurate proportions and dynamic representation.
The shape of the canopy varies—some are sharply domed, others flatter or even angular in modern designs. The shaft may be straight, crooked, or telescopic. These variations provide opportunities to explore different styles, from realistic sketches to stylized illustrations.
Step-by-Step Guide: From Basic Outline to Finished Drawing
Follow this structured approach to build confidence and precision in your drawings, regardless of your current skill level.
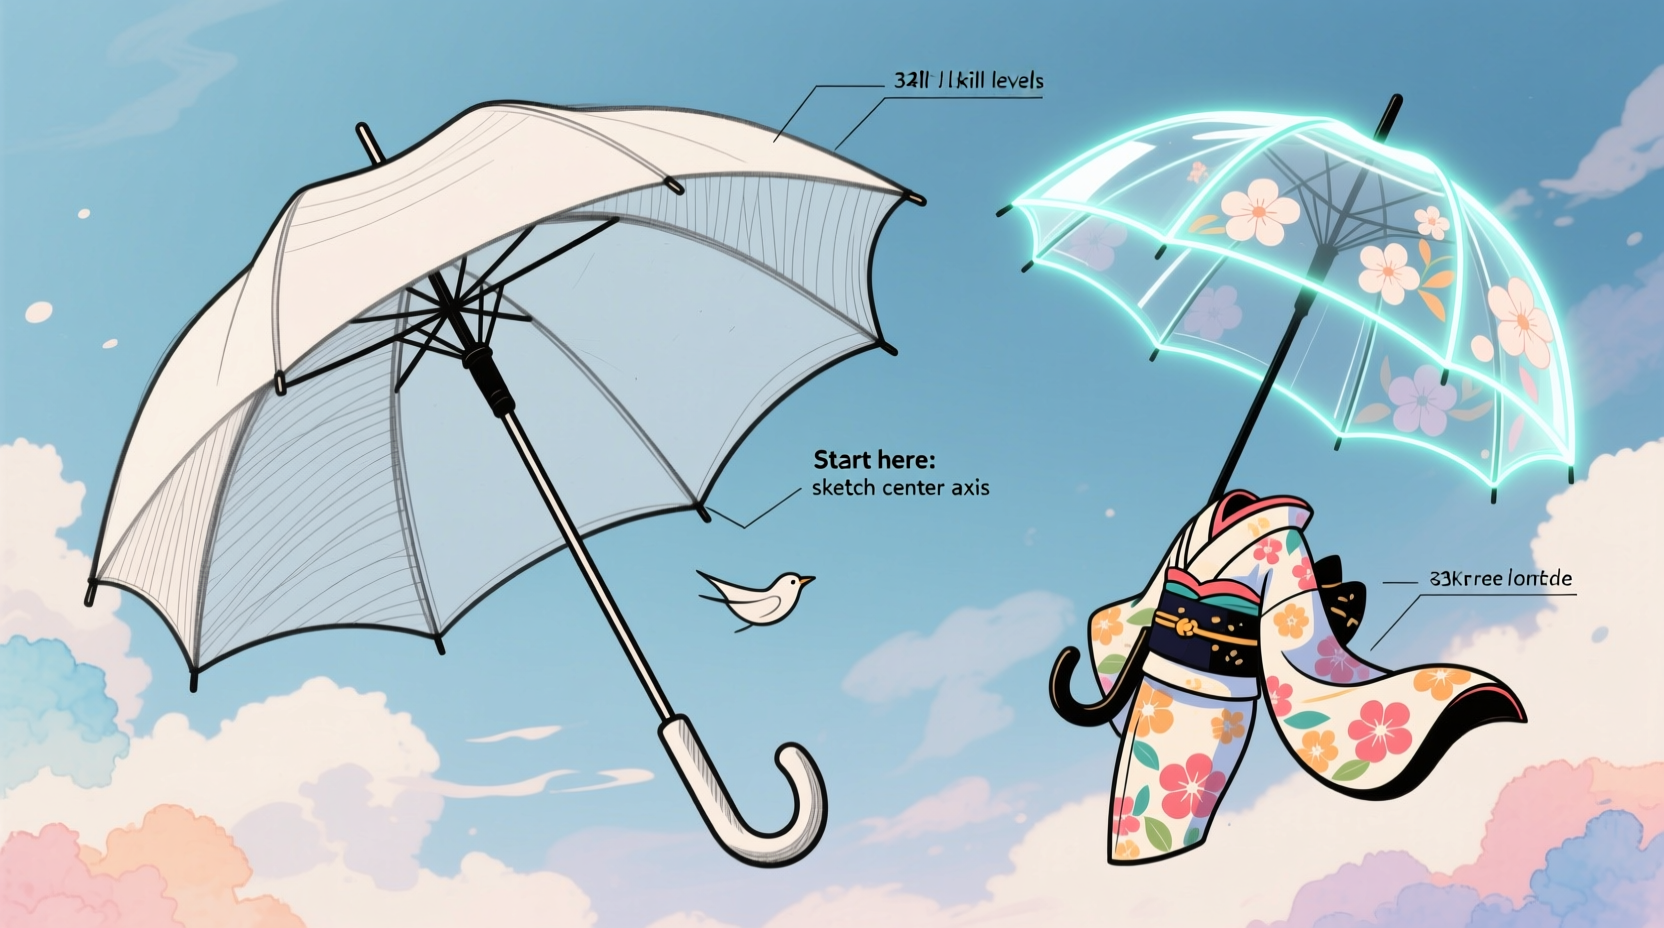
- Sketch the central shaft: Begin with a vertical line representing the umbrella’s pole. Keep it light so it can be adjusted later. <
- Draw the dome outline: Using gentle arcs, sketch the top curve of the canopy. For a classic look, use a semi-circle; for realism, slightly flatten the peak and widen the base.
- Add symmetry lines: Lightly draw radial lines extending from the top of the shaft outward through the dome. These help position the ribs evenly.
- Outline the ribs and fabric panels: Trace over each radial line with slightly wavy or segmented lines to suggest fabric tension and rib support. Most umbrellas have 8–16 panels.
- Detail the handle and tip: Draw the grip—whether knobbed, crook-style, or ergonomic—and add the ferrule at the top if visible.
- Refine and darken: Once proportions are correct, go over key outlines with a firmer hand. Erase construction lines gently.
- Apply shading and texture: Use hatching or blending to show curvature, folds in fabric, and metallic shine on the shaft.
Variations to Try After Mastering the Basics
- Draw the umbrella open vs. closed to understand mechanical changes.
- Tilt the angle to practice perspective—one side shorter due to foreshortening.
- Add wind distortion: bend one side of the canopy outward for motion effect.
- Incorporate reflections on wet surfaces when drawn in rainy scenes.
Creative Techniques to Elevate Your Umbrella Drawing
Once comfortable with realism, challenge yourself with expressive methods that transform a functional object into a compelling visual statement.
Use Negative Space
Instead of drawing the umbrella itself, define its shape by shading around it. This works especially well with bold backgrounds and minimal linework, creating a striking contrast.
Experiment with Line Weight
Vary pen pressure or tool thickness to emphasize depth. Thicker lines on the lower edge of the canopy suggest weight and shadow, while fine lines on upper curves imply lightness.
Incorporate Pattern and Color (Even in Pencil)
If rendering a patterned umbrella (like polka dots or stripes), lightly mark alignment guides before detailing. In grayscale work, hatch diagonally for stripes or use stippling for dots.
| Technique | Skill Level | Best For |
|---|---|---|
| Contour drawing | Beginner | Building hand-eye coordination |
| Gesture sketching | Intermediate | Capturing movement in windy scenes |
| Isometric projection | Advanced | Technical illustration or design concepts |
| Abstract interpretation | All levels | Expressive art, mixed media |
Common Challenges and How to Overcome Them
Even experienced artists encounter hurdles when drawing complex curved forms. Here’s how to address frequent issues:
- Symmetry imbalance: Use a ruler or fold your paper mentally down the center. Check both sides frequently during sketching.
- Flat-looking canopy: Enhance dimension with graduated shading—from dark near the base to light at the crown.
- Awkward handle proportions: Measure against the shaft using your pencil as a gauge. Handles should typically be 1/5 to 1/3 the length of the pole.
“Drawing ordinary objects with attention to detail trains the eye to see nuance—a foundational skill for any artist.” — Lena Torres, Illustration Instructor at Hudson School of Art
Mini Case Study: From Struggle to Success
Jamal, a self-taught hobbyist, initially found drawing umbrellas frustrating. His early attempts looked lopsided, and he couldn’t capture the way raindrops clung to the edge. He began breaking the process into stages: first mastering circles using a compass, then practicing radial symmetry with pie charts, and finally applying those principles to umbrella ribs. Within three weeks, his sketches showed noticeable improvement in balance and realism. By adding subtle water droplet highlights with an eraser lift technique, his final piece earned praise in an online art community.
This progression illustrates how targeted practice on sub-elements leads to overall mastery.
Essential Checklist for Every Umbrella Drawing Session
- Choose reference image or real object
- Select appropriate tools (pencil, pen, marker, etc.)
- Lightly sketch central axis and canopy arc
- Mark rib placement with radial lines
- Define handle and structural details
- Review proportions and adjust
- Add shading, texture, and finishing touches
Frequently Asked Questions
How do I draw an umbrella in perspective?
To draw an umbrella in two-point perspective, start by establishing a horizon line and vanishing points. The shaft should align vertically unless tilted. The circular canopy becomes an ellipse, narrower depending on viewing angle. Use a perspective grid to guide rib convergence accurately.
What if my umbrella looks too stiff or robotic?
Introduce slight imperfections—bend one rib upward, vary the spacing subtly, or add fabric wrinkles. Real umbrellas aren’t perfectly symmetrical, especially when used. Looser lines also convey liveliness in illustrative styles.
Can I use this method for cartoon or anime-style umbrellas?
Absolutely. Start with the same structural foundation, then exaggerate elements: enlarge the canopy, stylize the handle, or add oversized raindrops. Simplify shading for flat-color animation looks, or amplify highlights for glossy effects.
Final Thoughts and Creative Call to Action
Drawing an umbrella is more than a technical exercise—it's an invitation to observe the quiet poetry in everyday life. Rain-soaked streets, bustling commutes, or a solitary figure beneath a red canopy—all begin with the ability to render this humble object with care and authenticity.
Now that you’ve explored foundational steps and inventive techniques, take out your sketchbook and draw not just one umbrella, but ten. Try different angles, weather conditions, and emotional tones. Challenge yourself to tell a story in a single frame using only an umbrella as the focal point.


 浙公网安备
33010002000092号
浙公网安备
33010002000092号 浙B2-20120091-4
Comments
No comments yet. Why don't you start the discussion?