
Reviving old or faded clothing doesn’t always require sewing skills or a shopping trip. With fabric paint, a few household tools, and some creativity, you can breathe new life into worn-out garments. Whether you're updating a favorite t-shirt, giving jeans a bold refresh, or turning a plain dress into wearable art, painting clothes offers an accessible and sustainable way to express your style. This guide walks through proven methods, essential supplies, and expert-backed tips to ensure your painted apparel turns out vibrant, durable, and uniquely yours.
Choosing the Right Fabric and Paint
Not all fabrics respond equally well to paint. Natural fibers like cotton, linen, and silk absorb paint more effectively than synthetics such as polyester or nylon. Blends can work but may require a fabric medium to improve adhesion. Always pre-wash the garment without fabric softener to remove sizing and oils that could repel paint.
Fabric paints are specifically formulated to bond with textiles and remain flexible after drying. Acrylic-based fabric paints are widely available and offer excellent color saturation. For best results, choose professional-grade fabric paints—such as those from brands like Jacquard, Tulip, or Textile Color—which are designed to withstand washing and wear.
Essential Supplies Checklist
- Fabric paint (or acrylic paint + fabric medium)
- Paintbrushes (various sizes, including fine detail brushes)
- Sponges or stencil brushes for texture
- Plastic wrap or cardboard (to insert inside garment)
- Stencils (optional, for precise designs)
- Rubber bands or tape (for tie-dye or resist techniques)
- Gloves (to keep hands clean)
- Iron (for heat-setting)
- Paper plates or palette for mixing
- Water container and paper towels
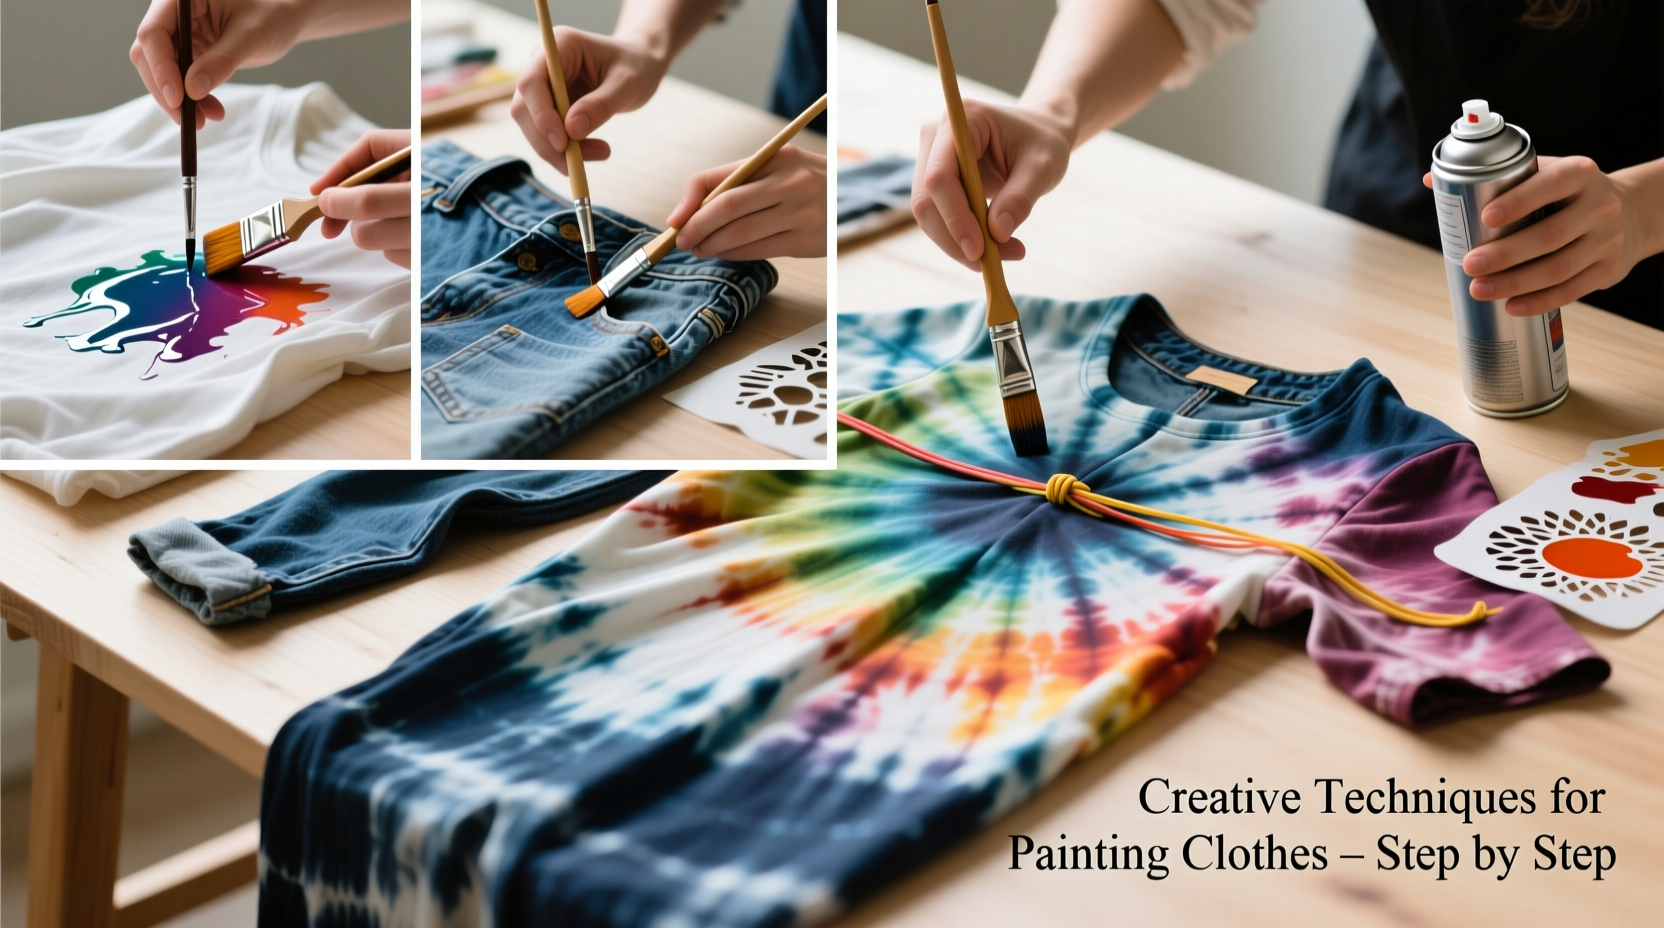
Step-by-Step Guide to Painting Clothes
- Prep the Garment: Wash and dry the clothing item to remove residues. Do not use fabric softener. Let it air dry completely.
- Insert a Barrier: Place a piece of cardboard or plastic wrap inside the garment to prevent paint from bleeding through to the back.
- Plan Your Design: Sketch your idea on paper first. Use chalk or a washable marker to lightly outline shapes on the fabric.
- Apply Paint: Use brushes, sponges, or spray bottles depending on the technique. Work in thin layers—thick paint can crack or feel stiff.
- Dry Completely: Allow the paint to dry for at least 24 hours in a warm, dust-free area.
- Heat-Set the Paint: Turn the garment inside out and iron on medium-high heat (no steam) for 3–5 minutes per section, following manufacturer instructions. This step locks the pigment into the fibers.
- Cure Before Washing: Wait 72 hours before laundering. Wash separately in cold water with mild detergent and air dry to preserve the design.
Creative Techniques for Unique Results
Move beyond basic brushwork with these artistic approaches that add depth, texture, and personality to your painted clothing.
Stencil Painting
Perfect for repeating patterns or crisp logos. Secure a reusable plastic or cardboard stencil with tape and dab paint over it using a sponge or stippling brush. Lift carefully to reveal clean edges.
Ombre Dye Effect with Paint
Mix three shades of the same color—one dark, one medium, one light. Start at the bottom of a skirt or sleeve with the darkest hue, gradually blending upward into lighter tones using a damp brush for smooth transitions.
Salt Texture Technique
While paint is still wet, sprinkle coarse salt onto the surface. As it absorbs moisture, it creates organic, crystalline patterns. Brush off salt once fully dry.
Tape Resist Designs
Use painter’s tape to block off geometric sections—stripes, triangles, chevrons. Apply paint over the taped areas, then peel off while still slightly tacky for sharp lines.
Sponge Printing
Cut natural sponges into shapes or use sea sponges for organic textures. Dip into paint and press firmly onto fabric for a mottled, handcrafted look ideal for backgrounds.
“Painting clothes isn’t just about color—it’s about reclaiming ownership of your wardrobe. Each brushstroke adds personal history.” — Lena Torres, Sustainable Fashion Artist
Do’s and Don’ts When Painting Fabric
| Do’s | Don’ts |
|---|---|
| Test paint on a hidden seam or scrap fabric first | Don’t skip heat-setting—paint may wash out |
| Work in a well-ventilated space | Don’t apply paint too thickly—it can crack |
| Let each layer dry before adding details | Don’t wash painted items immediately |
| Use gloves to avoid stained fingers | Don’t iron directly on painted areas—use a cloth barrier |
| Store leftover paint in airtight containers | Don’t use expired or dried-out paint |
Real Example: Transforming Faded Denim Overalls
Sophie, a college student in Portland, had a pair of high-waisted denim overalls she loved—but years of wear had left them looking dull and lifeless. Instead of discarding them, she decided to paint a nature-inspired mural down one leg. She sketched vines, mushrooms, and tiny birds using a white chalk pencil, then painted with a mix of black and earth-tone fabric paints. After letting the paint cure and heat-setting with an iron, she wore them to a campus market. Within days, two friends asked where she’d bought them, assuming they were designer. Sophie now hosts monthly “paint-your-pants” nights with her roommates, turning thrifted finds into statement pieces.
Frequently Asked Questions
Can I paint clothes that are mostly polyester?
Yes, but results vary. Polyester resists paint absorption. Use a fabric medium mixed with paint and consider products labeled for synthetic blends. Heat-setting is crucial for durability.
How long will painted designs last?
With proper application and care, painted designs can last years. Avoid harsh detergents, hot water, and tumble drying. Turning garments inside out during washes also extends the artwork’s lifespan.
Is fabric painting safe for kids’ clothing?
Only if using non-toxic, AP-certified paints. Ensure full heat-setting so no pigment transfers to skin. Avoid painting areas that contact mouths, like hoods or collars of toddler clothes.
Final Thoughts and Creative Encouragement
Painting clothes is more than a craft—it’s a form of self-expression and resistance against fast fashion. Every stroke reclaims value from discarded items and challenges the idea that style must be bought new. You don’t need formal training or expensive materials to begin. A simple t-shirt, a few colors, and an afternoon can yield something truly one-of-a-kind.
Start small. Try a pocket, a cuff, or the back collar. Build confidence with each project. Share your creations online with #PaintedClothingRevival or inspire friends in person. The more we personalize what we wear, the less we rely on mass production—and the more joy we find in what’s already in our closets.


 浙公网安备
33010002000092号
浙公网安备
33010002000092号 浙B2-20120091-4
Comments
No comments yet. Why don't you start the discussion?