
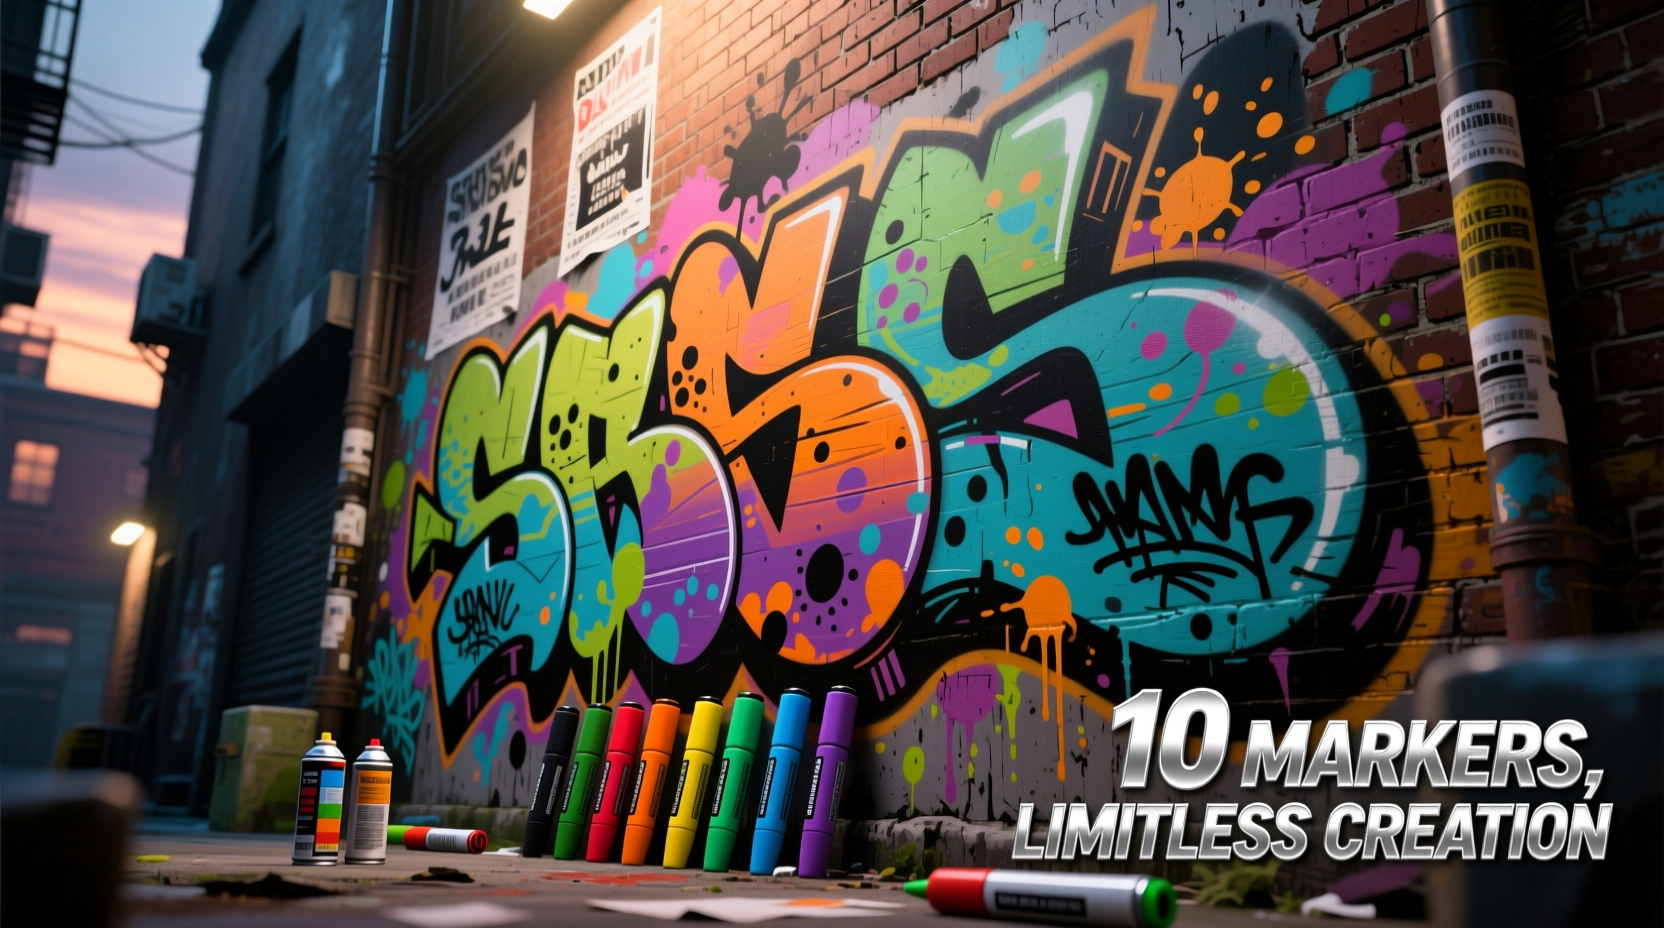
Graffiti is more than rebellion—it’s expression, identity, and innovation. While spray paint dominates the streets, fine-tip markers offer precision, portability, and control that can transform sketches into dynamic works of art. When limited to just 10 colors, creativity isn’t restricted—it’s refined. The constraint forces intentionality, pushing artists to master blending, layering, and contrast. With strategic use, a compact marker set can produce vibrant, complex pieces rivaling full aerosol murals.
1. Master Color Theory Within Constraints
Working with only 10 markers demands an understanding of how colors interact. Instead of relying on sheer quantity, focus on selecting a balanced palette that includes primary, secondary, and accent tones. A well-chosen set allows you to simulate gradients, shadows, and highlights—even without direct shades of gray or black.
For example, a palette might include: black, white, red, yellow, blue, green, orange, purple, brown, and neon pink. This gives you:
- Neutrals: Black and white for outlines and highlights.
- Primaries: Red, blue, yellow as base tones.
- Secondaries: Green, orange, purple for dimension.
- Accent: Brown for earthy shading; neon pink for electric contrast.
“Limitations breed innovation. When I only had five markers, I learned how to fake shadows using crosshatching and adjacent cool tones.” — Diego Mendez, Urban Sketch Artist & Muralist
2. Layering Techniques for Depth and Dimension
Markers don’t dry instantly, which means they can be manipulated while wet. Use this to your advantage by building up layers strategically. Start light and progress to dark, allowing earlier strokes to influence later ones through subtle bleed.
Step-by-Step Guide: Creating 3D Lettering with Layering
- Sketch your letter outline in pencil using a mid-tone color like blue or gray.
- Fill the main face of each letter with a base color (e.g., yellow).
- Apply a darker adjacent color (orange) to one side to suggest shadow.
- While still damp, gently drag the tip of a black marker along the edge to deepen the shadow without harsh lines.
- Use white sparingly on opposite edges to simulate highlight and lift the form.
- Add texture with quick stippling or hatching using brown or black for grime effects.
This method simulates volume even on flat paper. By reserving black and white for final touches, you maintain contrast and avoid muddying early layers.
3. Strategic Blending Without Smudging
Unlike paint, most alcohol-based markers aren’t designed to blend seamlessly. But with technique, you can achieve gradient-like transitions. The key is speed and pressure control.
| Technique | How To | Best For |
|---|---|---|
| Wet-on-Wet Drag | Apply first color, then immediately pull a second color into it before drying. | Smooth transitions (e.g., sunset fills) |
| Dry Overlap | Let first layer dry, then lightly overlay a second color at the edge. | Sharp gradients or textured blends |
| Feathering | Use minimal pressure to fade a color outward from a dense core. | Soft glows, halos, or smoke effects |
| Crosshatching Blend | Layer intersecting lines of two colors to optically mix them. | Shading zones with limited tools |
Avoid overworking areas—alcohol markers can lift underlying ink if rubbed too hard. Work from top to bottom, left to right, to prevent smearing your fresh lines.
4. Real Example: From Doodle to Statement Piece
Jamal, a student artist in Brooklyn, began carrying a single pocket-sized sketchbook and 10-marker kit after his supplies were stolen. Initially frustrated, he adapted by studying subway ads and vintage comics. He developed a personal style using only red, black, white, and gold among his ten colors.
One day, inspired by a cracked wall near his station, he created a portrait of a woman emerging from concrete. He used:
- Black for deep cracks and contours.
- White for chipped edges and luminous eyes.
- Red for lips and symbolic veins across the stone.
- Gold for hair strands catching sunlight.
The piece circulated online not because of its size or medium—but because of its emotional clarity. “I didn’t need twenty colors,” Jamal said later. “I needed four, used with purpose.” His work now appears in zines and small galleries, proving that narrative strength often outweighs technical excess.
5. Practical Checklist: Maximizing Your 10-Marker Kit
To get the most out of your limited palette, follow this actionable checklist before every session:
- ✅ Test all 10 markers on scrap paper first to check ink flow.
- ✅ Group colors by temperature (warm vs. cool) for intuitive selection.
- ✅ Pre-plan shadows and highlights using a mental lighting source.
- ✅ Cap markers tightly after each use to extend lifespan.
- ✅ Rotate tips regularly—flat edges for fills, chisel points for curves.
- ✅ Carry a cotton swab and rubbing alcohol for emergency corrections.
6. Advanced Effects with Minimal Tools
You don’t need specialty tools to create movement and energy. Try these techniques:
- Ghosting: Lightly trace a duplicate shape behind your main design using gray or diluted color to suggest motion.
- Color Burst: Radiate thin lines from a central point using contrasting hues (e.g., yellow lines around a red flame).
- Stencil Shadows: Use a simple cut-out shape to block areas, then shade around it for instant depth.
- Inverse Fill: Draw negative space shapes (e.g., stars, bolts) in white on a dark field instead of drawing the object itself.
These tricks rely on perception rather than pigment count. A neon green bolt drawn against a black background feels brighter than the same line on white—context defines impact.
7. Frequently Asked Questions
Can I realistically create detailed graffiti art with only 10 markers?
Absolutely. Detail comes from line quality, spacing, and contrast—not color count. Many street artists use monochrome schemes effectively. Limiting colors also speeds decision-making and strengthens stylistic consistency.
What type of markers should I use for graffiti-style sketching?
Alcohol-based markers like Copic, Prismacolor, or Touch Twin offer better blendability and durability. Water-based markers (like Crayola) may bleed or fade. Look for dual-tips (chisel and fine) for versatility.
How do I prevent my markers from drying out during outdoor sessions?
Always recap immediately after use. Store them horizontally in a sealed pouch with low humidity. Consider investing in airtight marker cases with humidity control if working frequently outdoors.
Final Thoughts: Creativity Thrives in Constraint
The essence of graffiti lies not in extravagance but in resourcefulness. Using just 10 color markers challenges you to think critically about every stroke, every hue, every shadow. It pushes you beyond reliance on tools and toward mastery of vision. Whether you're sketching concepts for walls or creating standalone illustrations, these techniques help you extract maximum expression from minimal resources.
Great art doesn’t come from having everything—it comes from making the most of what you have. Pick up your markers, define your palette, and start experimenting. Your next breakthrough might happen in just ten colors.


 浙公网安备
33010002000092号
浙公网安备
33010002000092号 浙B2-20120091-4
Comments
No comments yet. Why don't you start the discussion?