
Double ended highlighters—those dual-tipped markers with contrasting colors on each end—are often relegated to academic use, marking textbooks or color-coding notes. But their potential extends far beyond the study desk. With bold pigments, fine and chisel tips, and an accessible format, these tools are ideal for artists seeking vibrancy, contrast, and spontaneity in mixed media work. This guide explores innovative, hands-on methods to transform ordinary highlighters into dynamic instruments for artistic expression.
Understanding the Unique Properties of Double Ended Highlighters
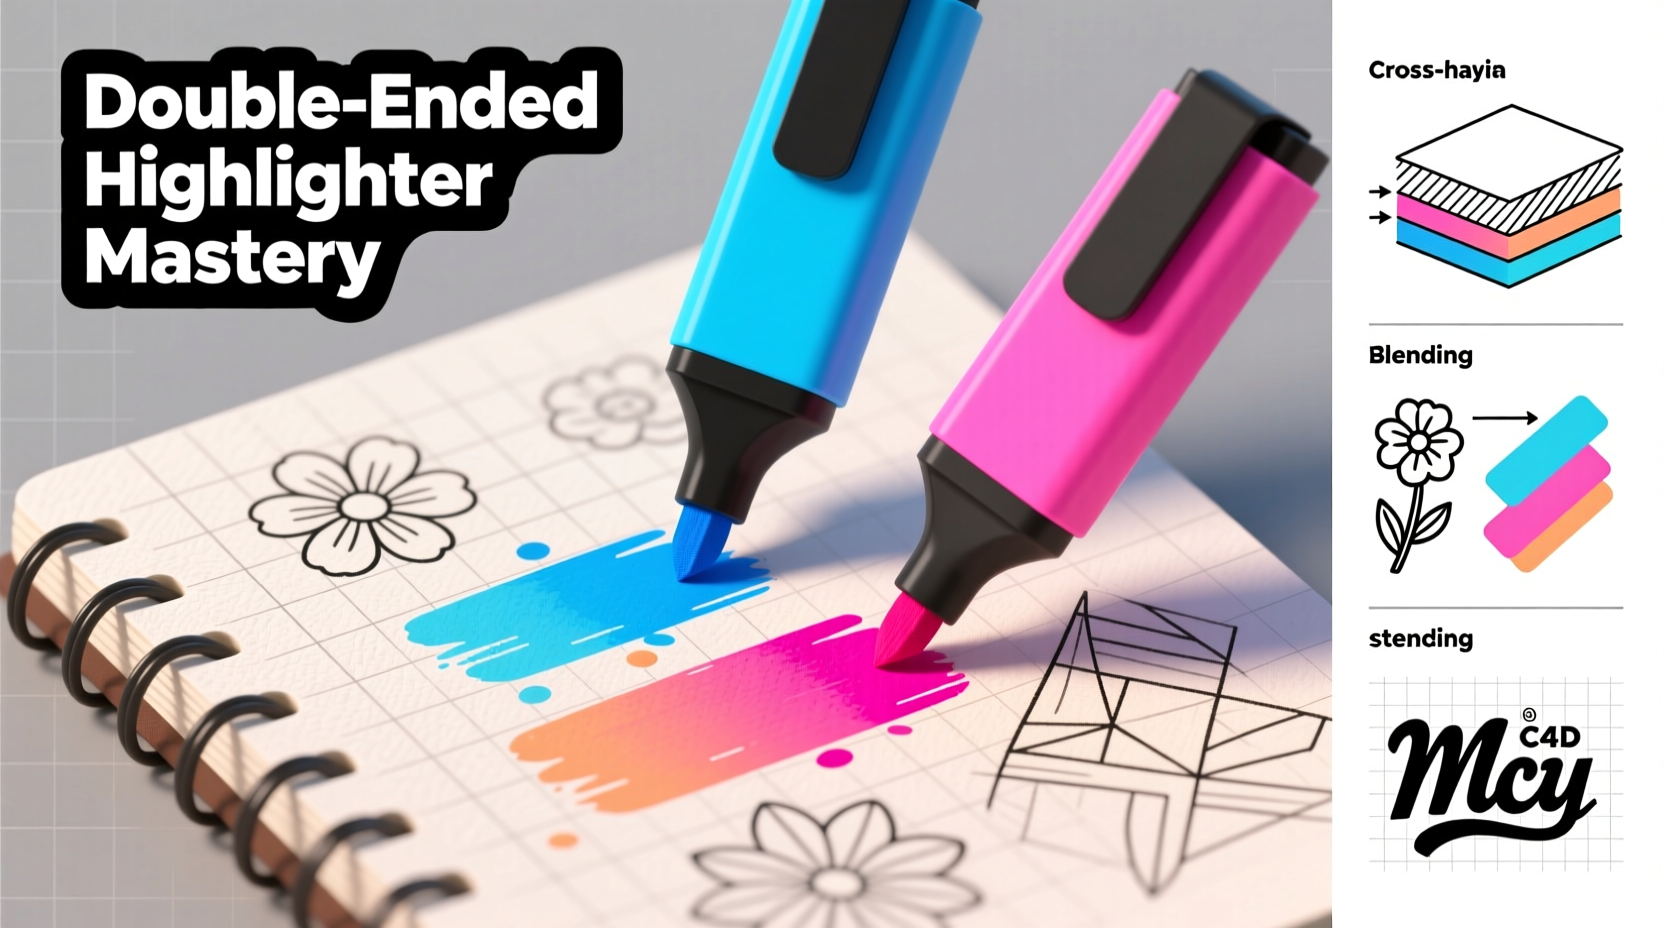
Unlike standard markers or pens, double ended highlighters offer two distinct colors in a single barrel, often pairing complementary or contrasting hues such as pink and yellow, blue and orange, or green and purple. The tips vary—one side typically features a fine point for detail work, while the other has a chisel edge for broad strokes or underlining. Most importantly, their ink is fluorescent, meaning it appears brighter than standard pigments due to light-emitting properties that make them stand out on paper.
These characteristics lend themselves well to visual impact. However, because the ink is water-based and semi-transparent, layering and blending require strategy. Unlike opaque acrylics or dense alcohol markers, highlighter ink can bleed if overworked or applied too heavily. Understanding these limitations allows artists to exploit their strengths: luminosity, fluid transitions, and playful contrast.
Creative Techniques for Artistic Application
1. Gradient Blending with Water
One of the most striking effects achievable with highlighters is a soft gradient transition between the two ends. After applying broad strokes with both tips, use a clean, damp brush to gently blend the overlapping area. The water activates the water-based ink, allowing colors to merge organically. This technique works best on thicker paper like mixed media or watercolor cardstock to prevent warping.
2. Reverse Layering for Depth
Because highlighter ink is translucent, building depth requires planning. Try laying down darker media—such as colored pencils, ink lines, or watercolor washes—first, then adding highlighter layers on top. The underlying texture shows through, creating a sense of dimension. For example, sketch a floral pattern in black ink, then selectively highlight petals with fluorescent pink or yellow to make them \"glow.\"
3. Negative Space Drawing
Instead of drawing with the highlighter, draw around it. Begin by blocking large areas with highlighter ink, let dry, then use opaque white gel pens or correction fluid to add details *over* the bright surface. This creates a high-contrast effect where the fluorescent base becomes the background, and white lines pop dramatically. Ideal for abstract designs or cosmic-themed art.
4. Stamping and Pattern Making
Use the chisel tip as a stamping tool. Press firmly onto a rubber stamping block or textured surface, then transfer the ink onto paper in repeating patterns. Alternate between both ends to create rhythmic sequences—like a wave pattern in blue and orange. This method excels in journaling, zine-making, or mural sketches.
5. Mixed Media Fusion
Combine highlighters with collage elements. Apply strips of magazine cutouts or tissue paper with matte medium, then trace edges or fill gaps with highlighter ink. The fluorescence contrasts beautifully with flat images, directing the viewer’s eye. Also effective when paired with metallic pens or charcoal for dramatic juxtaposition.
| Technique | Best For | Recommended Paper Type |
|---|---|---|
| Gradient Blending | Soft transitions, dreamy backgrounds | Watercolor paper (180gsm+) |
| Reverse Layering | Illustrations with depth | Heavyweight drawing paper |
| Negative Space | Abstract or sci-fi themes | Satin finish or bristol board |
| Stamping | Repetitive patterns, borders | Smooth cardstock |
| Mixed Media | Journaling, experimental art | Mixed media paper |
Step-by-Step: Creating a Fluorescent Mandala
- Sketch a simple mandala outline in light pencil on A4 mixed media paper.
- Select a double ended highlighter with contrasting tones (e.g., purple/yellow).
- Use the fine tip to trace inner sections with one color, alternating radial segments.
- Switch to the chisel end to fill broader outer petals with the second color.
- Where colors meet, lightly mist the area with water using a spray bottle and blend with a small brush.
- Once dry, reinforce outlines with a black fineliner and add white gel pen details over the brightest zones.
- Sign and date in a corner using metallic ink for a polished finish.
Real-World Example: Urban Sketching with a Glow
Jamila Reyes, a street artist based in Portland, began incorporating double ended highlighters into her urban sketchbook after noticing how traditional markers failed to capture the neon energy of city nightlife. She now uses highlighters to overlay fluorescent signs, glowing windows, and reflections on wet pavement in her ink drawings. “I’ll sketch a rainy alley in gray ink,” she explains, “then go in with a pink/blue highlighter combo to simulate neon bar signs reflecting off puddles. It adds emotional warmth you can’t get with regular colors.” Her work has been featured in indie zines and local galleries, proving that even unconventional tools can yield professional results when used creatively.
“Don’t wait for the ‘right’ materials to express energy. Sometimes the most unexpected tools—like a $3 highlighter—can electrify your art.” — Jamila Reyes, Urban Visual Artist
Common Challenges and How to Overcome Them
- Bleeding through paper: Use thicker stock (160gsm or higher) and apply ink in thin layers.
- Faded appearance under natural light: Pair highlighters with UV-resistant fixative sprays to preserve vibrancy.
- Drying out: Cap tightly after use and store horizontally to keep both tips moist.
- Difficulty erasing: Avoid heavy pencil shading beneath; instead, use light guidelines or tracing paper.
Essential Checklist for Highlighter Art Success
- Choose double ended highlighters with color combinations that inspire you.
- Prepare your workspace with scrap paper, water, brushes, and blending tools.
- Select appropriate paper to support water-based ink without bleeding.
- Begin with small studies before committing to larger pieces.
- Layer strategically—light over dark, transparent over opaque.
- Allow drying time between stages to prevent smearing.
- Protect finished work with a fixative or frame under UV glass.
FAQ
Can I mix double ended highlighters with alcohol-based markers?
Proceed with caution. Water-based highlighters can react unpredictably when layered over or under alcohol markers, often causing lifting or beading. If combining, apply highlighters first, let dry completely, then seal with a fixative before adding alcohol ink.
Are double ended highlighters archival quality?
Most are not. Their fluorescent dyes fade faster under direct sunlight compared to pigment-based art supplies. For long-term preservation, display artwork away from windows or use UV-protective glass.
How do I revive a dried-out highlighter?
Add 2–3 drops of distilled water into the tip end using a dropper. Seal in a plastic bag overnight. Test the next day. This may restore functionality temporarily, but performance will likely remain diminished.
Conclusion
Double ended highlighters are more than office supplies—they’re accessible, expressive tools capable of injecting energy and surprise into any art project. From subtle gradients to bold graphic statements, their dual-color design invites experimentation and play. By understanding their behavior, respecting their limitations, and pairing them thoughtfully with other media, artists can unlock a spectrum of creative possibilities. Whether you're a seasoned illustrator or a curious beginner, don’t overlook what these vibrant markers can do.


 浙公网安备
33010002000092号
浙公网安备
33010002000092号 浙B2-20120091-4
Comments
No comments yet. Why don't you start the discussion?