
Dried flowers have surged in popularity for their timeless elegance, low maintenance, and eco-friendly appeal. Unlike fresh blooms that wilt within days, dried arrangements can last for months or even years when properly cared for. Vase baskets—whether woven, ceramic, or vintage-style containers—offer an ideal base for showcasing these preserved botanicals. With thoughtful selection and creative arrangement, you can craft stunning centerpieces, shelf accents, or gifts that reflect seasonal moods and personal style.
This guide walks through the essential steps, design principles, and insider techniques for arranging dry flowers in vase baskets with confidence and creativity.
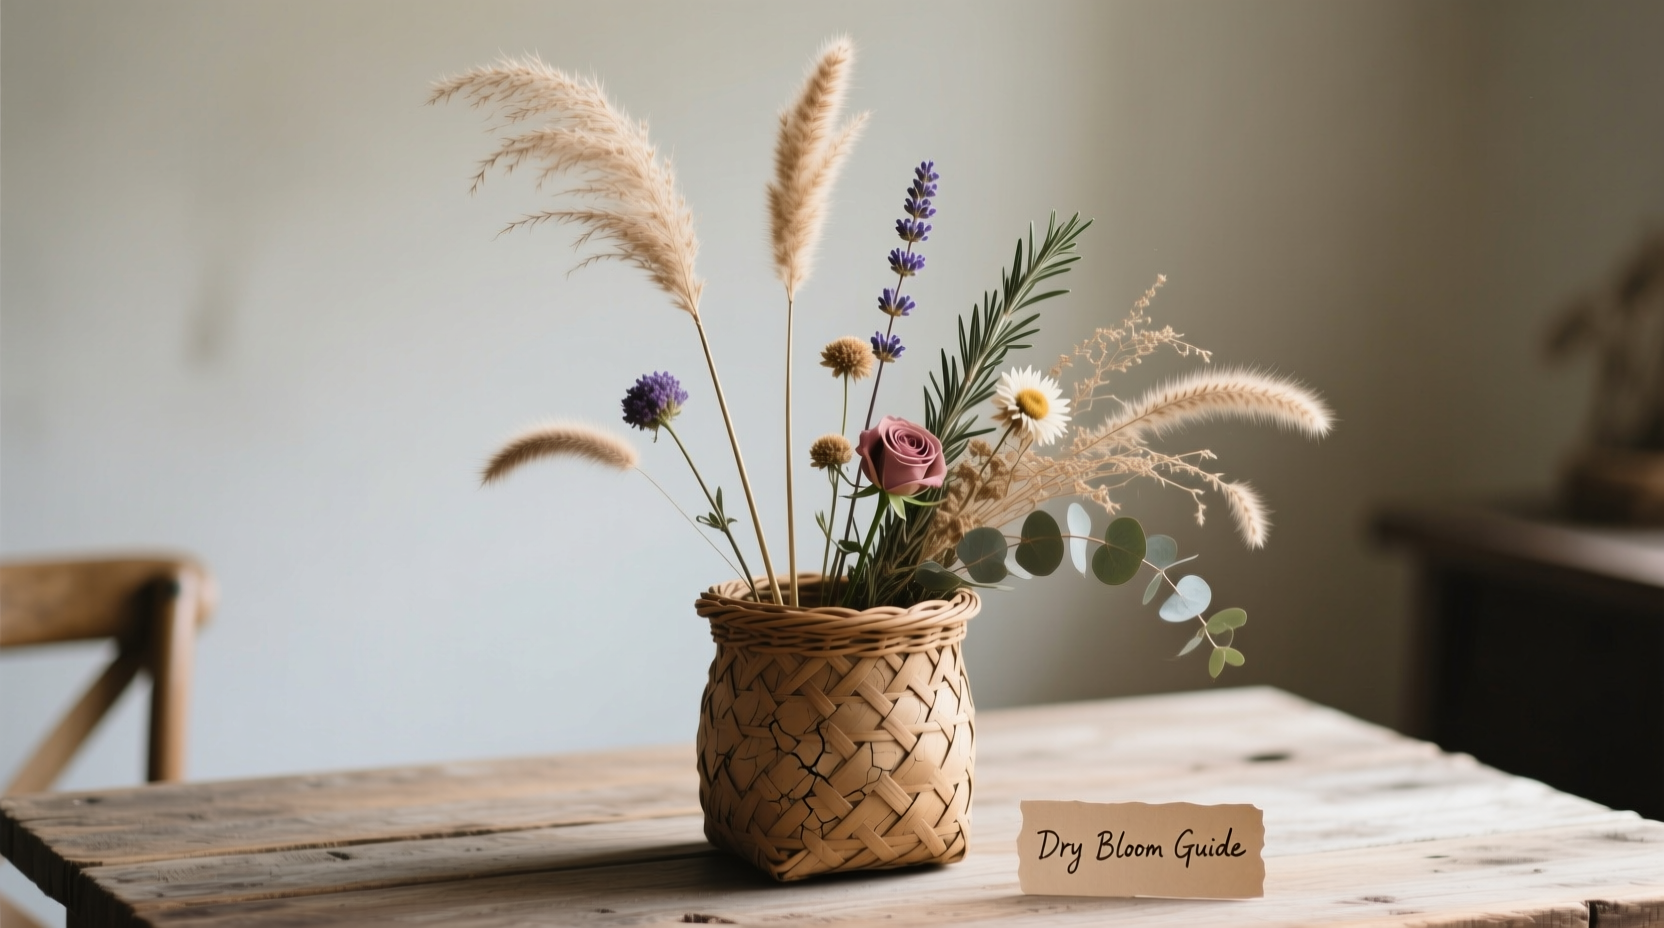
Choosing the Right Materials
The foundation of any beautiful dried flower display lies in selecting the right components. Not all flowers dry well, and not all containers support the same structural needs. Consider both aesthetics and function when gathering your materials.
- Dryable Flowers: Lavender, strawflowers, statice, yarrow, baby’s breath, and pampas grass retain color and form exceptionally well after drying.
- Foliage & Fillers: Eucalyptus, bunny tail grass, wheat stalks, and ferns add texture and depth.
- Vase Baskets: Opt for wide-mouthed baskets with stable bases. Wicker, seagrass, and ceramic vases work best due to their durability and visual warmth.
Step-by-Step Guide to Arranging Dry Flowers
Follow this structured process to build balanced, visually engaging arrangements that stand the test of time.
- Dry Your Flowers Properly
Hang small bunches upside down in a dark, dry, and well-ventilated room for 2–3 weeks. Avoid direct sunlight to prevent fading. - Prepare the Vase Basket
Line wicker or porous baskets with a thin plastic insert or use a glass liner to prevent dust accumulation and simplify cleaning. - Create a Base Structure
Insert a floral frog, chicken wire, or crumpled wire mesh into the bottom to anchor stems securely. - Start with Foliage
Build volume using eucalyptus or seeded branches as a framework. These act as scaffolding for more delicate blooms. - Add Height and Focal Points
Place taller elements like pampas plumes or reeds in the center or back. Introduce statement flowers such as dried hydrangeas or globe thistles next. - Layer in Color and Texture
Weave in smaller blooms like lavender or strawflowers at varying heights to create movement and dimension. - Balance the Composition
Step back and assess symmetry. Rotate the basket to ensure visual interest from all angles. - Final Touches
Trim excess stem length and gently shake the arrangement to settle pieces naturally.
Design Principles for Visual Impact
A successful dried flower arrangement goes beyond simply placing stems in a container. Apply these design fundamentals to elevate your work:
- Color Harmony: Stick to a cohesive palette—earthy tones (terracotta, sage, mustard), monochromatic schemes, or soft pastels create calm, sophisticated displays.
- Texture Contrast: Combine feathery grasses with rigid seed pods or fluffy blooms to engage the senses.
- Natural Asymmetry: Embrace organic shapes. Slight imbalance often feels more dynamic and intentional than perfect symmetry.
- Scale and Proportion: Taller baskets suit vertical compositions; shallow bowls call for wider, cascading styles.
| Do’s | Don’ts |
|---|---|
| Use odd numbers of focal flowers (3 or 5) for visual balance | Crowd too many dominant blooms in one area |
| Mix different drying methods (air-dried, silica gel, press-dried) | Expose arrangements to direct sunlight for prolonged periods |
| Incorporate non-botanical elements like dried citrus slices or cinnamon sticks | Use heavy sprays or adhesives that compromise stem integrity |
| Dust lightly every few weeks with a soft brush | Place near humidifiers or steamy kitchens |
Expert Insight: The Art of Preservation
“Drying flowers isn’t just about preservation—it’s about capturing a moment in nature’s cycle. The most compelling arrangements tell a story through texture, tone, and imperfection.” — Lena Torres, Botanical Artist & Sustainable Florist
Torres emphasizes that embracing slight browning, curling petals, or faded hues adds authenticity to dried displays. She recommends sealing particularly fragile pieces with a light aerosol hairspray (from 12 inches away) to reduce shedding without compromising appearance.
Real Example: A Seasonal Autumn Arrangement
Sophie, a home stylist in Vermont, wanted a centerpiece for her farmhouse table that reflected fall’s rustic beauty. She gathered goldenrod, deep burgundy amaranthus, dried orange slices, and wheat stalks from her garden. Using a low oval wicker basket lined with a clear glass insert, she began by wiring together three wheat stems to form a cross-shaped base.
She placed dried orange slices at the front edge, anchoring them with thin florist wire. Tall amaranthus plumes were inserted toward the back, while goldenrod filled gaps on either side. A few trailing eucalyptus stems were bent outward to soften the edges. The result was a warm, textured display that lasted throughout the season and became a conversation starter at Thanksgiving dinner.
Checklist: Creating Your Own Dried Flower Vase Basket
- ☐ Harvest or purchase suitable flowers and foliage
- ☐ Dry flowers completely (2–3 weeks air-dry time)
- ☐ Choose a stable, appropriately sized vase basket
- ☐ Prepare internal structure (floral frog or wire)
- ☐ Begin with greenery to form a base
- ☐ Add height elements and focal flowers
- ☐ Layer in secondary blooms and textural fillers
- ☐ Step back and adjust for balance
- ☐ Label or tag if gifting (include care instructions)
- ☐ Place in a dry, shaded area away from drafts
Frequently Asked Questions
How long do dried flower arrangements last?
With proper care, dried flower arrangements can last 6 months to over a year. Keeping them out of direct sunlight and humidity significantly extends their lifespan. Occasional dusting helps maintain freshness.
Can I mix fresh and dried flowers in the same vase?
Yes, but with caution. Fresh flowers introduce moisture, which can promote mold in dried components. If combining, place fresh stems in water tubes or separate compartments, and remove them before they wilt.
What’s the best way to store extra dried flowers?
Store unused dried flowers upright in cardboard boxes or paper bags in a cool, dark closet. Avoid plastic bins, which trap moisture and encourage brittleness.
Conclusion: Bring Nature Indoors with Lasting Beauty
Arranging dry flowers in vase baskets is more than a craft—it’s a mindful practice of preserving nature’s fleeting beauty. By following thoughtful preparation, applying design principles, and learning from real-world examples, anyone can create arrangements that are both artistic and enduring.
Whether you're decorating your living space, crafting a heartfelt gift, or exploring sustainable alternatives to cut flowers, this skill enriches your connection to the seasons and the quiet elegance of botanical life. Start small, experiment freely, and let each arrangement reflect your unique vision.


 浙公网安备
33010002000092号
浙公网安备
33010002000092号 浙B2-20120091-4
Comments
No comments yet. Why don't you start the discussion?