
A leather teddy dog keychain is more than just a functional accessory—it’s a small canvas for self-expression. Whether it’s a gift for a loved one or a treat for yourself, adding a personal touch transforms it from generic to meaningful. With the right techniques, you can customize its look, texture, and even story, making it uniquely yours. This guide walks through practical, creative methods to elevate your keychain with craftsmanship and care.
Why Personalization Matters
Personalized accessories carry emotional weight. A monogrammed initial, a hand-tooled pattern, or a painted detail turns an ordinary object into a keepsake. Leather, especially, responds beautifully to customization because of its natural grain and durability. When done thoughtfully, personalization enhances both aesthetic appeal and longevity.
According to artisan leatherworker Daniel Reeves, “The beauty of leather lies in how it ages with you. When you add your mark—be it engraving or color—it becomes part of the material’s journey.”
“Personalization isn’t just decoration; it’s storytelling through craft.” — Daniel Reeves, Artisan Leatherworker
Step-by-Step Guide to Customizing Your Keychain
Follow this structured process to ensure your personalized keychain looks professional and stands the test of time.
- Assess the Leather Type: Most teddy dog keychains use vegetable-tanned leather, ideal for tooling and stamping. Avoid chrome-tanned varieties if planning to dye or burnish.
- Clean the Surface: Wipe gently with a dry cloth. For deeper cleaning, use a leather prep solution to remove oils or residues that could interfere with adhesion.
- Sand Lightly (if needed): Use fine-grit sandpaper (400–600) to smooth rough spots, especially around edges, before applying finishes.
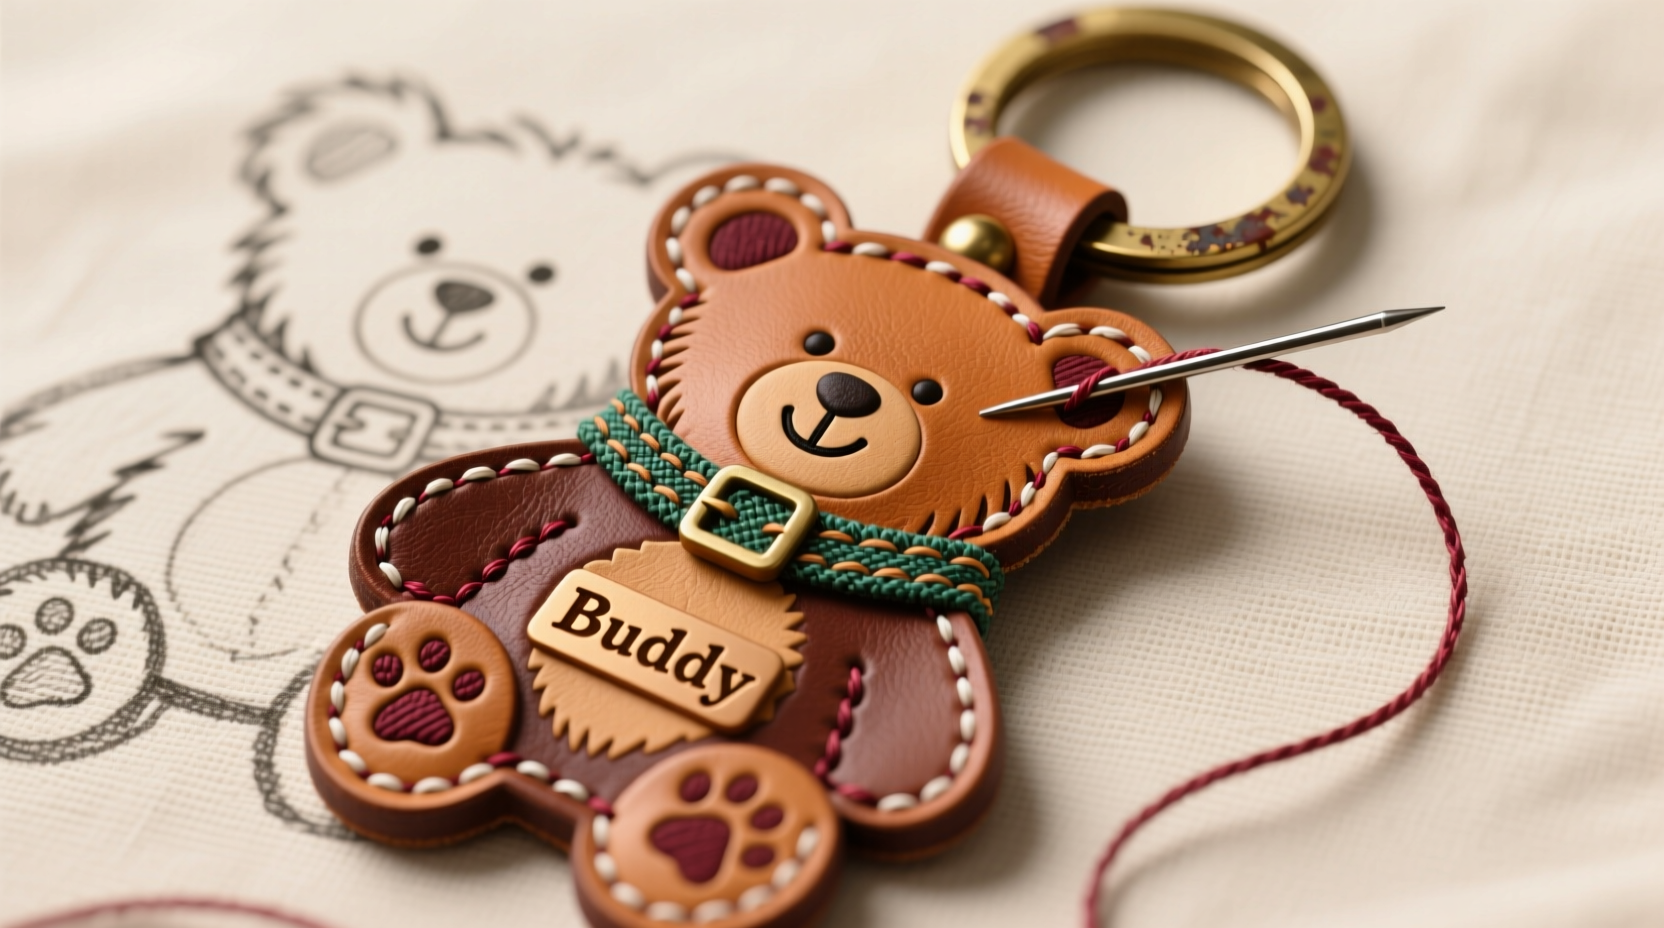
- Design Your Customization: Sketch ideas on paper first. Consider symmetry, balance, and the size of the surface area available.
- Apply the Technique: Choose from embossing, painting, dyeing, or adding hardware based on your design.
- Seal and Protect: Once complete, apply a leather finisher like acrylic resin or beeswax to preserve details and prevent wear.
Creative Personalization Techniques
Explore these proven methods to give your keychain character and charm.
1. Hand Tooling and Stamping
Using metal stamps and a mallet, you can imprint initials, paw prints, hearts, or geometric patterns. Dampen the leather slightly to help the impression set cleanly. Work slowly and align each strike carefully.
2. Leather Dyeing and Painting
Use alcohol-based dyes or leather-specific paints to add color accents. For example, paint the dog’s ears pink or outline its collar in gold. Apply thin layers with a fine brush and allow drying between coats.
3. Burnishing Edges
For a polished look, burnish the edges using gum tragacanth and a wooden slicker. This creates a smooth, rounded finish that elevates the overall appearance.
4. Adding Metal Accents
Attach tiny charms, engraved tags, or rivets to the collar or base. Use micro rivet tools or jewelry glue designed for leather bonding.
5. Embroidery or Thread Detailing
If the leather allows, stitch contrasting thread along seams or create tiny decorative stitches resembling whiskers or fur texture.
| Technique | Best For | Tools Needed | Durability |
|---|---|---|---|
| Stamping | Initials, symbols | Metal stamps, mallet | High – permanent impression |
| Dyeing | Color changes | Brushes, dyes, sponge | Medium – may fade over time |
| Painting | Details, highlights | Fine brushes, leather paint | Medium – sealant required |
| Rivets/Charms | Texture, shine | Pliers, micro rivets | High – if properly secured |
| Burnishing | Edge refinement | Slicker, gum tragacanth | Permanent – improves with use |
Checklist: What You’ll Need Before Starting
- Leather-safe cleaning solution
- Fine-grit sandpaper (400–600)
- Leather stamps or carving tools
- Alcohol-based dyes or leather paints
- Fine-tipped brushes (sizes 0–2)
- Rubbing stump or wooden slicker
- Gum tragacanth or edge sealer
- Micro rivets or tiny charms (optional)
- Clear acrylic leather finisher
- Soft cloths and masking tape (for precision)
Real Example: A Gift Transformed
Sophie wanted to surprise her sister with a birthday gift that felt deeply personal. She bought a plain leather teddy dog keychain and decided to customize it. Using a tiny heart-shaped stamp, she imprinted their shared nickname—\"S&S\"—on the dog’s belly. She then painted the collar teal, her sister’s favorite color, and added a miniature silver bone charm attached with a micro rivet. Finally, she burnished the edges and sealed the piece with a matte finisher. The result was a cherished keepsake that her sister still carries daily, two years later.
Do’s and Don’ts of Leather Personalization
| Do | Don’t |
|---|---|
| Work in a well-lit, dust-free space | Rush the drying process between layers |
| Use leather-specific adhesives and finishes | Apply household paints or varnishes |
| Test colors and tools on scrap leather | Overwork wet leather (can warp) |
| Let each layer dry completely | Soak leather in water before stamping |
| Store finished pieces in breathable fabric bags | Expose to direct sunlight long-term |
Frequently Asked Questions
Can I wash a personalized leather keychain?
No, avoid submerging it in water. Instead, wipe gently with a slightly damp cloth and dry immediately. Excess moisture can cause warping or fading of dyes and paints.
How do I fix a mistake in stamping?
If the impression is too deep or misplaced, lightly sand the area and recondition the leather with a prep solution. For minor errors, disguise them with paint or incorporate them into a new design element, like turning a misaligned dot into an eye.
Will paint peel off over time?
Potentially, if not sealed properly. Always apply 2–3 thin coats of clear acrylic leather finisher after painting. Reapply the sealer every 6–12 months for maximum protection.
Final Thoughts and Call to Action
Personalizing a leather teddy dog keychain is a rewarding blend of creativity and craftsmanship. It doesn’t require advanced skills—just patience, the right materials, and a vision. Whether you’re marking a milestone, expressing affection, or simply enjoying the art of handmade details, each modification adds depth and meaning to a simple object.
Start small: try a single stamped initial or a colored accent. As your confidence grows, experiment with layered techniques. The key is consistency and care. Your personalized keychain isn’t just an accessory—it’s a story carried in your pocket.


 浙公网安备
33010002000092号
浙公网安备
33010002000092号 浙B2-20120091-4
Comments
No comments yet. Why don't you start the discussion?