
Vans shoes have long been a staple in casual footwear, known for their durability, comfort, and timeless appeal. But one often overlooked aspect that can dramatically improve both fit and aesthetic is how you lace them. Whether you're aiming for a sleek minimalist look, better heel lockdown, or just want to express your personal style, the way you lace your Vans makes a difference. Beyond function, lacing offers a creative outlet—transforming a classic shoe into something uniquely yours.
This guide dives into innovative lacing methods, practical adjustments, and insider tips that go beyond simply threading string through eyelets. From optimizing fit to making a fashion statement, mastering the art of lacing enhances not only how your Vans feel but also how they perform day after day.
Why Lacing Technique Matters for Vans
Vans are typically designed with a low-top or high-top canvas upper and a simple six- or eight-eyelet structure. While this simplicity contributes to their iconic status, it also means that standard crisscross lacing may not provide ideal support or pressure distribution for every foot type.
Poorly laced shoes can lead to slipping heels, pinched toes, or uneven tension across the instep. Over time, this affects comfort and can even contribute to foot fatigue or blisters. A well-executed lacing method adjusts for individual foot shape—narrow, wide, high-arched, or flat—and improves overall wearability.
“Most people never think about how their laces affect fit, but a small change in lacing pattern can make a worn-in pair feel like new.” — Jordan Lee, Footwear Fit Specialist
Creative & Functional Lacing Styles for Vans
Experimenting with different lacing patterns isn’t just about aesthetics—it’s a smart way to solve common fit issues while adding flair. Below are five standout techniques worth trying:
1. Straight Bar Lacing (Ladder Style)
A clean, symmetrical alternative to traditional crisscrossing. This method creates horizontal bars across the shoe, giving a streamlined, almost military-inspired appearance. It's especially effective on shoes with an even number of eyelets.
2. Loop Back (Hidden Knot) Lacing
Perfect for those who dislike loose ends flopping around. Instead of tying the laces at the top, feed them back down through the top eyelets and tie underneath. The knot stays hidden, creating a sleek, minimalist silhouette ideal for slim-fit pants or cropped jeans.
3. Heel-Lock Lacing (Runner’s Loop)
Originally popularized by runners, this technique prevents heel slippage in skate shoes and casual sneakers alike. After lacing normally up to the second-to-last eyelet, create small loops on each side. Thread the lace end through the opposite loop before finishing at the top.
The result? A snugger fit around the ankle without tightening the entire shoe—ideal for high-tops during active use.
4. Zipper Lacing
Creates a zigzag effect that visually mimics a zipper running up the shoe. Best used with contrasting laces (e.g., black shoes with white or red laces). This style works particularly well on Old Skool or Authentic models where the side stripe complements the diagonal lines.
5. Double Crisscross (Security Lacing)
For maximum stability, double the crisscross pattern by using two sets of laces—one starting from the bottom, another layered above. This adds structural reinforcement and allows segmented tension control: looser at the toe box, tighter at the midfoot.
| Lacing Style | Best For | Lace Length Needed |
|---|---|---|
| Straight Bar | Minimalist look, even pressure | Standard (90–100cm) |
| Loop Back | Streetwear, no visible knots | Slightly longer (110cm) |
| Heel-Lock | Active wear, heel slip prevention | Standard |
| Zipper | Fashion focus, visual impact | Standard to long (100–120cm) |
| Double Crisscross | Custom fit, added support | Two pairs: standard + short |
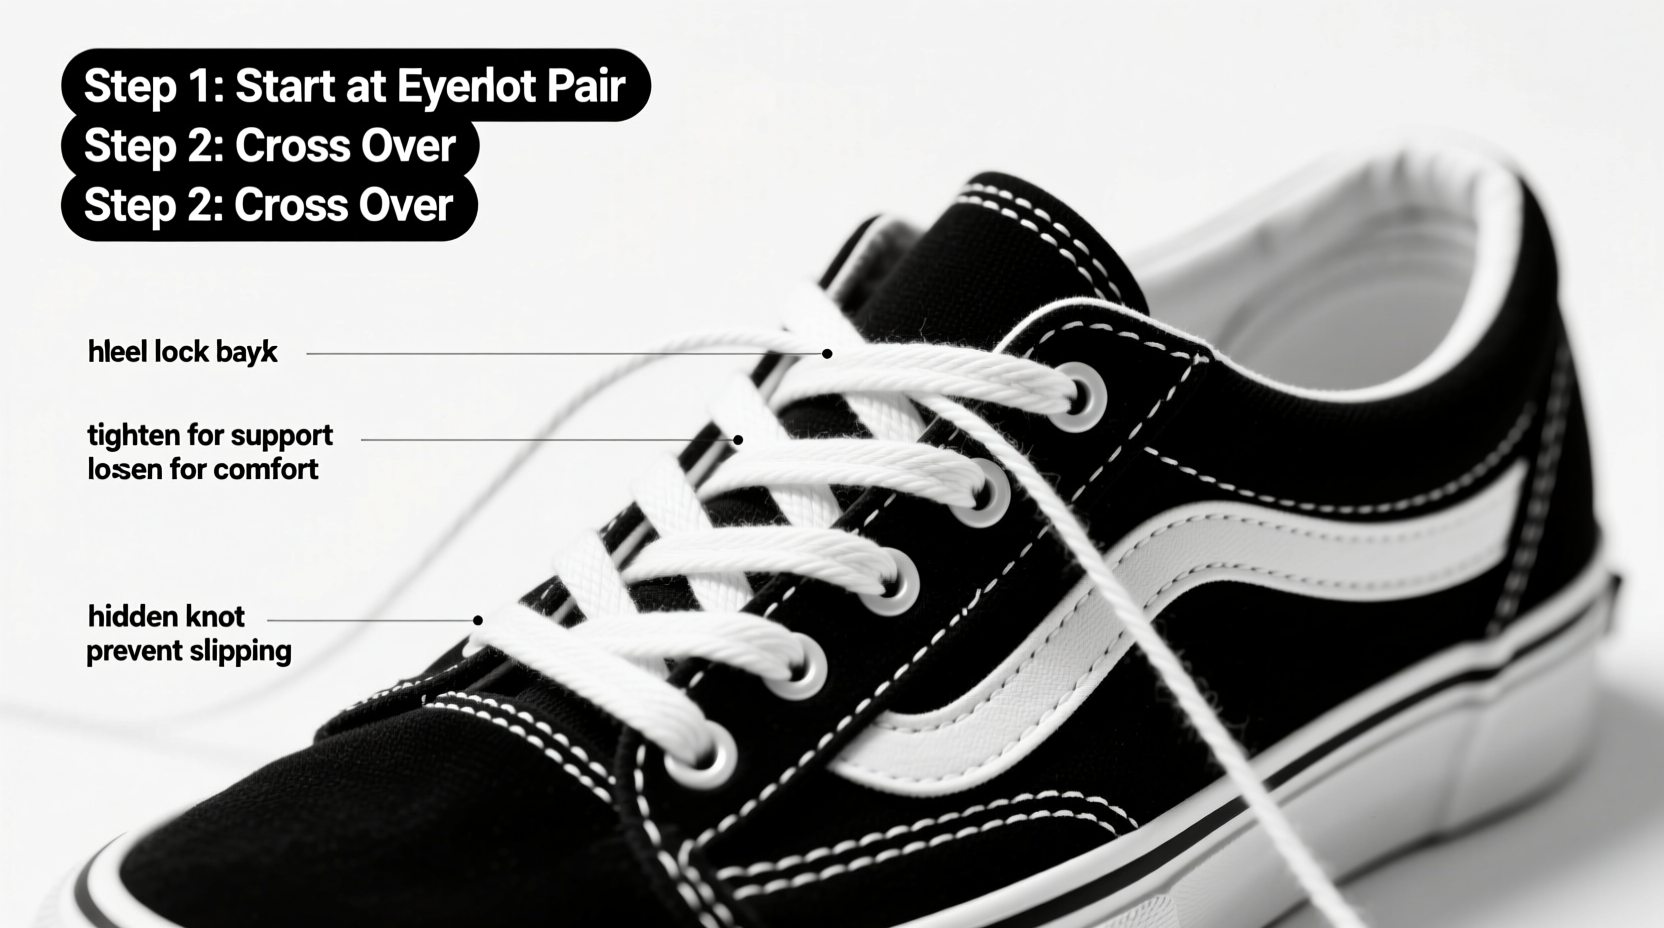
Step-by-Step: How to Apply Heel-Lock Lacing on Vans High Tops
If you frequently experience heel lift when walking or skating, this method provides immediate improvement. Follow these steps:
- Lace your Vans normally from the bottom up to the fourth eyelet (on an eight-eyelet shoe).
- At the fifth eyelet, instead of crossing over, bring each lace straight up to form a “loop” or “ladder rung” on each side.
- Continue lacing so that the sixth eyelet crosses diagonally over and threads through the loop created on the opposite side.
- Pull tight to engage the lock mechanism—this cinches the ankle collar.
- Proceed to the final eyelets and tie as usual.
This adjustment takes less than two minutes but significantly improves rearfoot stability, especially useful for skateboarding or all-day wear.
Practical Tips for Long-Term Lacing Success
Beyond choosing a style, maintaining your lacing system ensures lasting performance and appearance. Consider these everyday strategies:
- Rotate lace colors seasonally to refresh your wardrobe without buying new shoes.
- Inspect laces monthly for fraying or stretching; replace before they snap midday.
- Use aglets (lace tips) or apply clear nail polish to prevent unraveling.
- Wash laces separately when cleaning shoes—machine washing weakens fibers over time.
- Match lace thickness to shoe model: thicker ropes for Sk8-Hi, flatter ribbons for Slip-Ons.
Real-World Example: Upgrading Comfort for Daily Commuting
Take Mark, a graphic designer in Portland who walks 45 minutes each way to work. His favorite Vans, a pair of black Authentic shoes, started causing heel rub after three weeks. Rather than give up on them, he tried heel-lock lacing. Within days, the irritation disappeared. He later switched to straight bar lacing for a cleaner look under tailored trousers. By adjusting his lacing technique, Mark extended the life of his shoes and improved daily comfort—all without spending extra money.
This kind of micro-adjustment is often more effective than buying new footwear. Small changes yield big results.
Do’s and Don’ts of Vans Lacing
| Do | Don’t |
|---|---|
| Choose lace length based on eyelet count | Use overly long laces that drag on the ground |
| Experiment with textures—waxed, round, flat | Ignore signs of lace wear like fraying |
| Tighten progressively from toe to ankle | Over-tighten the top eyelets, cutting off circulation |
| Use silicone lace locks instead of knots | Leave laces untied; risks tripping and damage |
FAQ: Common Questions About Lacing Vans Shoes
Can I use shoelace locks with Vans?
Yes. Silicone or plastic lace locks work well with most Vans models. They eliminate knots entirely and offer a modern, sporty finish. Just ensure the lock fits the lace width—standard flat laces usually work best.
What’s the best way to stop my laces from coming undone?
Beyond double-knotting, consider using a secure bow (Ian Knot) or switching to elastic locking laces. Alternatively, apply a tiny drop of fabric-safe glue to the aglet ends to prevent gradual loosening.
Are there lacing methods that reduce pressure on the top of the foot?
Absolutely. Skip the crisscross near the ankle and use parallel lacing (like straight bar) to avoid pressing directly on sensitive areas. You can also leave the top one or two eyelets unlaced for a looser fit while keeping the rest secure.
Final Thoughts: Make Your Vans Truly Yours
Lacing is more than utility—it’s personalization. The best way to lace Vans shoes isn’t one-size-fits-all; it depends on your foot, your activity, and your style. Whether you prioritize performance, comfort, or self-expression, there’s a lacing method that aligns with your needs.
Start with one new technique this week. Try straight bar lacing for a polished weekend look, or implement the heel-lock for better support during errands or travel. Once you see how much difference a simple re-lacing can make, you’ll wonder why you didn’t try it sooner.


 浙公网安备
33010002000092号
浙公网安备
33010002000092号 浙B2-20120091-4
Comments
No comments yet. Why don't you start the discussion?