
Combining four photos onto a single printed page is a practical solution for creating collages, memory keepsakes, or visual documentation. Whether you're preparing a family album, designing classroom materials, or compiling product references, arranging multiple images neatly can be both functional and artistic. The challenge lies in doing it efficiently without relying on advanced design software. Fortunately, there are several accessible methods—using everyday tools like word processors, free online editors, and even mobile apps—that make this task simple and customizable.
Why Combine Four Images on One Page?
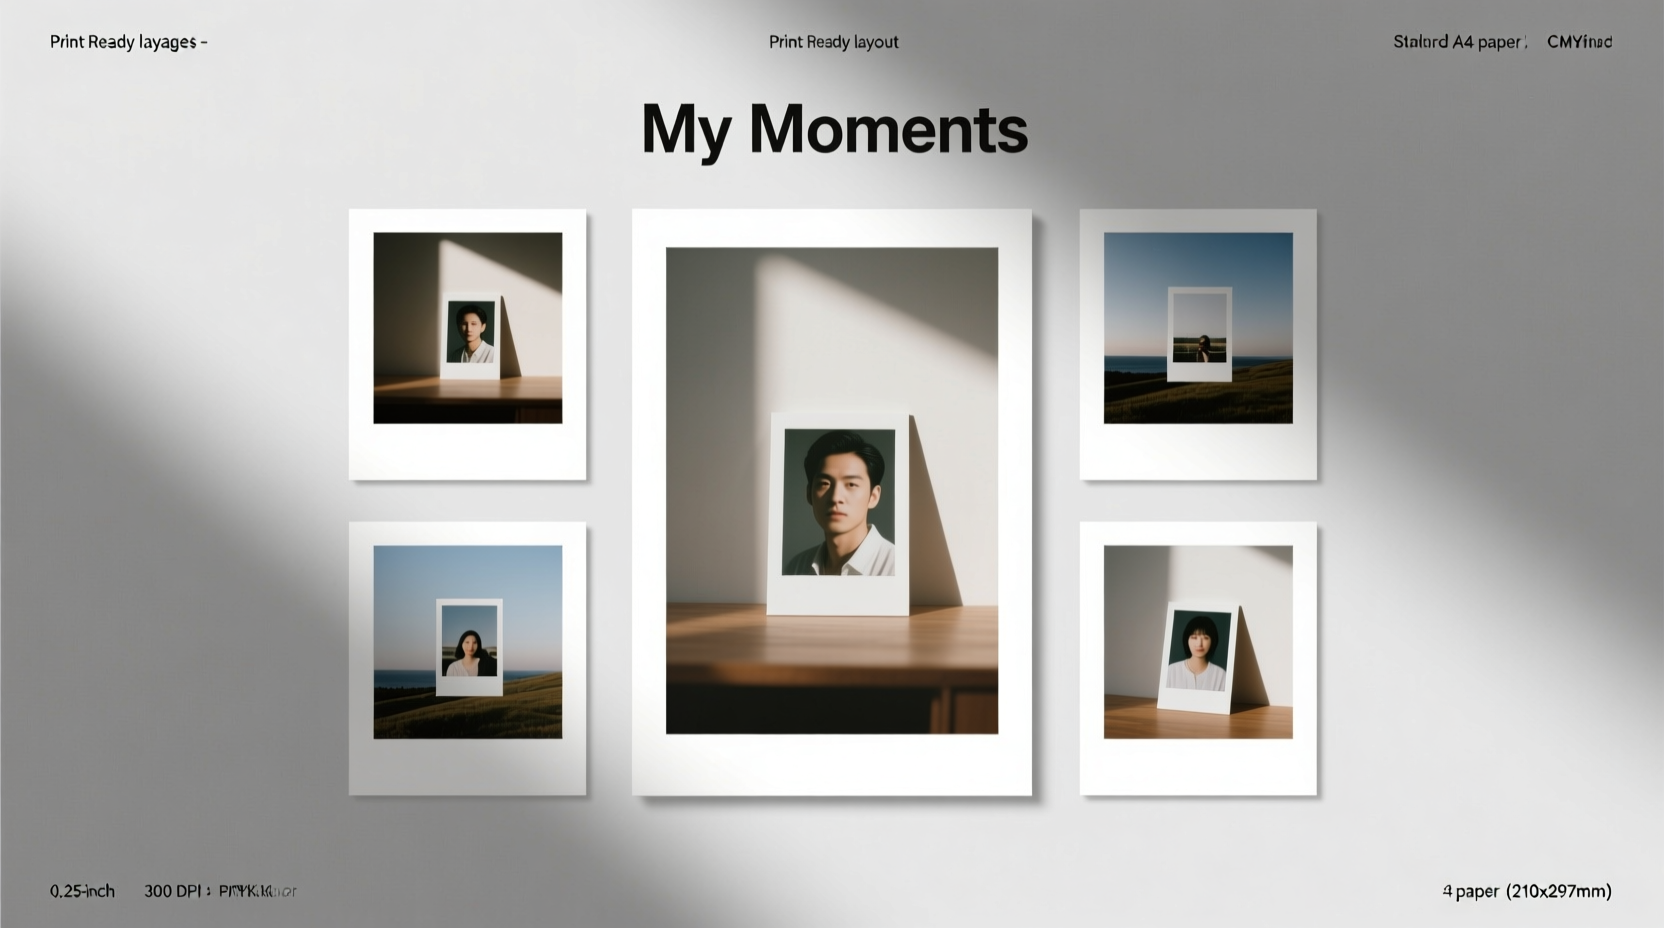
Printing four images per page serves multiple purposes. It conserves paper and ink, making it an economical choice for bulk printing. It also enhances visual storytelling by allowing side-by-side comparisons—ideal for before-and-after shots, travel sequences, or documenting progress over time. Educators use this format for student portfolios; photographers create proof sheets; families compile holiday moments into compact layouts. The structured layout of four images encourages balance and clarity, turning random snapshots into curated visuals.
Method 1: Use Microsoft Word or Google Docs
Most people already have access to word processing software, which doubles as a surprisingly effective tool for image layout. In Microsoft Word or Google Docs, inserting and aligning four images is straightforward.
- Open a new document and set margins to narrow (0.5 inches) for maximum space.
- Insert each image via the “Insert” menu > “Pictures.”
- Resize each image to fit within a quadrant of the page (e.g., 3.5 x 3.5 inches for A4).
- Use the “Wrap Text” option (set to “Square” or “Tight”) to move images freely.
- Align them precisely using the gridlines (enable via View > Gridlines in Word).
- Add borders, captions, or background colors if desired.
This method works best when consistency matters more than pixel-perfect precision. Both platforms allow exporting to PDF, ensuring the layout remains intact during printing.
Method 2: Leverage Free Online Collage Makers
Dedicated web tools simplify photo arrangement with drag-and-drop interfaces and preset templates. Platforms like Canva, Fotor, and PhotoPea offer intuitive designs tailored for multi-image layouts.
For example, in Canva:
- Select “Custom Size” and enter standard paper dimensions (8.5 x 11 inches).
- Search for “4 photo collage” in templates.
- Choose a grid layout (2x2, staggered, or framed).
- Upload your images and drop them into placeholders.
- Adjust spacing, add shadows, or apply filters for visual cohesion.
- Download as PNG or PDF for high-quality printing.
These tools excel at aesthetic flexibility, letting users experiment with shapes, backgrounds, and typography while maintaining alignment.
“Design shouldn’t require expertise. Tools like Canva empower anyone to create professional-looking prints in minutes.” — Lena Torres, Digital Media Instructor
Method 3: Print Directly from Your Operating System
Both Windows and macOS include built-in photo printing features that support multi-image layouts. These options are often overlooked but highly efficient for quick projects.
On Windows:
Navigate to the folder containing your four images. Select all, right-click, and choose “Print.” From the Photos app, select the “Layout” option and pick “Grid” or “Picture Grid (4 per page).” The system automatically arranges them with equal borders.
On macOS:
Open the images in Preview, select “File” > “Print,” then click “Show Details.” Under “Layout,” choose “4” from the “Pages per Sheet” dropdown. Adjust scaling and margins as needed.
This approach requires zero third-party software and preserves original image quality when printed at native resolution.
Comparison of Methods: Pros, Cons, and Best Use Cases
| Method | Best For | Pros | Cons |
|---|---|---|---|
| Word/Docs | Text + image combos, reports | Widely available, editable, supports captions | Limited design control, alignment can drift |
| Online Tools (Canva, Fotor) | Social media, gifts, presentations | Stunning templates, branding options, export flexibility | Free versions may include watermarks |
| OS Built-in Printing | Quick personal prints, backups | No setup, fast, reliable | Few customization options |
| PDF Editors (Adobe Acrobat, LibreOffice Draw) | Precision layouts, professional docs | Pixel-perfect placement, vector support | Steeper learning curve |
| Mobile Apps (PicCollage, Layout from Instagram) | On-the-go editing, casual use | Touch-friendly, instant sharing | Lower print resolution unless optimized |
A Real-World Example: Creating a Travel Memory Sheet
Sophie, a frequent traveler, wanted to print highlights from her Paris trip to display in her home office. She selected four key moments: Eiffel Tower at sunset, breakfast at a café, a museum visit, and a street musician. Using Canva on her laptop, she chose a clean 2x2 grid with white borders and subtle drop shadows. She added small text labels beneath each photo (“Morning in Montmartre,” “Louvre Day”) in a minimalist sans-serif font. After downloading the file as a PDF, she printed it on matte photo paper at a local shop. The result was a cohesive, gallery-style sheet that captured the essence of her journey—without needing Photoshop or design experience.
Step-by-Step Guide: How to Arrange and Print 4 Images in 10 Minutes
- Gather your images: Choose four high-resolution JPEGs or PNGs and save them in one folder.
- Standardize size and orientation: Rotate images so all are portrait or landscape. Resize to 1500x1500 pixels for balanced scaling.
- Pick your tool: Decide between Word, Canva, or OS print based on your needs (design vs. speed).
- Create the layout: Place each image in a quadrant, leaving 0.25–0.5 inch margins between edges and gaps.
- Preview before printing: Open the PDF or print preview to check alignment and scaling.
- Select print settings: Choose “Fit to Page” if necessary, and opt for “High Quality” or “Photo” mode.
- Test print on plain paper: Confirm layout accuracy before using photo paper.
- Final print: Load appropriate paper and print your polished four-image page.
Common Pitfalls to Avoid
- Ignoring aspect ratios: Mixing landscape and portrait images without padding causes uneven spacing.
- Overlooking DPI: Low-resolution images appear blurry when enlarged. Aim for at least 150 DPI at print size.
- Skipping test prints: What looks good on screen may not translate to paper due to color or scale differences.
- Using too much decoration: Excessive frames, stickers, or fonts distract from the photos themselves.
Frequently Asked Questions
Can I mix different image sizes in a 4-up layout?
Yes, but it’s best to crop or pad them to uniform dimensions first. Uneven sizes disrupt visual harmony and complicate alignment. Use canvas expansion (adding white or colored borders) to standardize appearance.
How do I print four passport-sized photos on one page?
Passport photos typically follow a 2x2 inch format. Set your document to 6x4 inches (for two rows of two), insert each photo with 0.2-inch gutters, and print on glossy cardstock. Many photo labs also offer pre-formatted templates for ID prints.
Is it possible to edit the combined page after printing?
Once printed, physical edits are limited. However, keeping the digital version allows future adjustments. Save your project file for reprints or modifications.
Final Tips for Best Results
- Use matte or semi-gloss paper for a professional finish that reduces glare.
- Name files sequentially (e.g., “trip_01.jpg”) to maintain order during import.
- Keep a master folder with original and edited versions for easy access.
- Consider adding a small logo or date watermark in a corner for personalization.
Conclusion: Turn Moments into Meaningful Prints
Arranging four images on a single page doesn’t require technical skill—just the right approach and tools. Whether you’re crafting sentimental keepsakes or organizing visual data, these methods provide flexibility, speed, and quality. By leveraging software you likely already have or exploring user-friendly online platforms, you can transform scattered photos into purposeful, printable compositions. Start small, experiment with layouts, and refine your process over time. The next time you want to preserve a moment or present information clearly, remember: four images on one page can say more than any single shot ever could.


 浙公网安备
33010002000092号
浙公网安备
33010002000092号 浙B2-20120091-4
Comments
No comments yet. Why don't you start the discussion?