
For fans of Disney magic and imaginative storytelling, the iconic Minnie Mouse ears headband is more than just a souvenir—it's a portal to character embodiment. Whether you're preparing for a theme park visit, hosting a themed party, or diving into cosplay, customizing your Minnie ears transforms a simple accessory into a personalized emblem of identity and creativity. Beyond the classic red bow and polka dots, there’s an expansive world of design possibilities that elevate role playing from costume to character.
Why Customize Your Minnie Ears?
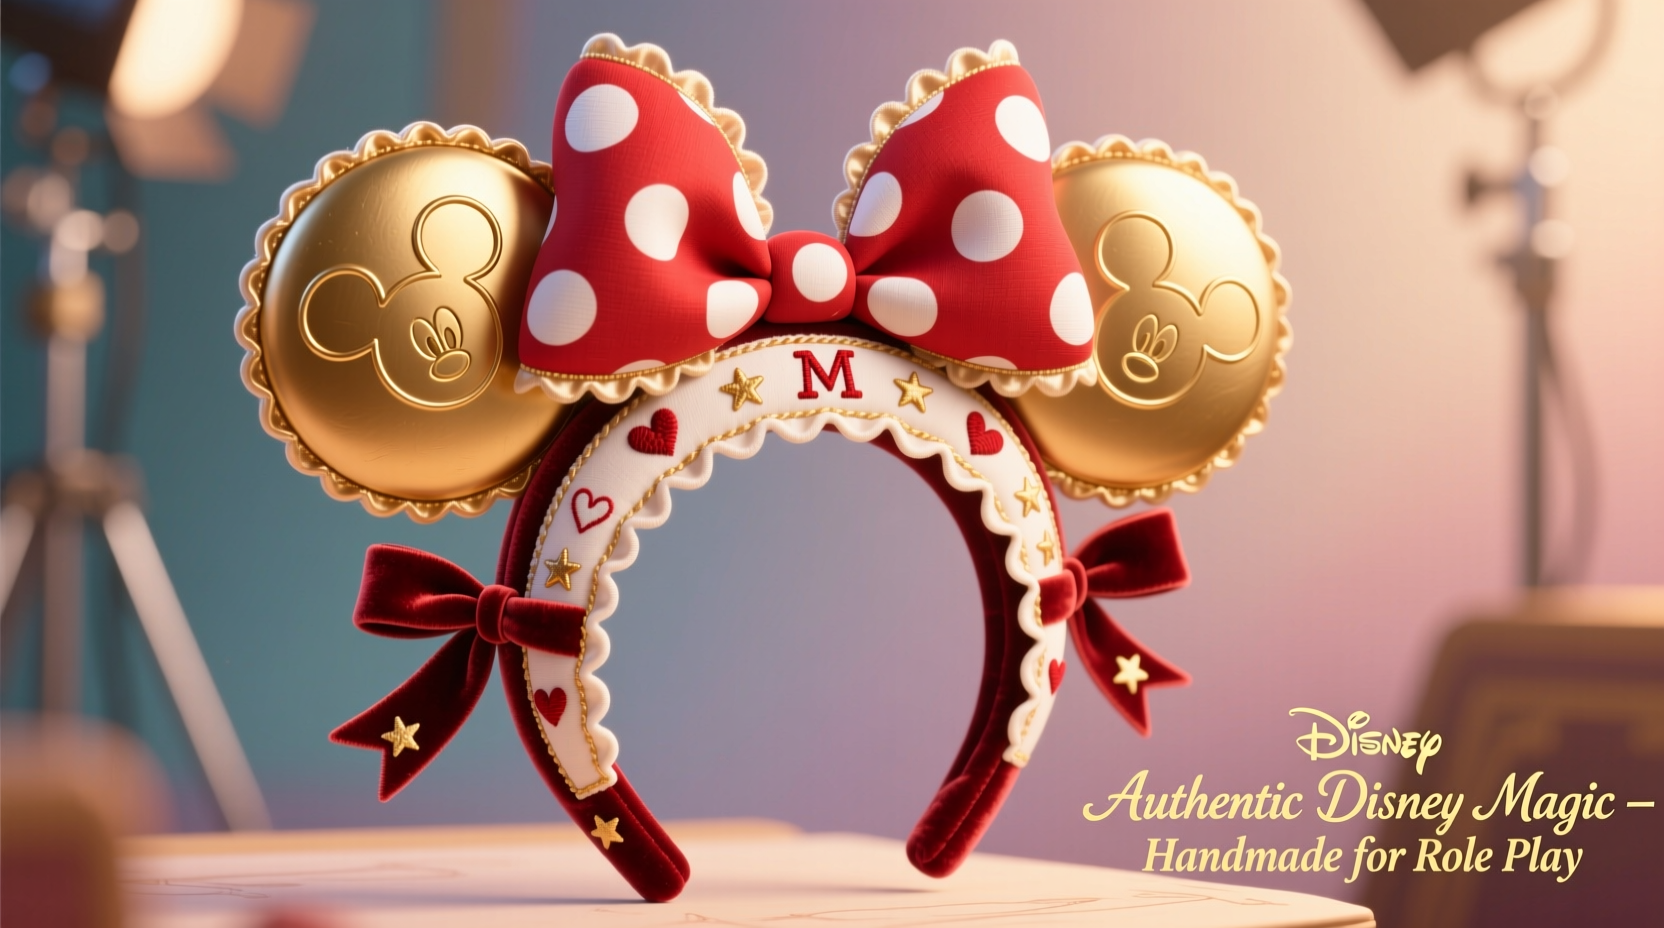
The standard Minnie Mouse ears are instantly recognizable, but customization allows wearers to express individuality, reflect specific themes, or align with favorite characters while maintaining the silhouette that signals playful nostalgia. Customization isn’t just about aesthetics—it deepens immersion. When a child becomes a princess, a fan becomes a storyteller, or a cosplayer embodies a reimagined universe, the headband serves as both symbol and catalyst.
Custom ears are also a canvas for seasonal celebrations, fandom tributes, and even professional photography props. The act of personalizing fosters connection—not only to the character, but to the community of creators who share techniques, themes, and inspiration online.
Step-by-Step Guide to Designing Custom Minnie Ears
Creating unique Minnie ears doesn’t require advanced crafting skills, but following a structured process ensures durability and polish. Use this timeline to bring your vision to life in under three hours.
- Plan your theme – Decide whether you’re going for seasonal (Halloween, Christmas), character-inspired (Mulan, Elsa), or abstract (galaxy, floral).
- Gather materials – Felt, glue gun, scissors, ribbon, embroidery thread, beads, fabric paint, etc.
- Prep the base – Remove any existing decorations from store-bought ears or assemble a blank set using foam, wire, and fabric.
- Create the bow – Cut ribbon into two pieces: one for the knot (5–7 inches), one for the loops (10–12 inches). Secure with hot glue.
- Attach the bow to the ear – Center it where the ear meets the band. Reinforce with extra glue or stitching.
- Add embellishments – Glue on buttons, gems, patches, or hand-stitch details like names or symbols.
- Seal and protect – Spray with fabric sealant if the ears will be worn outdoors or frequently handled.
Material Selection Tips
- Felt is ideal for ears—durable, easy to cut, and holds shape.
- Ribbon should be wired for structure, especially in larger bows.
- Use high-temp hot glue for secure attachment; low-temp may loosen over time.
Creative Themes and Real-World Examples
Themes bridge imagination and execution. A well-conceived concept makes the customization process focused and joyful. Below are three real-life examples of customized ears that sparked engagement at Disneyland and online communities.
Example 1: “Starlight Minnie” for Galaxy Night Event
A 28-year-old cosplayer created iridescent purple and blue gradient ears with glow-in-the-dark stars and a crescent moon charm in the bow. She used sheer organza overlay on the ears and embedded fiber-optic threads powered by a tiny battery pack hidden in the headband. At the evening event, her ears became a conversation starter and were featured in multiple fan photos.
Example 2: “Beekeeper Minnie” for Spring Festival
A mother-daughter duo crafted honeycomb-textured yellow-and-black striped ears with a tiny plush bee dangling from the bow. They paired them with matching aprons for a local fair parade. The tactile detail—the fuzzy bee and textured fabric—added whimsy and authenticity.
Example 3: “Retro Gamer Minnie” for Comic Con
Inspired by 8-bit aesthetics, a designer used pixel-art felt squares to create a Pac-Man-themed bow and added a joystick-shaped charm. The ear pads mimicked game controller pads with embroidered D-pad symbols. This piece won “Most Creative Accessory” in a fan contest.
“Personalization turns a mass-produced item into wearable art. The best custom ears tell a story before the wearer says a word.” — Lila Tran, Prop Designer & Disney Fan Historian
Checklist: Prepare Before You Begin
- ☐ Choose a clear theme or inspiration
- ☐ Acquire a sturdy headband base (plastic or metal)
- ☐ Select fabrics and colors that match your vision
- ☐ Set up a clean, well-lit workspace
- ☐ Have safety tools ready (glue gun stand, scissors guard)
- ☐ Test adhesives on scrap material first
- ☐ Plan how the ears will be stored when not in use
Advanced Techniques for Authentic Detail
For those seeking museum-level craftsmanship, consider these elevated methods:
- Embroidery Over Appliqué: Instead of gluing shapes, stitch them for a refined finish. Use satin stitch for smooth edges.
- Layered Bows: Stack multiple ribbons of varying widths to create volume and dimension.
- Magnetic Attachments: Sew small magnets into bows so they can be swapped easily between events.
- LED Integration: Weave micro LED strands around the ear edge for nighttime sparkle—ideal for parades or evening events.
- Themed Backs: Don’t neglect the back of the band. Cover it with fabric matching the theme or add a name tag for character accuracy.
| Theme | Recommended Materials | Best For |
|---|---|---|
| Vintage Hollywood | Satin ribbon, rhinestones, gold trim | Adult Disney visits, photo shoots |
| Nature Explorer | Burlap, pressed flowers, twine bow | Outdoor festivals, educational events |
| Sci-Fi Futurist | Neon vinyl, reflective tape, plastic mesh | Conventions, cosplay competitions |
| Pet Tribute | Fabric printed with pet’s face, paw prints | Memorial walks, personal keepsakes |
Frequently Asked Questions
Can I wash my custom Minnie ears?
Spot clean only. Submerging them can weaken glue bonds and warp materials. Use a damp cloth with mild soap for surface dirt, then air dry completely.
How do I keep the bow from tilting or falling off?
Reinforce the center knot with additional hot glue or sew it through the ear pad. For heavy embellishments, consider adding a hidden support wire inside the bow.
Are there age-appropriate customization ideas for toddlers?
Absolutely. Use soft fabrics, avoid small detachable parts, and opt for machine-washable materials. Felt letters with their name or favorite animal make safe, meaningful additions.
Conclusion: Wear Your Story with Pride
Customizing Minnie Mouse ears is more than a craft—it’s an act of self-expression rooted in joy, memory, and play. Every stitch, glitter sprinkle, or thoughtfully chosen color reflects a piece of the wearer’s inner world. Whether you're channeling a favorite era, honoring a loved one, or stepping into a fictional role, your creation becomes a badge of belonging.


 浙公网安备
33010002000092号
浙公网安备
33010002000092号 浙B2-20120091-4
Comments
No comments yet. Why don't you start the discussion?