
In the world of tabletop styling, attention often centers on fine china, elegant glassware, and statement centerpieces. Yet one often-overlooked element can quietly transform a meal setting: the humble tissue box. When reimagined through a lens of creativity and design, a decorative tissue box becomes more than just a functional item—it becomes a curated accent that enhances ambiance, reflects personal style, and adds unexpected charm to your dining experience.
Far from being purely utilitarian, tissue boxes can be integrated into your table decor in imaginative, cohesive ways. Whether you're hosting a dinner party or simply elevating your everyday meals, these small but impactful changes can make your table feel intentional, polished, and inviting.
1. Choose Style-Conscious Containers
The foundation of an elevated tissue presentation begins with selecting a container that complements your table’s aesthetic. Instead of leaving tissues exposed in their original packaging, transfer them into a decorative box or holder made from materials like ceramic, wood, metal, or fabric-covered cardboard.
Consider the theme of your table setting:
- Rustic farmhouse? Opt for a wooden crate-style box with chamfered edges and linen liner.
- Modern minimalist? A sleek matte black or white geometric box keeps lines clean.
- Boho chic? Woven rattan or embroidered fabric boxes add texture and warmth.
- Festive occasion? Metallic tins or hand-painted porcelain boxes double as keepsakes.
2. Coordinate Tissues with Your Color Palette
Most people overlook the color of their napkins or tissues, defaulting to plain white. But colored or patterned tissues offer a subtle yet powerful opportunity to reinforce your table’s mood. Choose tissue hues that align with your placemats, runner, or floral arrangements.
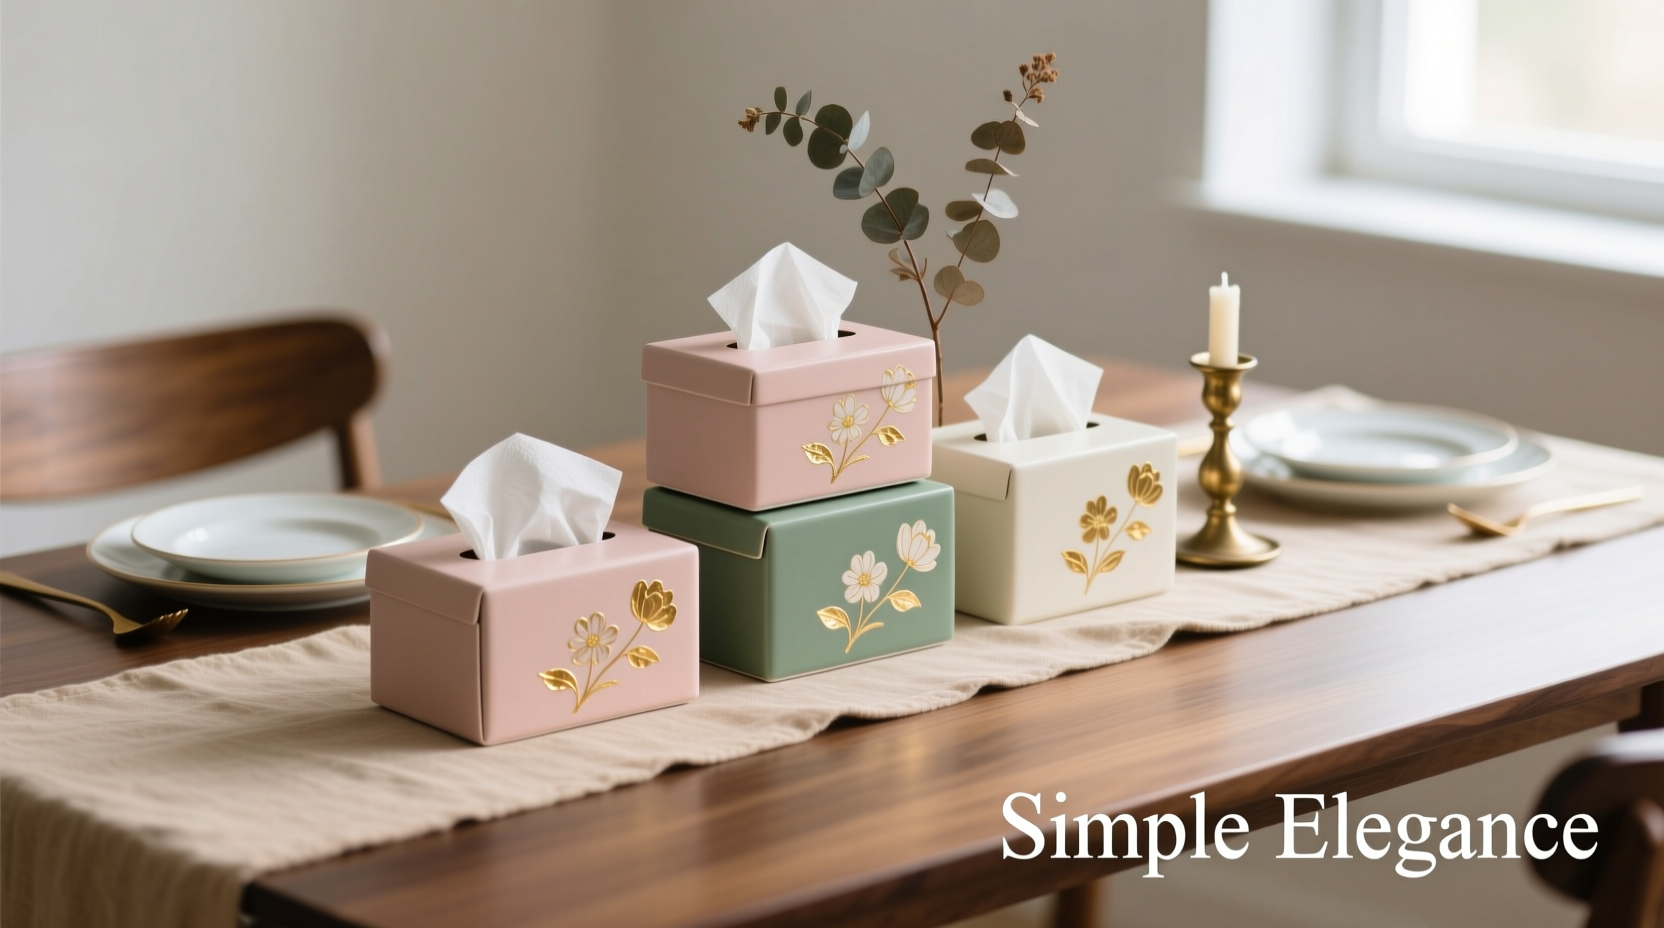
For instance, blush pink tissues peeking out of a gold-accented box harmonize beautifully with a spring brunch palette. Deep navy or emerald green tissues suit formal dinners with rich tones. Seasonal themes also lend themselves well—think cranberry red for winter, sunflower yellow for summer.
“Color continuity—even in small elements—creates visual harmony and makes a table feel professionally styled.” — Lila Montgomery, Interior Stylist & Tabletop Designer
3. Transform the Box into a Mini Centerpiece
Why place a tissue box at the end of the table where it fades into the background? Instead, position it front and center as part of your centerpiece arrangement.
Stack it atop a decorative tray alongside taper candles, a small vase of fresh herbs, or a cluster of tea lights. The box doesn’t need to dominate; its presence should feel natural and purposeful. For added flair, tie a ribbon or twine around the box, or attach a small seasonal charm—a pinecone in winter, a dried lemon slice in summer.
Step-by-Step: Create a Focal Point Tissue Display
- Select a decorative tissue box that matches your table theme.
- Place it on a mirrored tray or rustic wood slab for elevation.
- Arrange two short candles or bud vases on either side.
- Weave a sprig of eucalyptus or lavender across the back for softness.
- Ensure tissues are folded neatly so only one corner shows when pulled.
4. Personalize for Special Occasions
Customization turns a standard tissue box into a memorable detail, especially during celebrations. Use removable labels, chalkboard paint, or adhesive vinyl to add names, dates, or thematic messages.
At weddings, label each box with the couple’s initials and wedding date. For birthdays, write “Cheers to [Name]!” in playful script. Holiday gatherings benefit from phrases like “Merry & Bright” or “Cozy Moments Ahead.”
You can even create themed tissue boxes for recurring family dinners—“Sunday Brunch,” “Taco Tuesday,” or “Wine & Wind Down.” These touches spark conversation and reinforce a sense of ritual.
5. Functional Elegance: Dual-Purpose Designs
The most successful decorative tissue boxes don’t sacrifice usability for beauty. Seek designs that balance form and function—easy to refill, simple to access, and stable on the table.
Look for features like:
- Top-slotted openings that allow smooth tissue pull without snagging.
- Lids that lift fully or slide aside for quick refills.
- Non-slip bases to prevent sliding during use.
- Compact footprints that don’t overcrowd place settings.
Some innovative models even integrate hidden compartments—ideal for storing coasters, matches, or folded menus. Others double as planters when not in use, allowing you to insert a small succulent or air plant for year-round versatility.
Do’s and Don’ts of Decorative Tissue Box Use
| Do’s | Don’ts |
|---|---|
| Match the box style to your overall table theme | Use flimsy containers that collapse easily |
| Refill before tissues run out completely | Leave empty boxes on display |
| Choose colors that complement your linens and dishes | Clash metallic finishes (e.g., gold box with silver cutlery) |
| Position centrally or near serving areas | Hide it behind serving platters where guests can’t reach |
| Personalize for events with labels or tags | Use permanent adhesives that damage delicate surfaces |
Mini Case Study: Elevating a Weekend Brunch
Sophie, a lifestyle blogger in Portland, wanted to refine her weekend brunch setup without investing in expensive new decor. She noticed that her plain white tissue box clashed with her vintage floral plates and linen napkins. On a whim, she repurposed an old apothecary jar by cutting a slot in a wooden lid and inserting a folded pack of blush-toned tissues.
She placed the jar beside a small bouquet of peonies and labeled it “For Sweet Spills” with a calligraphy tag. Guests immediately commented on the thoughtful detail. “It felt fancy but still warm,” one said. Sophie now rotates themed tissue jars—mason jars with gingham lids for summer, copper tins for holidays—proving that low-cost changes can yield high perceived value.
Checklist: How to Style a Decorative Tissue Box in 5 Steps
- ☐ Select a box that matches your table’s material and color scheme.
- ☐ Choose colored or textured tissues that enhance the theme.
- ☐ Position the box where it’s visible and accessible—ideally near serving dishes or centerpieces.
- ☐ Add a personal touch: ribbon, tag, or seasonal embellishment.
- ☐ Maintain it throughout the meal: refill discreetly, straighten folds, remove debris.
FAQ
Can I use regular facial tissues in a decorative box?
Absolutely. Most standard tissue packs fit in medium to large decorative boxes. If the box is too big, fold a piece of craft paper around the pack for a snug fit and cleaner look.
How do I keep tissues from tearing when pulling them out?
Ensure the dispensing slit is wide enough and free of sharp edges. You can lightly sand rough corners or line the opening with a thin rubber strip for smoother feeding.
Are there eco-friendly decorative tissue box options?
Yes. Many brands offer biodegradable boxes made from bamboo, recycled paper, or reclaimed wood. Pair them with compostable tissues for a sustainable setup.
Conclusion
The dining table is more than a place to eat—it’s a stage for connection, celebration, and self-expression. Every object on it contributes to the story you’re telling. By reimagining the tissue box not as an afterthought but as a deliberate design element, you add layers of thoughtfulness that guests notice and appreciate.
Start small: swap out a plain box, add a ribbon, choose a coordinating tissue color. Build from there. Over time, these details accumulate into an atmosphere of care and intention. Your table won’t just look better—it will feel more meaningful.


 浙公网安备
33010002000092号
浙公网安备
33010002000092号 浙B2-20120091-4
Comments
No comments yet. Why don't you start the discussion?